-88
Performing the head alignment
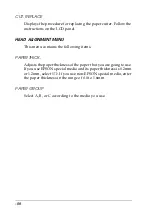
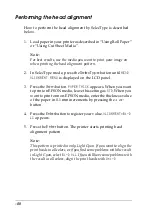
How to perform the head alignment by SelecType is described
below.
1. Load paper in your printer as described in “Using Roll Paper”
Note:
For best results, use the media you want to print your image on
when printing the head alignment pattern.
2. In SelecType mode, press the
SelecType
button until
HEAD
ALIGNMENT MENU
is displayed on the LCD panel.
3. Press the
Item
button.
PAPER THICK
appears. When you want
to print on EPSON media, leave this setting as
STD
. When you
want to print on non-EPSON media, enter the thickness value
of the paper in 0.1 mm increments by pressing the
+
or
-
button.
4. Press the
Enter
button to register your value.
ALIGNMENT=Bi-D
LC
appears.
5. Press the
Enter
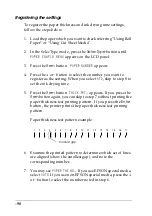
button. The printer starts printing head
alignment pattern.
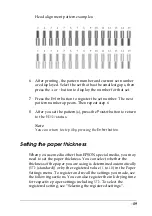
Note:
This pattern is printed in only Light Cyan. If you want to align the
print heads in all colors, or if you find some problems with the result
in Light Cyan, select
Bi-D ALL
. If you still have some problems with
the result in all colors, align the print heads with
Uni-D
.
Summary of Contents for Stylus Pro 10600 - UltraChrome Ink - Stylus Pro 10600 Print Engine
Page 1: ...Reference Guide ...
Page 46: ... 45 EPSON Enhanced Matte Poster Board 762mm 30 1016mm 40 S041599 ...
Page 52: ... 51 EPSON Enhanced Adhesive Synthetic Paper 1118mm 44 30 5m 100 S041619 ...
Page 60: ... 59 EPSON Poster Board Semigloss B2 S041273 EPSON Poster Board Semigloss B1 S041236 ...
Page 109: ... 108 Plain Paper Enhanced Matte Poster Board EPSON Enhanced Matte Poster Board ...
Page 164: ... 163 Plain Paper Enhanced Matte Poster Board EPSON Enhanced Matte Poster Board ...
Page 312: ... 311 Speed Progress 126 Using 136 ...

