-89
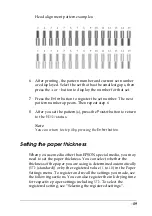
Head alignment pattern examples:
6. After printing, the pattern number and current set number
are displayed. Select the set that has the smallest gaps, then
press the
+
or
-
button to display the number for that set.
7. Press the
Enter
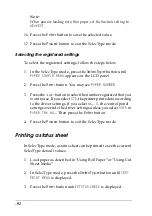
button to register the set number. The next
pattern number appears. Then repeat step 6.
8. After you set the pattern(s), press the
Pause
button to return
to the
READY
status.
Note:
You can return to step 6 by pressing the
Enter
button.
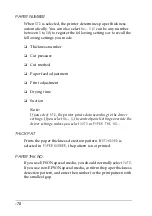
Setting the paper thickness
When you use media other than EPSON special media, you may
need to set the paper thickness. You can select whether the
thickness of the paper you are using is determined automatically
(
STD
(standard)) or by the registered value (
1
to
10
) in the Paper
Settings menu. To register and recall the settings you made, see
the following sections. You can also register the ink drying time
for respective paper settings including
STD
. To select the
registered setting, see “Selecting the registered settings”.
Summary of Contents for Stylus Pro 10600 - UltraChrome Ink - Stylus Pro 10600 Print Engine
Page 1: ...Reference Guide ...
Page 46: ... 45 EPSON Enhanced Matte Poster Board 762mm 30 1016mm 40 S041599 ...
Page 52: ... 51 EPSON Enhanced Adhesive Synthetic Paper 1118mm 44 30 5m 100 S041619 ...
Page 60: ... 59 EPSON Poster Board Semigloss B2 S041273 EPSON Poster Board Semigloss B1 S041236 ...
Page 109: ... 108 Plain Paper Enhanced Matte Poster Board EPSON Enhanced Matte Poster Board ...
Page 164: ... 163 Plain Paper Enhanced Matte Poster Board EPSON Enhanced Matte Poster Board ...
Page 312: ... 311 Speed Progress 126 Using 136 ...


