18
18
|
Setting Up the Printer
Unpacking and Assembling the Stand
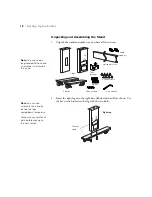
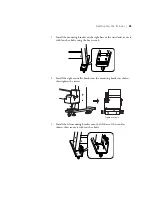
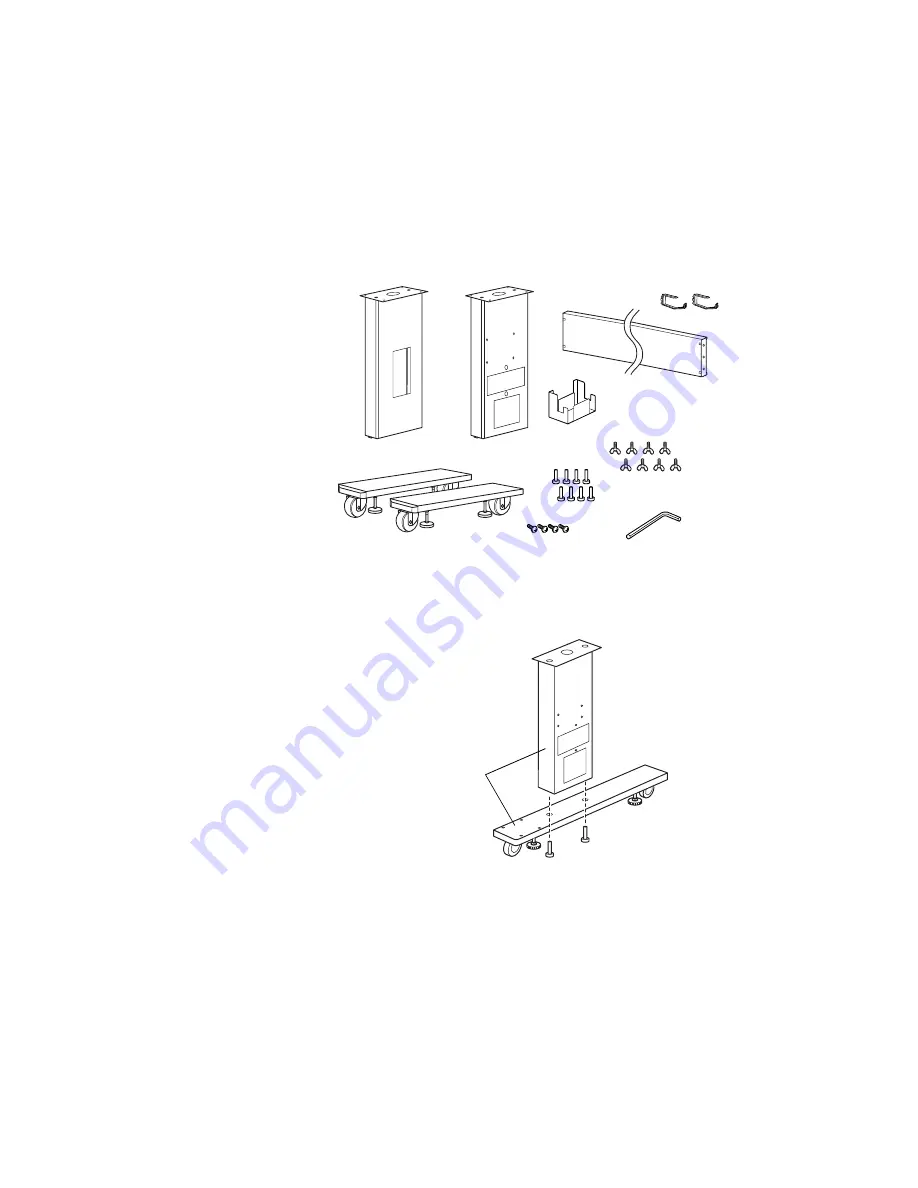
1. Unpack the stand and make sure you have all these items.
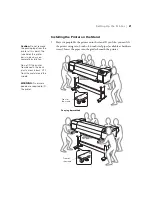
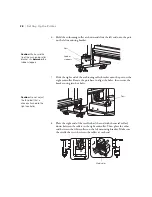
2. Insert the right leg into the right base (labeled with an
R
) as shown. Use
the hex wrench to fasten the leg with the two bolts.
Note:
You also need a
long-handled Phillips-head
screwdriver to assemble
the stand.
2 bases
2 legs
Horizontal strut
8 wing screws
Hex wrench
8 bolts
4 hex screws
Tank
bracket
2 cable
supports
Note:
You can also
assemble the stand by
placing the legs
upside-down temporarily.
Make sure you tighten all
bolts before moving to
the next section.
Right leg
Front of
stand
Summary of Contents for Stylus Pro GS6000
Page 1: ...Epson Stylus Pro GS6000 SETUP AND USE GUIDE ...
Page 4: ......
Page 8: ...8 8 Contents ...
Page 68: ...68 68 Handling Media and Printouts ...
Page 88: ...88 88 Maintaining the Printer ...
Page 98: ...98 98 Cleaning Storing and Transporting the Printer ...
Page 124: ...124 124 Specifications ...


