86
86
|
Maintaining the Printer
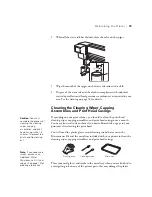
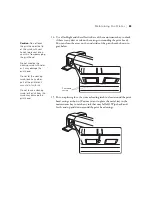
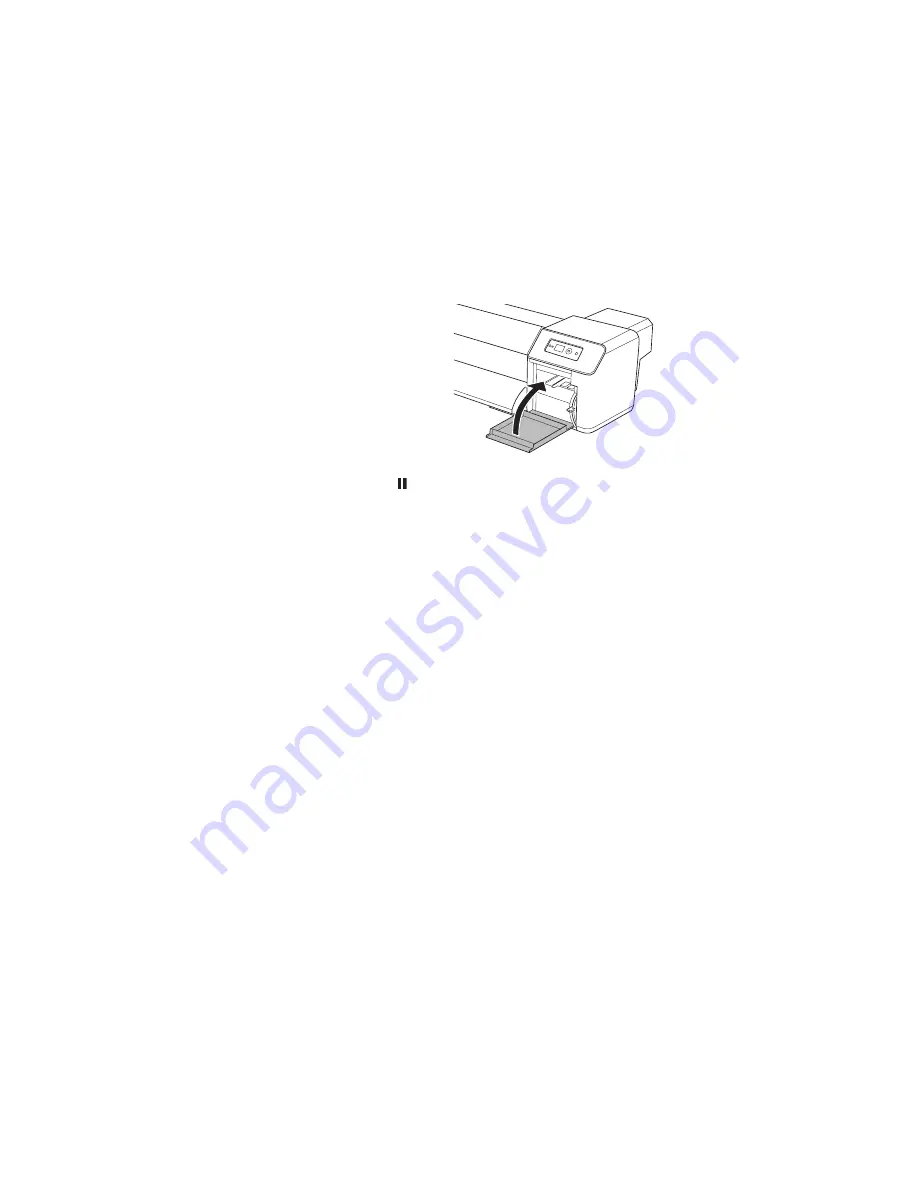
8. Install the new flushing pad where you removed the old one with the tab
facing forward. Press it down until it clicks into place.
9. Close the maintenance cover and press it until it locks in place.
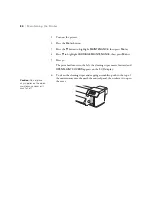
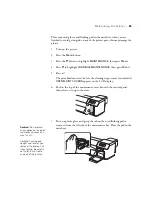
10. Press the Pause button to return the printer to the
READY
state.
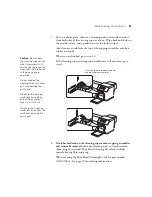
11. Dispose of the used flushing pad and gloves in compliance with
industrial waste disposal laws and local government ordinances as
required in your area.
Washing the Ink System
If you notice gaps, lines, or color shifts in your printouts, and a nozzle check
reveals clogged or deflected nozzles, you should clean the print head using
the control panel. See page 74 for instructions.
If you still have print quality problems after cleaning the print head using the
heaviest level of cleaning cycle, you can wash the ink system to clear the
clogged nozzles.
Washing the ink system involves the following procedures:
•
Removing the ink cartridges
•
Emptying the waste ink tank
•
Inserting the cleaning cartridges
•
Emptying the waste ink tank again
•
Removing the cleaning cartridges
•
Emptying the waste ink tank again
•
Installing ink cartridges and charging the ink system
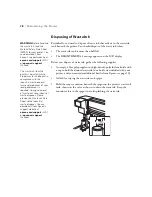
WARNING:
Before handling
the waste ink, read the
Material Safety Data Sheet
(MSDS) for your printer. You
can download it from
Epson’s support website at
epson.com/support
(U.S.)
or
epson.ca/support
(Canada).
The waste ink from the
printer is industrial waste.
Proper waste ink disposal in
compliance with the
industrial waste disposal
laws and ordinances of your
local government is
required. Consign disposal
of waste inks to an industrial
waste disposer. Please
provide the Waste Ink Data
Sheet to the industrial
waste disposer. You can
download it from Epson’s
support website at
epson.com/support
(U.S.)
or
epson.ca/support
(Canada).
Summary of Contents for Stylus Pro GS6000
Page 1: ...Epson Stylus Pro GS6000 SETUP AND USE GUIDE ...
Page 4: ......
Page 8: ...8 8 Contents ...
Page 68: ...68 68 Handling Media and Printouts ...
Page 88: ...88 88 Maintaining the Printer ...
Page 98: ...98 98 Cleaning Storing and Transporting the Printer ...
Page 124: ...124 124 Specifications ...

