152
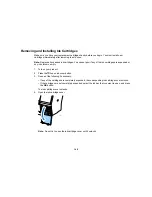
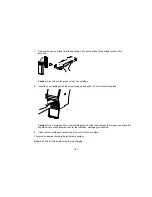
Caution:
If you remove an ink cartridge for later use, protect the ink supply area from dirt and dust and
store it in the same environment as the printer. The valve in the ink supply port is designed to contain
any excess ink, but do not touch the ink supply port or surrounding area. Always store ink cartridges with
the label facing up; do not store cartridges upside-down.
Note:
If a cleaning cycle is initiated during the "Ink Low" status and the level of ink remaining in the
cartridge is estimated to be less than required for a cleaning, the printer will prompt that there is “not
enough ink to complete the process.” At this stage a fuller cartridge needs to be installed to complete the
maintenance. At the end of the printer cleaning maintenance, the original cartridge can be re-inserted
and used until its "Ink Cartridge Expended" status is reached. It does not have to be discarded.
Parent topic:
Replacing Ink Cartridges
Related concepts
Purchase Epson Ink Cartridges
Replacing Maintenance Boxes
The maintenance box absorbs ink used in maintenance operations such as head cleaning and changing
black ink. Replace the maintenance box when you see a message on the LCD screen. (The SC-
P8000/SC-P9000 have two maintenance boxes.)
Note:
Do not reuse maintenance boxes you have removed from the printer and exposed to air for a long
period of time. The box will not absorb any more ink.
1.
Check the LCD screen to determine which maintenance box needs to be replaced (SC-P8000/SC-
P9000).
2.
Turn off your product.
3.
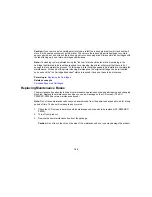
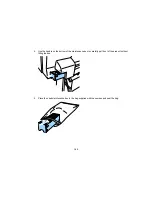
Remove the new maintenance box from the package.
Caution:
Do not touch the chip on the side of the maintenance box or you may damage the product.
Summary of Contents for SureColor P8000
Page 1: ...Epson SureColor P6000 P7000 P8000 P9000 User s Guide ...
Page 2: ......
Page 8: ......
Page 21: ...21 5 Release the tension levers on both roll media adapters ...
Page 31: ...31 If you are using the optional Auto Take Up Reel rewind the paper using the Manual switch ...
Page 42: ...42 1 Raise the paper guides ...
Page 43: ...43 2 Lower the front of the paper basket ...
Page 45: ...45 4 Raise the front of the basket one level ...
Page 46: ...46 5 Fasten the front of the basket with the tabs ...
Page 50: ...50 1 Unfasten the tabs at the front of the paper basket ...
Page 51: ...51 2 Raise the paper guides ...
Page 52: ...52 3 Raise the front of the basket so that the cloth is pulled taut ...
Page 54: ...54 1 Raise the paper guides ...
Page 55: ...55 2 Raise the front of the basket and lower the paper guides ...
Page 92: ...92 You can also place the same print data multiple times as shown here ...
Page 190: ...190 2 Cut the paper above the paper feed slot ...


