164
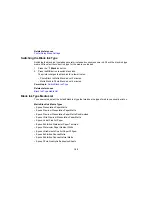
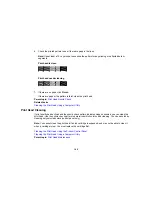
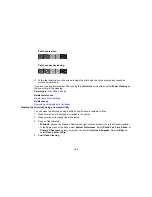
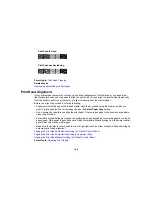
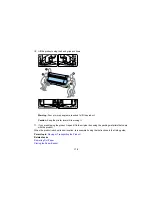
Print head is clean
Print head needs cleaning
Parent topic:
Print Head Cleaning
Related tasks
Removing and Installing Ink Cartridges
Print Head Alignment
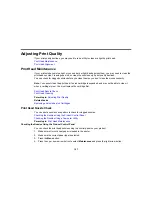
If your printouts become grainy or blurry, you notice misalignment of vertical lines, or you see dark or
light horizontal bands, you may need to align the print head. You can align the print head automatically
from the control panel or your computer, or align it manually from the control panel.
Before you align the print head, note the following:
• Alignment will vary based on the loaded media. Align the print head using the media on which you
want to print and select the correct paper type as the
Select Paper Type
setting.
• Run a nozzle check before you align the print head. If there are any gaps in the nozzle check pattern,
clean the print head.
• Automatic print head alignment cannot be performed on any transparent or colored paper or on these
paper types: Plain paper, Epson Enhanced Matte Posterboard. Manually align from the printer control
panel when using these media types.
• Make sure the printer is not exposed to direct, bright light (such as direct sunlight) while performing an
automatic print head alignment.
Aligning the Print Head Automatically Using the Product Control Panel
Aligning the Print Head Automatically Using a Computer Utility
Aligning the Print Head Manually Using the Product Control Panel
Parent topic:
Adjusting Print Quality
Summary of Contents for SureColor P8000
Page 1: ...Epson SureColor P6000 P7000 P8000 P9000 User s Guide ...
Page 2: ......
Page 8: ......
Page 21: ...21 5 Release the tension levers on both roll media adapters ...
Page 31: ...31 If you are using the optional Auto Take Up Reel rewind the paper using the Manual switch ...
Page 42: ...42 1 Raise the paper guides ...
Page 43: ...43 2 Lower the front of the paper basket ...
Page 45: ...45 4 Raise the front of the basket one level ...
Page 46: ...46 5 Fasten the front of the basket with the tabs ...
Page 50: ...50 1 Unfasten the tabs at the front of the paper basket ...
Page 51: ...51 2 Raise the paper guides ...
Page 52: ...52 3 Raise the front of the basket so that the cloth is pulled taut ...
Page 54: ...54 1 Raise the paper guides ...
Page 55: ...55 2 Raise the front of the basket and lower the paper guides ...
Page 92: ...92 You can also place the same print data multiple times as shown here ...
Page 190: ...190 2 Cut the paper above the paper feed slot ...


