168
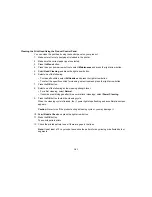
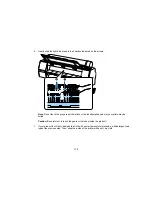
The alignment sheet prints.
Note:
When aligning on cut sheet paper, the alignment sheet is printed across multiple pages. Once
the first sheet prints, load the next piece of paper.
9.
After each alignment sheet is printed, view the LCD screen for instructions on selecting the best
square in each pattern set.
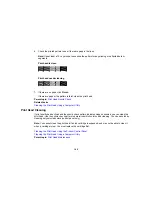
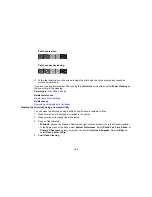
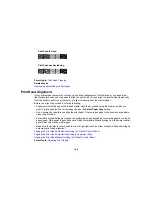
10. Check the printed patterns and choose the number representing the pattern in which the white lines
are the most evenly spaced, then press the
OK
button.
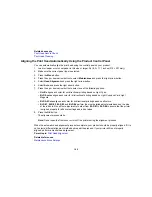
When the manual head alignment process is complete, your product should be properly aligned. If it is
not, select a different alignment method and repeat the process.
Parent topic:
Print Head Alignment
Related references
Maintenance Menu Settings
Summary of Contents for SureColor P8000
Page 1: ...Epson SureColor P6000 P7000 P8000 P9000 User s Guide ...
Page 2: ......
Page 8: ......
Page 21: ...21 5 Release the tension levers on both roll media adapters ...
Page 31: ...31 If you are using the optional Auto Take Up Reel rewind the paper using the Manual switch ...
Page 42: ...42 1 Raise the paper guides ...
Page 43: ...43 2 Lower the front of the paper basket ...
Page 45: ...45 4 Raise the front of the basket one level ...
Page 46: ...46 5 Fasten the front of the basket with the tabs ...
Page 50: ...50 1 Unfasten the tabs at the front of the paper basket ...
Page 51: ...51 2 Raise the paper guides ...
Page 52: ...52 3 Raise the front of the basket so that the cloth is pulled taut ...
Page 54: ...54 1 Raise the paper guides ...
Page 55: ...55 2 Raise the front of the basket and lower the paper guides ...
Page 92: ...92 You can also place the same print data multiple times as shown here ...
Page 190: ...190 2 Cut the paper above the paper feed slot ...


