


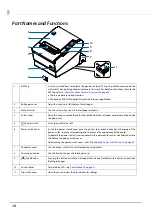
Technical Reference Guide
Describes features of the product.
Describes setup and installation of the product and
peripherals.
Describes advanced usage methods for the product.
Describes how to control the printer and necessary
information when you develop applications.
Describes how to handle the product.
Describes precautions for replacement.
Describes general specifications and character code tables.
M00105001
Rev. B
Summary of Contents for TM-T88VI-iHUB
Page 12: ...12 ...
Page 54: ...54 ...
Page 113: ...113 Chapter 5 Handling 5 5 Tear off the paper ...
Page 115: ...115 Chapter 5 Handling 5 3 Remove the jammed paper 4 Close the covers ...
Page 122: ...122 ...
Page 133: ...133 Appendix Units mm ...
Page 136: ...136 Italian Spanish English UK Keyboard type Key layout ...
Page 156: ...156 ...


