Note:
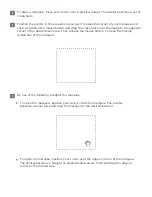
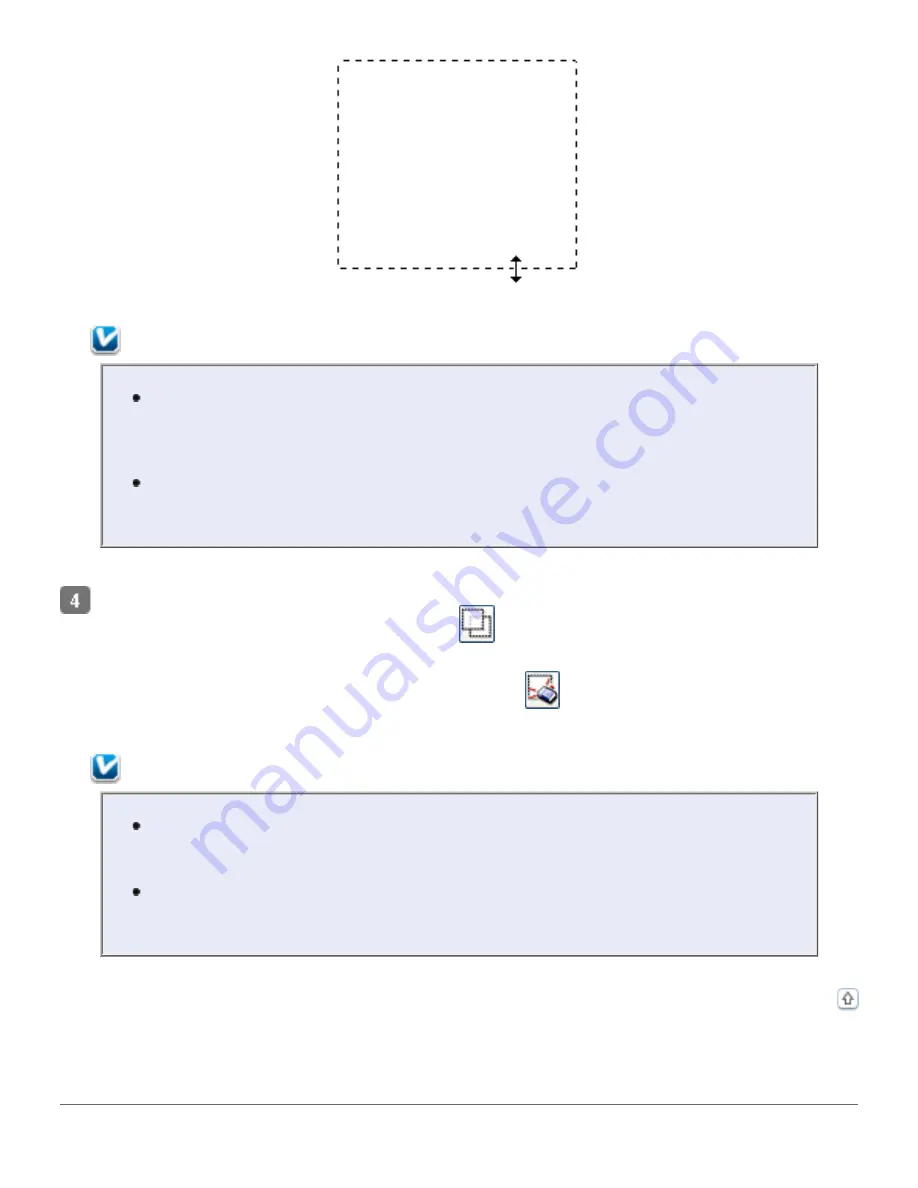
To restrict movement of the marquee to vertical or horizontal only, hold
down the
Shift
key as you move the marquee. To restrict sizing of the
marquee to the current proportions, hold down the
Shift
key as you resize
the marquee.
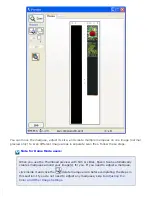
For best results and image exposure, make sure all sides of the marquee
are located inside the preview image. Do not include any of the area around
the preview image in the marquee.
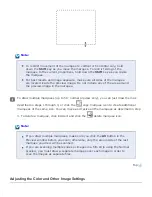
To draw multiple marquees (up to 50; normal preview only), you can just draw them as
described in steps 1 through 3, or click the
copy marquee icon to create additional
marquees of the same size. You can move and resize all the marquees as described in step
3. To delete a marquee, click inside it and click the
delete marquee icon.
Note:
If you draw multiple marquees, make sure you click the
All
button in the
Preview window before you scan; otherwise, only the area inside of the last
marquee you drew will be scanned.
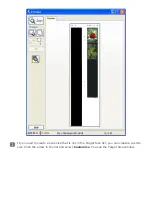
If you are scanning multiple slides or images in a film strip using the Normal
preview, you must draw a separate marquee over each image in order to
scan the images as separate files.
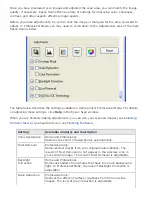
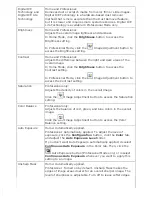
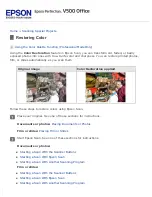
Adjusting the Color and Other Image Settings
Summary of Contents for V500
Page 27: ...c scanner transportation lock d USB interface connector e cover cable ...
Page 34: ...Open the scanner cover Pull the scanner cover straight up and off the scanner ...
Page 47: ...Top ...
Page 64: ......
Page 69: ...Thumbnail preview ...
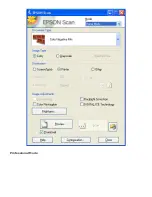
Page 78: ...Professional Mode ...
Page 98: ...Professional Mode ...
Page 99: ...Before you scan your film or slides you need to select these basic settings ...
Page 121: ......
Page 131: ...Professional Mode ...
Page 135: ...Professional Mode ...
Page 136: ...Note ...
Page 142: ......
Page 149: ...Click the Settings button You see the Scan to PDF Settings window ...
Page 157: ...Click the File Save Settings button The File Save Settings window appears ...
Page 183: ...Pull the scanner cover straight up and off the scanner ...

