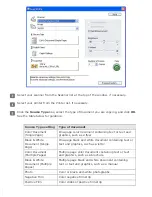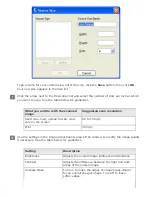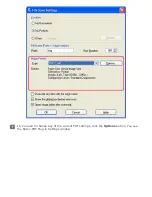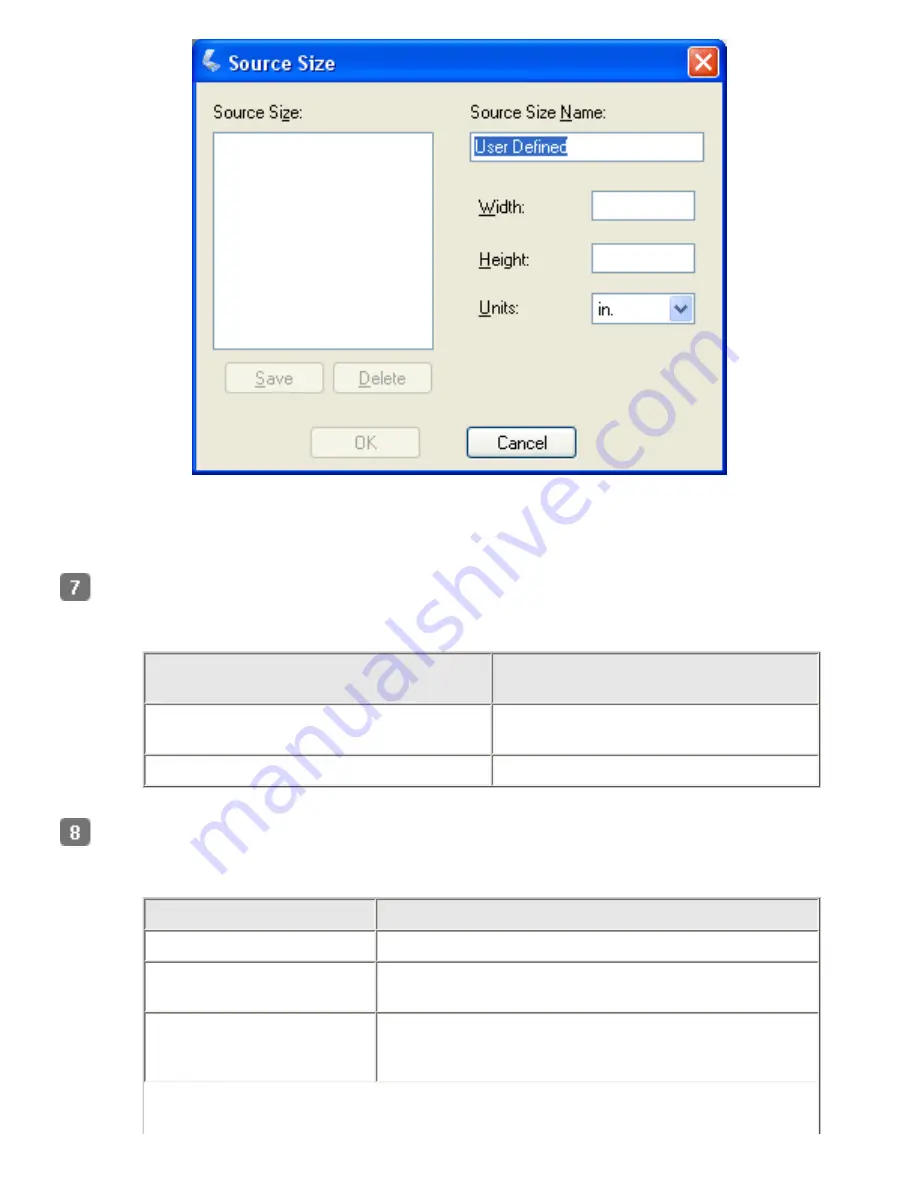
Type a name for your custom size, enter the size, click the
Save
button, then click
OK
.
Your new size appears in the Size list.
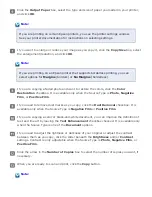
Click the arrow next to the Resolution list and select the number of dots per inch at which
you want to scan. See the table below for guidelines.
What you will do with the scanned
image
Suggested scan resolution
Send via e-mail, upload to web, view
only on the screen
96 to 150 dpi
300 dpi
Use the settings in the Image Adjustments area of the window to modify the image quality
if necessary. See the table below for guidelines.
Setting
Description
Brightness
Adjusts the overall image lightness and darkness.
Contrast
Adjusts the difference between the light and dark
areas of the overall image.
Unsharp Mask
Turn on to make the edges of image areas clearer
for an overall sharper image. Turn off to leave
softer edges.
Summary of Contents for V500
Page 27: ...c scanner transportation lock d USB interface connector e cover cable ...
Page 34: ...Open the scanner cover Pull the scanner cover straight up and off the scanner ...
Page 47: ...Top ...
Page 64: ......
Page 69: ...Thumbnail preview ...
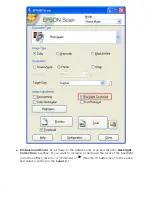
Page 78: ...Professional Mode ...
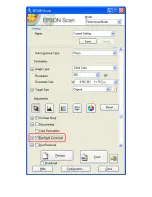
Page 98: ...Professional Mode ...
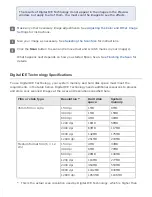
Page 99: ...Before you scan your film or slides you need to select these basic settings ...
Page 121: ......
Page 131: ...Professional Mode ...
Page 135: ...Professional Mode ...
Page 136: ...Note ...
Page 142: ......
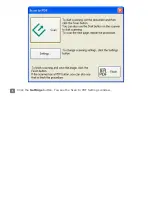
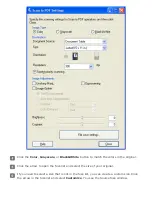
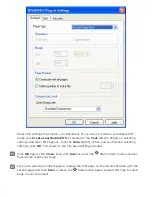
Page 149: ...Click the Settings button You see the Scan to PDF Settings window ...
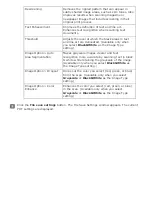
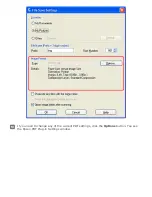
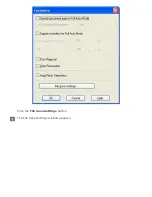
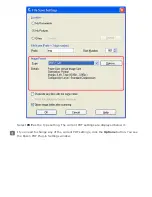
Page 157: ...Click the File Save Settings button The File Save Settings window appears ...
Page 183: ...Pull the scanner cover straight up and off the scanner ...

