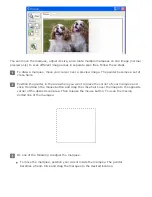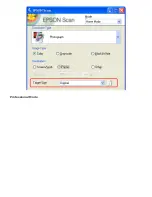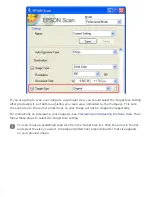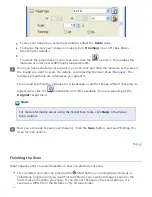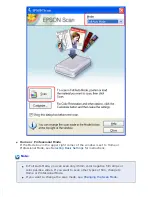
If you are going to scan at a different size than your original, you must first
select your Target Size and automatically create a marquee that is
proportioned to that size. See
for instructions. You
can then copy the marquee and place it on each image you will scan at that
size.
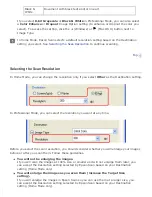
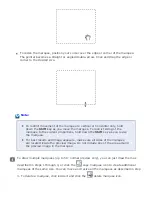
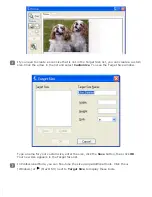
To zoom in on an image, click inside the scan area and click the
Zoom
button.
Epson Scan prescans again and displays a larger preview on the Zoom tab. (Your
other images are still previewed at the original size on the Preview tab.)
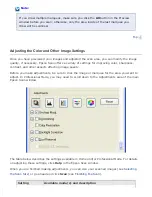
To adjust the image quality, click the image(s) you want to modify and make the
adjustments as described in
Adjusting the Color and Other Image Settings
.
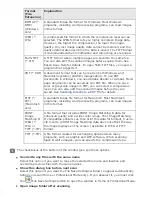
If you are viewing the thumbnail preview, you can do the following to adjust the image(s).
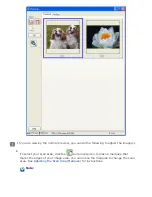
To zoom in on an image, double-click its thumbnail, or click the thumbnail and then
click the
Full Size
tab near the top of the Preview window. (This feature is only
available when you are scanning multiple images at the same time.)
To rotate an image or flip it horizontally (like a mirror image), click its thumbnail and
then click the
rotation icon or
mirroring icon.
To adjust the scan area to crop your image, you can create and move a marquee
that marks the edges of your scan. See
Adjusting the Scan Area (Marquee)
instructions.
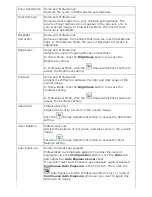
To adjust the image quality, click the image(s) you want to modify and make the
adjustments as described in
Adjusting the Color and Other Image Settings
. If you
want to apply the adjustments to all your images, click the
All
button.
Note:
If your image is not rotated correctly, see
Images Are Rotated Incorrectly
.
When you have finished adjusting the scan area, and modifying the color and image
settings, you can select the size of your scanned image, if you have not already selected it.
See
for instructions.
Adjusting the Scan Area (Marquee)
A marquee is a moving dotted line that appears on the edges of your preview image to indicate
the scan area.
Summary of Contents for V500
Page 27: ...c scanner transportation lock d USB interface connector e cover cable ...
Page 34: ...Open the scanner cover Pull the scanner cover straight up and off the scanner ...
Page 47: ...Top ...
Page 64: ......
Page 69: ...Thumbnail preview ...
Page 78: ...Professional Mode ...
Page 98: ...Professional Mode ...
Page 99: ...Before you scan your film or slides you need to select these basic settings ...
Page 121: ......
Page 131: ...Professional Mode ...
Page 135: ...Professional Mode ...
Page 136: ...Note ...
Page 142: ......
Page 149: ...Click the Settings button You see the Scan to PDF Settings window ...
Page 157: ...Click the File Save Settings button The File Save Settings window appears ...
Page 183: ...Pull the scanner cover straight up and off the scanner ...

