Note:
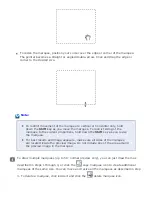
If you draw multiple marquees, make sure you click the
All
button in the Preview
window before you scan; otherwise, only the area inside of the last marquee you
drew will be scanned.
Adjusting the Color and Other Image Settings
Once you have previewed your images and adjusted the scan area, you can modify the image
quality, if necessary. Epson Scan offers a variety of settings for improving color, sharpness,
contrast, and other aspects affecting image quality.
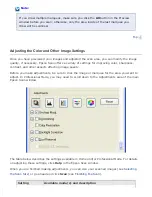
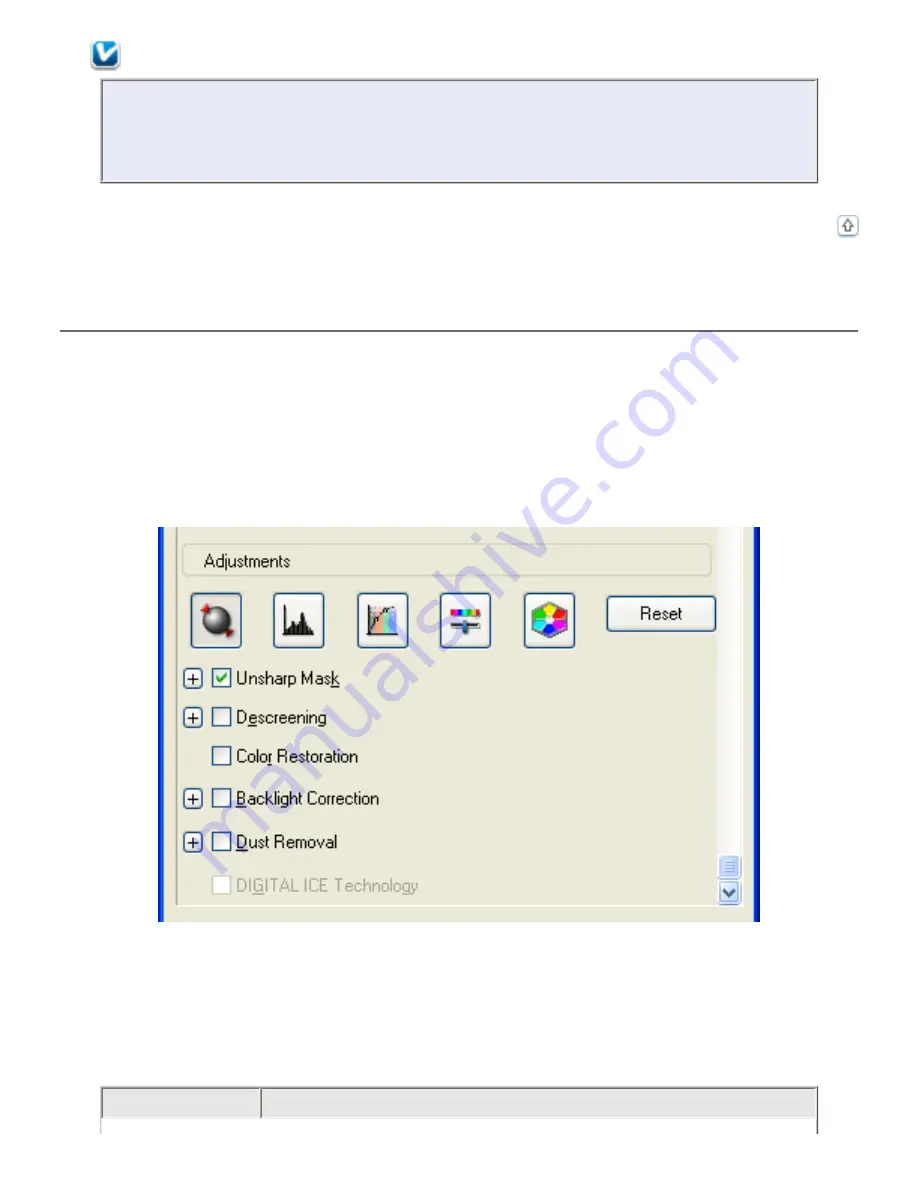
Before you make adjustments, be sure to click the image or marquee for the area you want to
adjust. In Professional Mode, you may need to scroll down to the Adjustments area of the main
Epson Scan window.
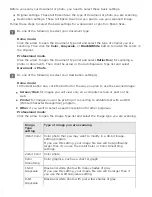
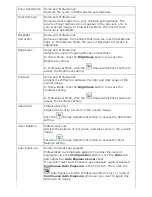
The table below describes the settings available in Home and/or Professional Mode. For details
on adjusting these settings, click
Help
in the Epson Scan window.
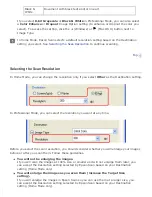
When you are finished making adjustments, you can size your scanned images (see
Scan
(see
Setting
Available mode(s) and description
Summary of Contents for V500
Page 27: ...c scanner transportation lock d USB interface connector e cover cable ...
Page 34: ...Open the scanner cover Pull the scanner cover straight up and off the scanner ...
Page 47: ...Top ...
Page 64: ......
Page 69: ...Thumbnail preview ...
Page 78: ...Professional Mode ...
Page 98: ...Professional Mode ...
Page 99: ...Before you scan your film or slides you need to select these basic settings ...
Page 121: ......
Page 131: ...Professional Mode ...
Page 135: ...Professional Mode ...
Page 136: ...Note ...
Page 142: ......
Page 149: ...Click the Settings button You see the Scan to PDF Settings window ...
Page 157: ...Click the File Save Settings button The File Save Settings window appears ...
Page 183: ...Pull the scanner cover straight up and off the scanner ...


