64
•
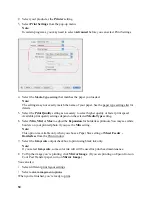
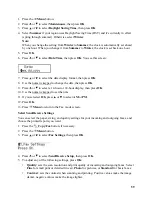
Mac OS X 10.6/10.7
: In the Apple menu or the Dock, select
System Preferences
. Select
Print & Scan
or
Print & Fax
, select the
FAX
option for your product, and select
Options
& Supplies
. Select
Utility
and select
Open Printer Utility
.
•
Mac OS X 10.4/10.5
: In the Apple menu or the Dock, select
System Preferences
. Select
Print & Fax
, select the
FAX
option for your product, and select
Open Print Queue
.
Select
Utility
.
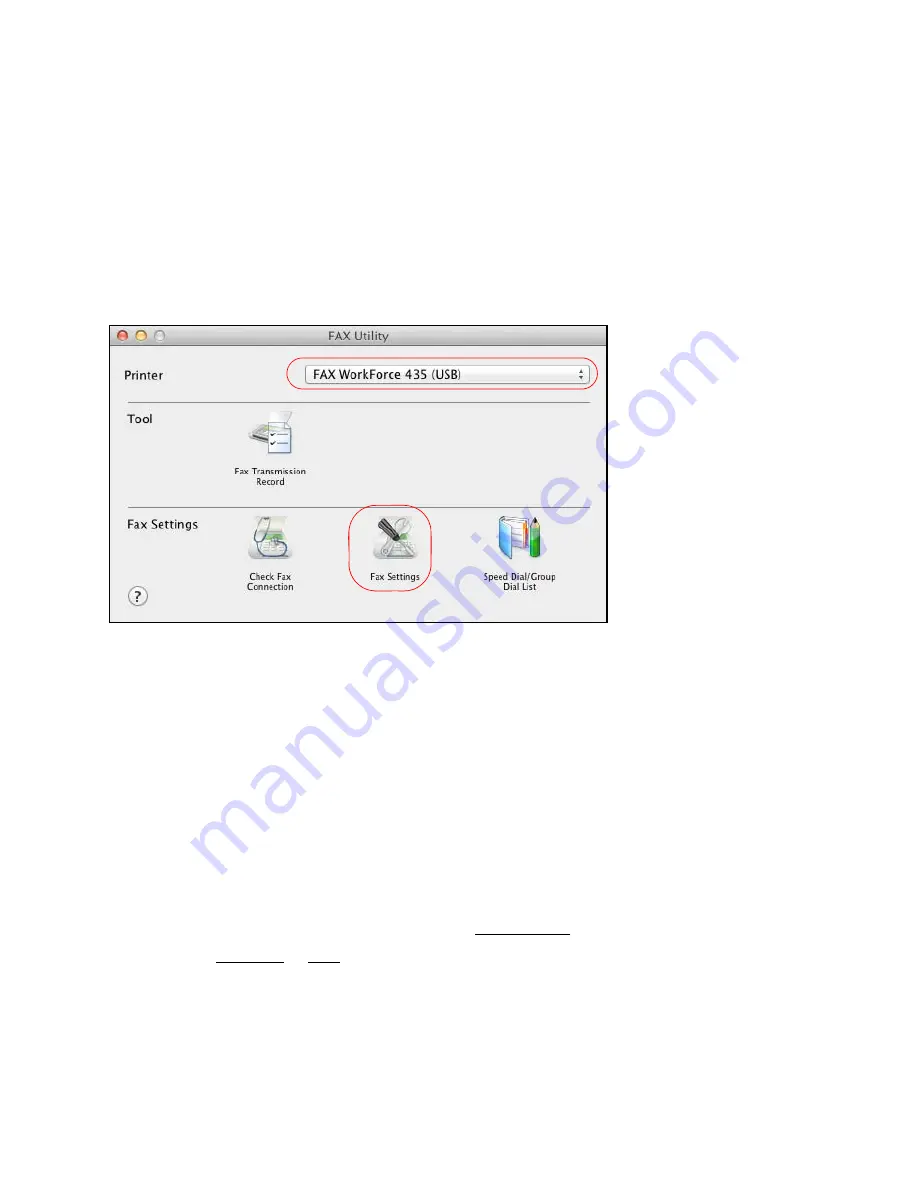
2. Double-click
FAX Utility
.
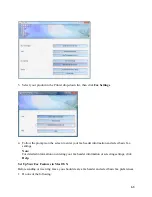
3. Select your
FAX
product in the
Printer
pop-up menu, then click
Fax Settings
.
4. Follow the prompts on the screen to enter your fax header information and select basic fax
settings.
Note:
For detailed information on entering your fax header information or selecting settings, click
the
?
.
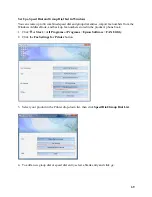
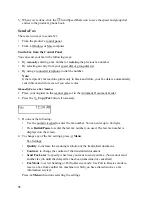
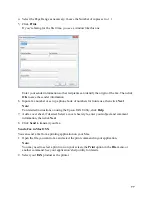
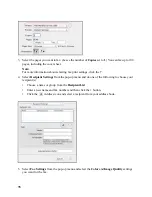
Set Up a Speed Dial and Group Dial List
You can create a speed dial list of fax numbers so you can quickly select them for faxing. You can
also set up a group dial list to automatically send the same fax message to multiple speed dial
numbers.
There are two ways to set up a speed dial and group dial list:
•
Set up a speed dial and group dial list from the control panel.
•
From your Windows or Mac computer.
Note:
In case the speed/group dial list is lost due to a product malfunction, we recommend that you back
up the data whenever you update the list.
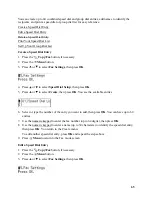
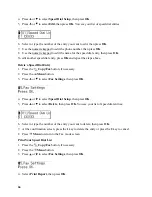
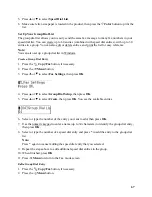
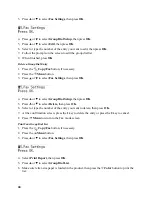
Set Up a Speed Dial and Group Dial List from the Control Panel
Summary of Contents for WorkForce 435
Page 1: ...5 Home Welcome to the Epson WorkForce 435 User s Guide ...
Page 2: ...6 ...
Page 12: ...12 ...
Page 21: ...21 Envelopes Envelope For this paper Select this paper Type or Media Type setting ...
Page 22: ...22 ...
Page 26: ...26 ...
Page 54: ...54 ...
Page 96: ...96 Normal preview Click the auto locate icon to create a marquee Marquee ...
Page 105: ...105 Normal preview Click the auto locate icon to create a marquee Marquee ...
Page 130: ...130 ...
Page 138: ...138 ...
Page 174: ...174 ...

