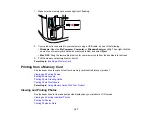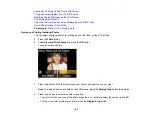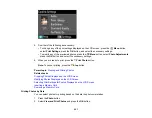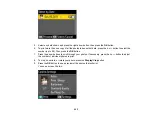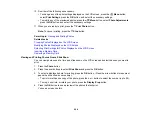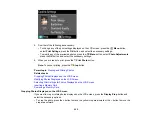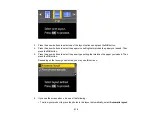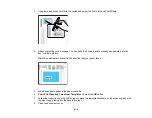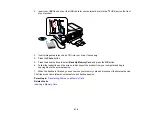
• To place photos in the layout manually, select
Place photos manually
and follow the instructions
displayed on the screen.
7.
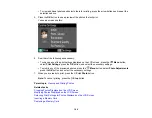
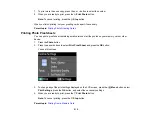
Press the arrow buttons to select the photos you want to print.
8.
Press the
+
or
–
button to select one or more copies of each photo (up to 99).
9.
To select other photos for printing, press the arrow buttons and repeat the selections above, then
press the
OK
button.
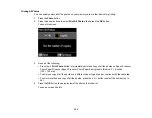
10. To print more than one copy of the photo layout sheet, press the
+
or
–
buttons to select the number
(up to 99), then press the
OK
button.
11. When you are ready to print, press the
Print Photo
button.
Note:
To cancel printing, press the
Stop
button.
Parent topic:
Photo Layout Options
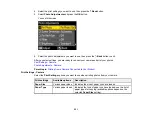
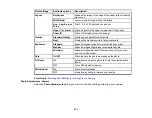
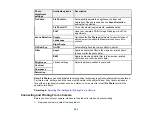
Select the layout you want to use when printing your photos in a layout.
2-up, 4-up, 8-up, or 20-up
Print 2, 4, 8, or 20 photos on one sheet.
Upper ½ or Lower ½
Print one photo in the upper or lower half of the sheet.
Photo ID
Prints 4 ID-sized photos on one sheet.
Picture Package
Prints one photo in multiple sizes on one sheet.
Parent topic:
Printing Photo Greeting Cards
You can create custom greeting cards using photos on your memory card or other device, and add your
own handwritten or printed text.
First you select your photo and print a template on plain paper. Then you fill out the template, add your
message, and print your cards.
Creating and Printing a Greeting Card Template
Printing a Greeting Card From a Template
211
Summary of Contents for WorkForce 545
Page 1: ...WorkForce 545 645 Series User s Guide ...
Page 2: ......
Page 13: ...WorkForce 545 645 Series User s Guide Welcome to the WorkForce 545 645 Series User s Guide 13 ...
Page 29: ...4 Slide the edge guide shown below to your paper size 29 ...
Page 34: ...2 Pull out the paper cassette 3 Slide the edge guides outward 34 ...
Page 39: ...2 Pull out the paper cassette 3 Slide the edge guides outward 39 ...
Page 52: ...Parent topic Placing Originals on the Product Related topics Copying Scanning 52 ...
Page 116: ...3 Adjust the scan area as necessary 116 ...
Page 123: ...123 ...
Page 131: ...3 Adjust the scan area as necessary 131 ...
Page 164: ...You see this window 5 Select Fax Settings for Printer You see this window 164 ...
Page 175: ...5 Select Fax Settings for Printer You see this window 175 ...
Page 249: ...249 ...
Page 254: ...254 ...
Page 290: ...6 Lower the document cover 7 Raise the ADF input tray 8 Carefully remove the jammed paper 290 ...

