7.
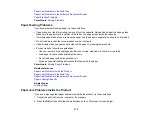
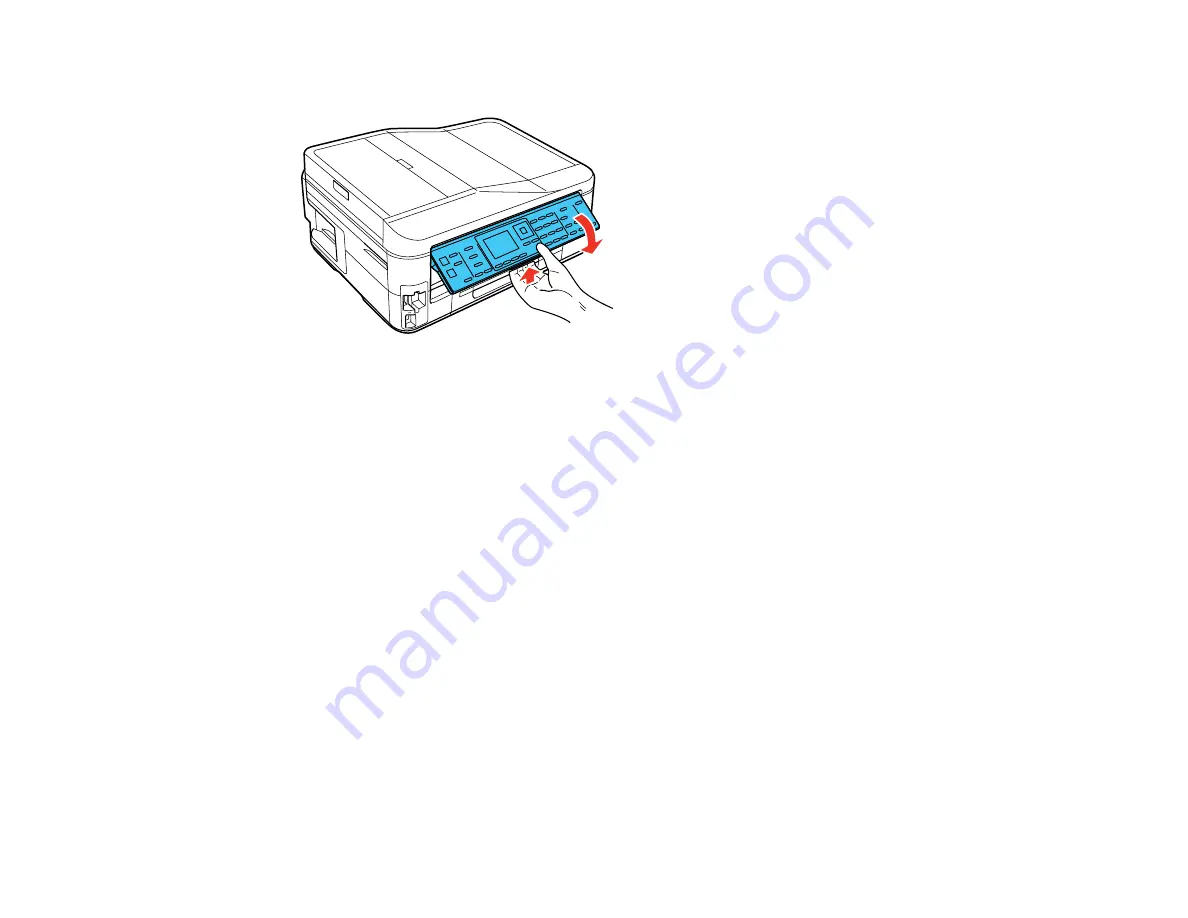
Lower the control panel by squeezing the release bar and gently pushing the panel down.
Caution:
Do not lower the control panel without first squeezing the release bar or you may damage
your product.
8.
Place the product in its original packing materials, if possible, or use equivalent materials with
cushioning around the product.
Keep the product level during transportation. If print quality has declined when you print again, clean and
align the print head.
Parent topic:
Cleaning and Transporting Your Product
Related concepts
Print Head Cleaning
Print Head Alignment
266
Summary of Contents for WorkForce 545
Page 1: ...WorkForce 545 645 Series User s Guide ...
Page 2: ......
Page 13: ...WorkForce 545 645 Series User s Guide Welcome to the WorkForce 545 645 Series User s Guide 13 ...
Page 29: ...4 Slide the edge guide shown below to your paper size 29 ...
Page 34: ...2 Pull out the paper cassette 3 Slide the edge guides outward 34 ...
Page 39: ...2 Pull out the paper cassette 3 Slide the edge guides outward 39 ...
Page 52: ...Parent topic Placing Originals on the Product Related topics Copying Scanning 52 ...
Page 116: ...3 Adjust the scan area as necessary 116 ...
Page 123: ...123 ...
Page 131: ...3 Adjust the scan area as necessary 131 ...
Page 164: ...You see this window 5 Select Fax Settings for Printer You see this window 164 ...
Page 175: ...5 Select Fax Settings for Printer You see this window 175 ...
Page 249: ...249 ...
Page 254: ...254 ...
Page 290: ...6 Lower the document cover 7 Raise the ADF input tray 8 Carefully remove the jammed paper 290 ...

