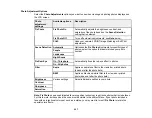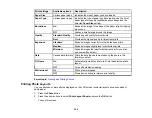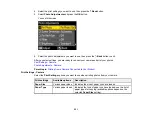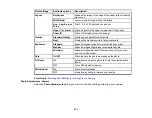
Print settings
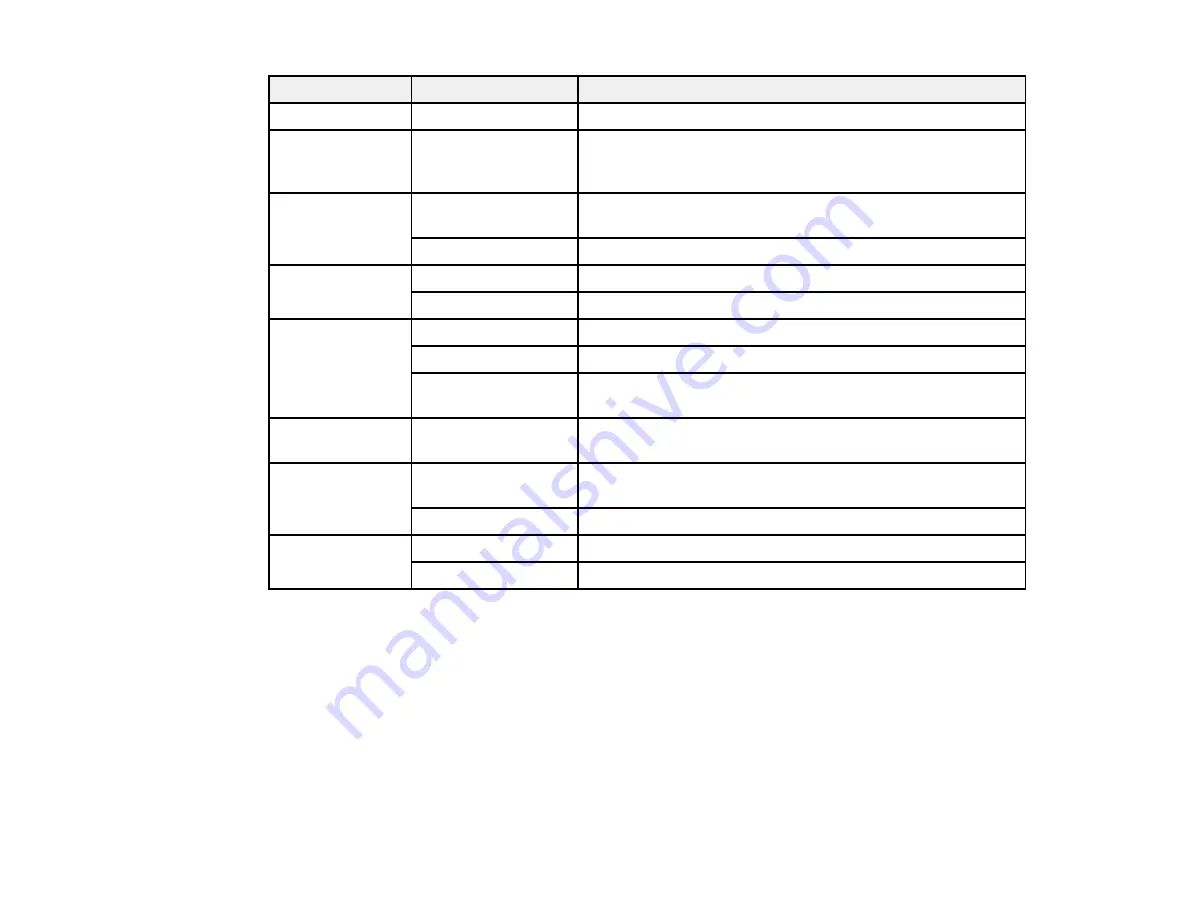
Available options
Description
Paper Size
Various paper sizes
Indicates the size of paper you have loaded
Paper Type
Various paper types
Indicates the type of paper you have loaded; see the list of
paper types for copying (available options depend on the
selected
Paper Size
setting)
Borderless
On
Expands the image to the edge of the paper (slight cropping
may occur)
Off
Leaves a small margin around the image
Quality
Standard Quality
Provides good quality for most prints
Best
Provides the highest quality for important prints
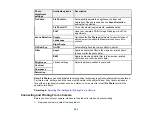
Expansion
Standard
Expands images correctly for most borderless prints
Medium
Expands images slightly less for borderless prints
Minimum
Expands images the least for borderless prints (you may
see some white border)
Date
Various date formats
Prints the date the photo was taken on the photo in the
format you select
Fit Frame
On
Automatically crops the photo to fit into the selected photo
layout
Off
Turns off automatic cropping
Bidirectional
On
Prints at normal speed
Off
Slows down printing to improve print quality
Parent topic:
Printing Photo Layouts
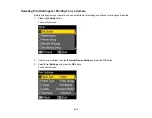
You can print one or more photos displayed on the LCD screen in special layouts on various sizes of
photo paper.
1.
Press the
Photo
button.
2.
Press the arrow buttons to select
Photo Layout Sheet
and press the
OK
button.
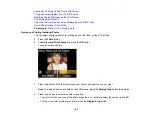
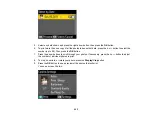
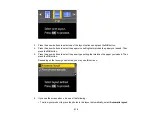
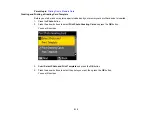
You see this screen:
209
Summary of Contents for WorkForce 545
Page 1: ...WorkForce 545 645 Series User s Guide ...
Page 2: ......
Page 13: ...WorkForce 545 645 Series User s Guide Welcome to the WorkForce 545 645 Series User s Guide 13 ...
Page 29: ...4 Slide the edge guide shown below to your paper size 29 ...
Page 34: ...2 Pull out the paper cassette 3 Slide the edge guides outward 34 ...
Page 39: ...2 Pull out the paper cassette 3 Slide the edge guides outward 39 ...
Page 52: ...Parent topic Placing Originals on the Product Related topics Copying Scanning 52 ...
Page 116: ...3 Adjust the scan area as necessary 116 ...
Page 123: ...123 ...
Page 131: ...3 Adjust the scan area as necessary 131 ...
Page 164: ...You see this window 5 Select Fax Settings for Printer You see this window 164 ...
Page 175: ...5 Select Fax Settings for Printer You see this window 175 ...
Page 249: ...249 ...
Page 254: ...254 ...
Page 290: ...6 Lower the document cover 7 Raise the ADF input tray 8 Carefully remove the jammed paper 290 ...

