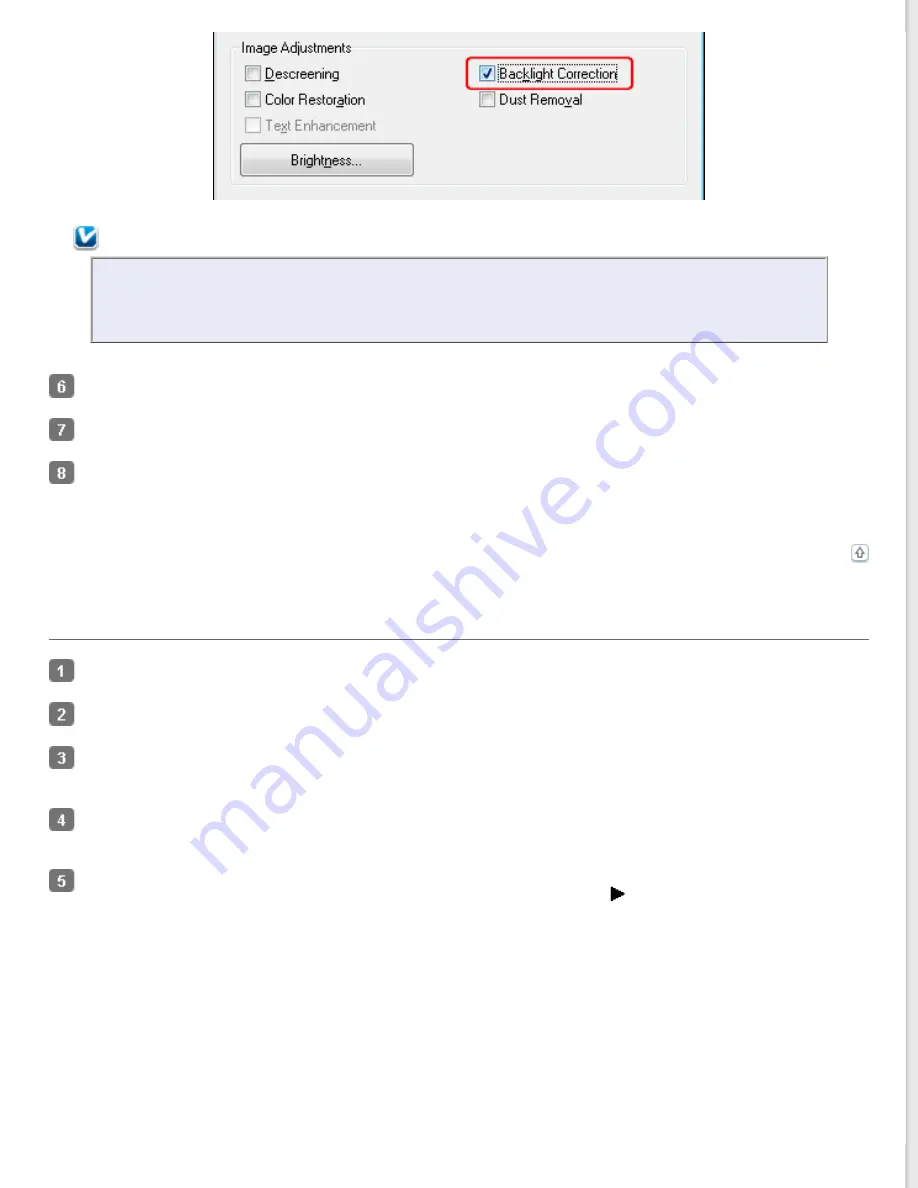
Note:
If you are scanning multiple images at the same time and you want to apply the Backlight Correction
feature to all of your images or scan areas, click
All
in the Preview window before you click the check
box.
Make any other necessary image adjustments. See
Adjusting the Color and Other Image Settings
Size your image(s) as necessary. See
for details.
Click
Scan
.
What happens next depends on how you started Epson Scan. See
for instructions.
Backlight Correction in Professional Mode
Place your original(s) on the document table. See
for instructions.
for instructions.
In the Professional Mode window, select the
Document Type
,
Document Source
,
Auto Exposure Type
,
Image
Type
, and
Resolution
Click
Preview
to preview your image(s), then select your scan area. See
Previewing and Adjusting the Scan Area
for details.
Scroll down to the Adjustments area and click the
Backlight Correction
check box. If you want to increase or
decrease the level of the backlight correction effect, click the
+
(Windows) or
(Mac OS X) button next to the
option and select a setting in the
Level
list.
Summary of Contents for WorkForce GT-1500
Page 13: ...CPD 38256 ...
Page 20: ...a transportation lock lever b DC inlet c USB interface connector ...
Page 65: ...Click OK Epson Scan scans your document Top ...
Page 67: ...Click Settings You see the Scan to PDF Settings window ...
Page 124: ...a underside of ADF b left side of document table ...
Page 131: ...Close the input tray After you have removed the paper close the top cover of the ADF Top ...


