Ink color
Part number
High-capacity
Extra High-capacity
Magenta
126
127
Yellow
126
127
Parent topic:
Purchase Epson Ink Cartridges and Maintenance Box
Removing and Installing Ink Cartridges
Make sure you have your replacement cartridges handy before you begin. You must install new
cartridges immediately after removing the old ones.
Caution:
Leave your old cartridges in the printer until you are ready to replace them to prevent the print
head nozzles from drying out. Do not open ink cartridge packages until you are ready to install the ink.
Cartridges are vacuum packed to maintain reliability.
1.
Turn on your product
• If an ink cartridge is expended, you see a message on the LCD screen. Note which cartridges
need to be replaced, then press
OK
and follow the instructions on the screen.
• If you are replacing a cartridge before you see a message on the LCD screen, press the
home
button, select
Setup
, select
Maintenance
, then select
Ink Cartridge Replacement
.
2.
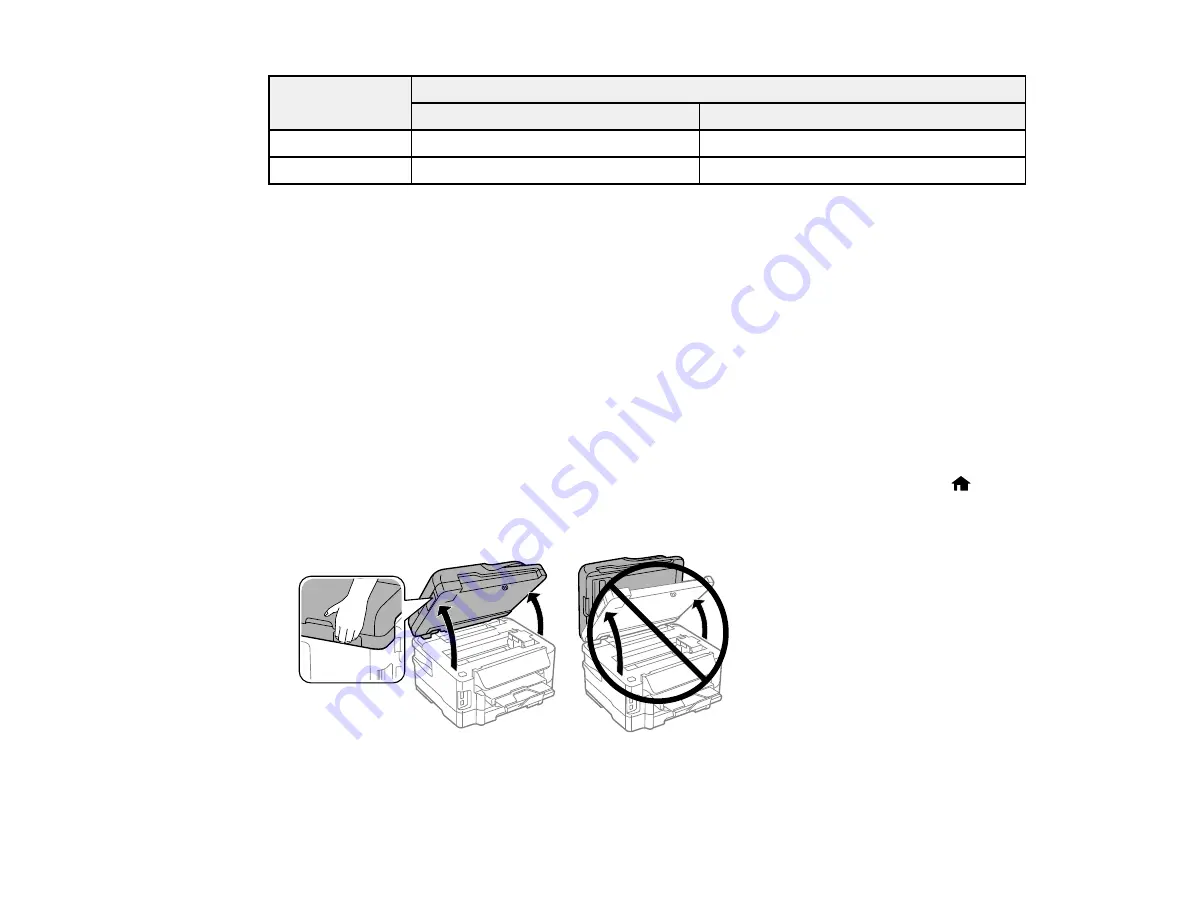
Lift up the scanner unit.
230
Summary of Contents for WorkForce WF-3520
Page 1: ...WF 3520 WF 3530 User s Guide ...
Page 2: ......
Page 13: ...WF 3520 WF 3530 User s Guide Welcome to the WF 3520 WF 3530 User s Guide 13 ...
Page 33: ...4 Slide the edge guide to your paper size 33 ...
Page 37: ...2 Pull out the paper cassette 3 Slide the edge guides outward 37 ...
Page 41: ...1 Close the paper stopper and output tray if necessary 2 Pull out the paper cassette 41 ...
Page 65: ...Parent topic Copying 65 ...
Page 103: ...Parent topic Starting a Scan Related topics Selecting Epson Scan Settings 103 ...
Page 122: ...122 ...
Page 149: ...1 Telephone wall jack 2 DSL filter 3 DSL modem ISDN connection one phone number 149 ...
Page 150: ...1 ISDN wall jack 2 Terminal adapter or ISDN router ISDN connection two phone numbers 150 ...
Page 151: ...1 ISDN wall jack 2 Terminal adapter or ISDN router 151 ...
Page 168: ...3 Select Fax Settings for Printer Select your product if prompted You see this window 168 ...
Page 180: ...4 Select Speed Dial Group Dial List You see this window 180 ...
Page 276: ...3 Carefully remove any jammed paper 4 Remove any jammed paper from the duplexer 276 ...
Page 277: ...5 Open the duplexer 277 ...
Page 278: ...6 Carefully remove any jammed paper stuck inside 7 Reattach the duplexer 278 ...
Page 281: ...6 Carefully remove any jammed pages in the direction shown 281 ...


