5.
Select the name of your wireless network (SSID) or enter the name manually.
Note:
To enter the wireless network name manually, press the arrow buttons to select
Other SSIDs
and press the
OK
button. Use the displayed keypad to enter your network name, as described in the
next step.
6.
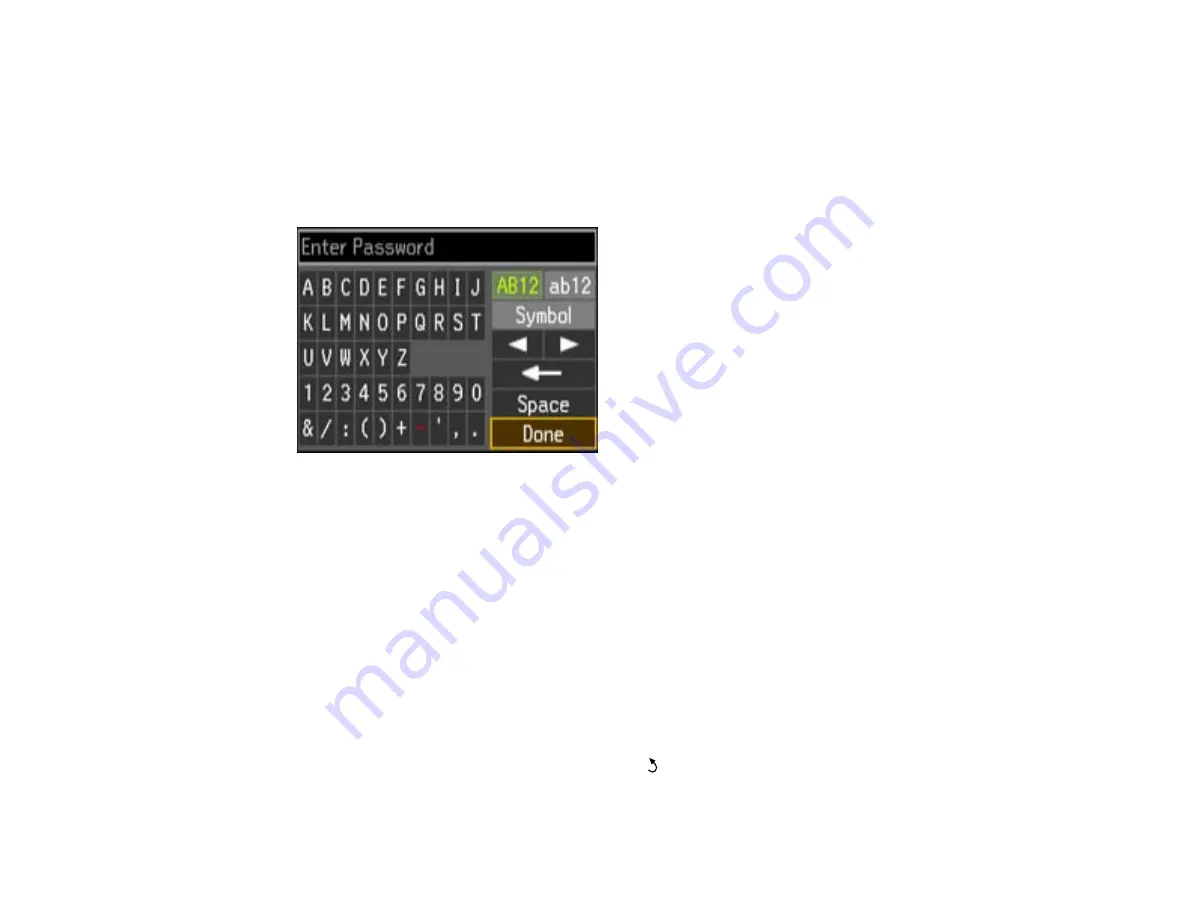
Enter your wireless password (or network name and then password) using the displayed keypad.
Note:
If your password has uppercase (ABC) or lowercase (abc) letters, make sure you enter them
correctly.
• Press the arrow buttons to highlight a character or a function button displayed on the keypad.
Then press the
OK
button to select it.
• To change the case of letters or select symbols, select
AB12
(uppercase),
ab12
(lowercase), or
Symbol
and press the
OK
button. Then highlight an option and press the
OK
button to select it.
• To enter a space, select
Space
and press the
OK
button.
• To delete characters, select the back arrow and press the
OK
button.
• When you finish entering characters, select
Done
and press the
OK
button.
7.
Confirm the displayed network settings and press the
OK
button to save them.
Note:
If you need to change a setting, press the
Back
button.
25
Summary of Contents for WorkForce WF-7510
Page 1: ...WorkForce WF 7510 WF 7520 User s Guide ...
Page 2: ......
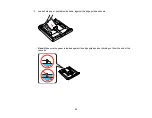
Page 29: ...4 Slide the edge guide shown below to your paper size 29 ...
Page 34: ...3 Slide the edge guides outward 4 Slide the edge guide shown below to your paper size 34 ...
Page 39: ...3 Slide the edge guides outward 4 Slide the edge guide shown below to your envelope size 39 ...
Page 57: ...Related topics Copying Scanning 57 ...
Page 131: ...131 ...
Page 171: ...You see this window 5 Select Fax Settings for Printer You see this window 171 ...
Page 237: ...Related topics Loading Paper 237 ...
Page 256: ...256 ...
Page 261: ...261 ...
Page 287: ...Caution Do not touch the flat white cable inside the printer 4 Lower the scanner unit 287 ...
Page 289: ...7 Open the rear cover and remove any additional jammed paper 289 ...
Page 296: ...5 Remove any jammed paper 296 ...
Page 297: ...6 Lower the document cover and close the ADF cover 7 Carefully remove the jammed paper 297 ...


