Printing
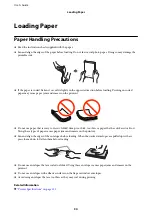
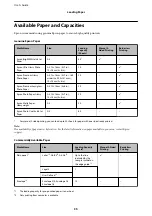
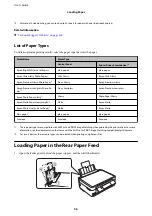
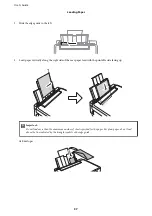
Printing from the Control Panel
Printing Photos by Selecting from a Memory Card
1.
Load paper in the printer.
c
Important:
Make the paper settings on the control panel.
2.
Insert a memory card into the printer.
c
Important:
Do not remove the memory card until you have finished printing.
3.
Enter
Print Photos
from the home screen using the
l
or
r
button, and then press the OK button.
4.
Select a photo using the
l
or
r
button and set the number of copies using the – or + button. When printing
more than one photo, repeat this procedure.
Note:
The following menus, that are displayed by pressing the
d
button, help you select photos easily when you have many
photos on your memory card.
❏
Select Photos
: use the
Select by Date
menu to sort photos by date and select all photos of the same date at the same
time.
❏
Display Options
: use the
Thumbnail
menu to display nine photos on a screen.
5.
Press the
d
button to display the menu, select
Print Settings
using the
u
or
d
button, and then press the OK
button.
Note:
Select
Crop/Zoom
if you want to crop a part of a photo. Use the
u
,
d
,
l
, or
r
button to move the frame to the area
you want to crop, and then press the – or + button to change the size of the frame. Press the
button to rotate the
frame.
6.
Use the
u
or
d
button to select setting items such as the paper size and the paper type, and change the
settings using the
l
or
r
button.
7.
Press the
x
button.
Related Information
&
“Loading Paper in the Rear Paper Feed” on page 36
&
“List of Paper Types” on page 36
User's Guide
Printing
44

