Manual-I: Installation Guide for QX Gateway
Revision 1.2
27
To use Manual NAT Traversal:
1.
Login to the NAT router ahead of QX.
2.
Set up port forwarding on the router to forward SIP and RTP ports to the IP address assigned to the QX.
3.
Login to the QX WEB GUI.
4.
Go to the Telephony
NAT Traversal
General page, select the Force option and click Save to apply
changes.
5.
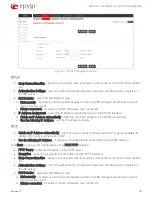
Move to the SIP Parameters page, select the Use Manual NAT Traversal option. Enter the IP address of
NAT router into the Mapped Host field. For Mapped Port, enter the router's corresponding port number.
Configure the manual mappings for TCP and TLS, if needed. Click Save to apply changes.
6.
Move to the RTP parameters page, select the Use Manual NAT Traversal option. Enter the IP address of
NAT router into the Mapped Host field. For Mapped RTP/RTCP Port Range, enter the router's corre-
sponding port range. Click Save to apply changes.
The QX will activate the settings and register the extensions on the SIP Server (e.g. sip.epygi.com) after a few
minutes. You can verify the settings from the Status
System Status
SIP Registration page.
For more information, how to configure and use NAT Traversal, please refer to the
NAT Traversal withy Epygi
QXs
guide.
9 Changing Admin Password
For security reasons, it is recommended that you change the default admin password.
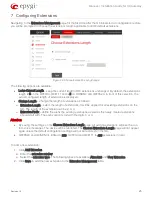
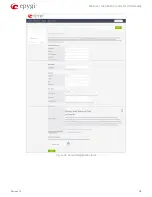
Figure 24: User Rights Management – Users page
To change the GUI Access Password:
1.
Go to the Maintenance
User Rights
Users page.
2.
Click the checkbox next to the admin or localadmin entry in the table and click Change Password.
3.
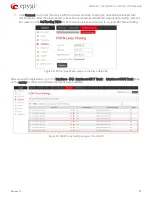
The Change Password page appears for selected user. Select GUI Access Password tab.
Insert the old password (by default – 19)
Insert a new password and then re-enter it to confirm.
4.
Click Save. The password has now been changed.
The Phone Access Password which is required for Administrator Login (
). The Administrator Login is
used to review and modify the Auto Attendant greeting and recurring prompt, as well as the universal extension
messages.


