OPERATOR INSTRUCTION MANUAL
IM_NS12_15_20TI_Rev03_A4
NS12TI, NS15TI, NS20TI
INTEGRAL HYDRAULIC NUT SPLITTER
9
4.3
CUTTING TIP REPLACEMENT
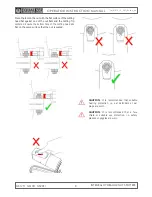
Ensure the correct Cutting Tip is fitted to the tool and
has been checked for damage. Some minor bluntening is
acceptable, but cracked or chipped Cutting Tips should be
replaced.
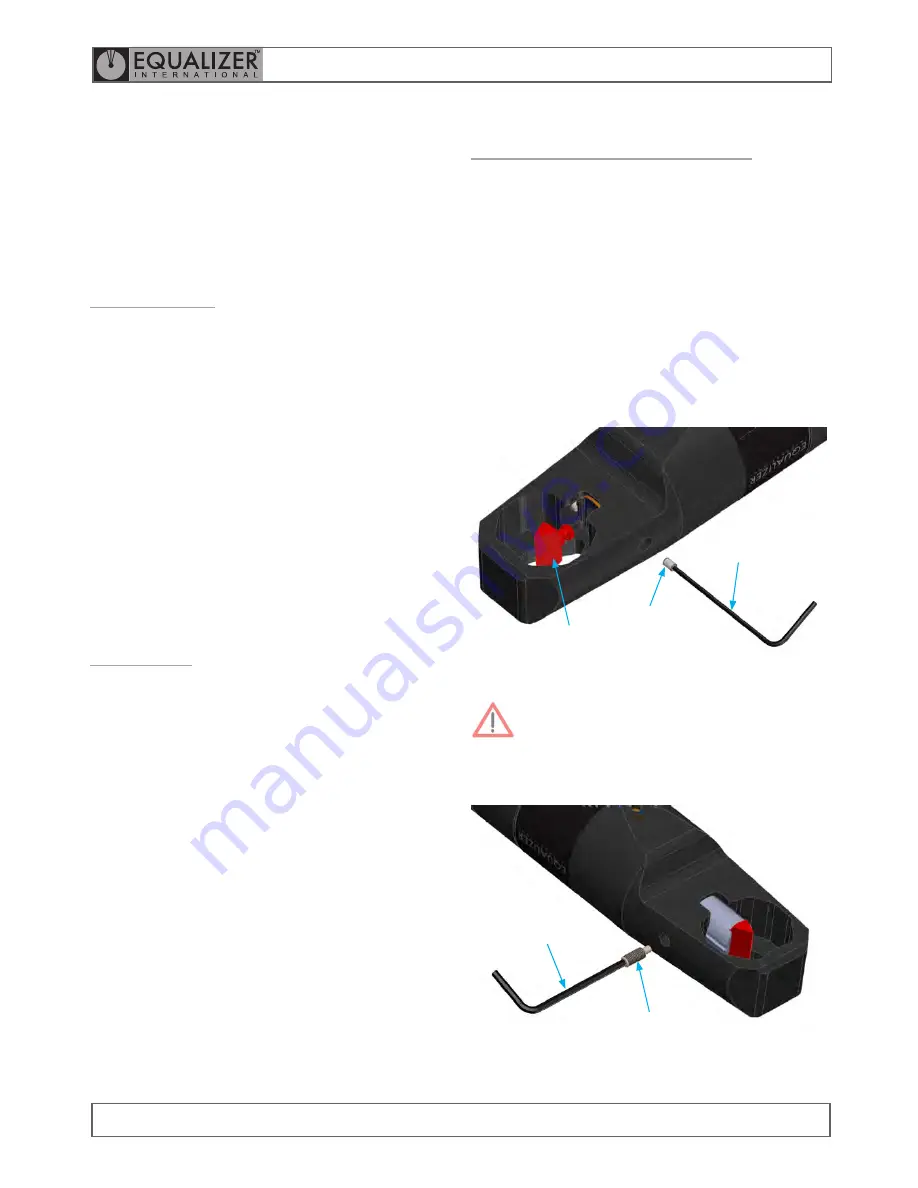
The Cutting Tip is retained in the piston by the tip retention
screw. Unscrew the tip retention screw with a hex-key and
pull the Cutting Tip out to replace. Do not apply excessive
force when inserting the Cutting Tip into the tool. If the
Cutting Tip does not come out easily, slightly extend the
piston to gain better access. When replacing the Cutting
Tip, the tip retention screw and alignment screw should
also be replaced every time.
TIP RETENTION SCREW
SMALLER HEX KEY
CUTTING TIP
CAUTION: Ensure the retention grub screw is
fully inserted in the piston before actuating the
tool.
ALIGNMENT SCREW
LARGER HEX KEY
4.
TOOL MAINTENANCE
4.1
INSPECTION
A thorough inspection should be carried out prior to usage,
storage or transportation to ensure the completeness and
condition of the tool.
Inspection should include:
•
visual inspection of the outer parts of the tool,
checking for obvious damage, degradation or missing
parts
•
visual inspection of the Cutting-Tip (this may require
tool actuation)
Cleaning and servicing should be undertaken as required
prior to the tool being used, stored or transported.
4.2
CLEANING
To lightly clean the tool, wipe gently with a damp cloth.
If more thorough cleaning is required (for example
following immersion in water) carry out the following
cleaning procedure:
•
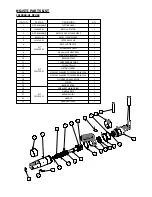
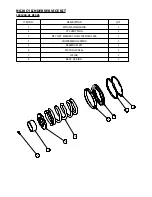
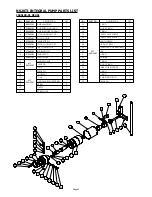
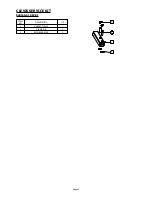
strip the tool down, observing the schematics in
section 8
•
clean the components using detergent, following the
manufacturer’s guidelines
•
rinse the components to remove traces of detergent
•
dry the components thoroughly
Inspect, service and lubricate the tool immediately after
the cleaning process.


