7
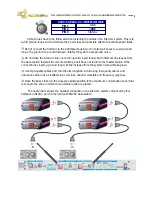
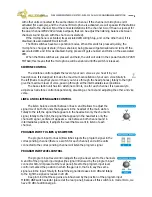
After extracting the fuse holder, the fuse will appear, take out it and change for the new one.
Insert the fuse holder into the mains connector again.
Make sure that the fuse is the right one: 2A slow blow type -
T2A
CAUTION:
Always make sure after changing the fuse, that it is the right one.
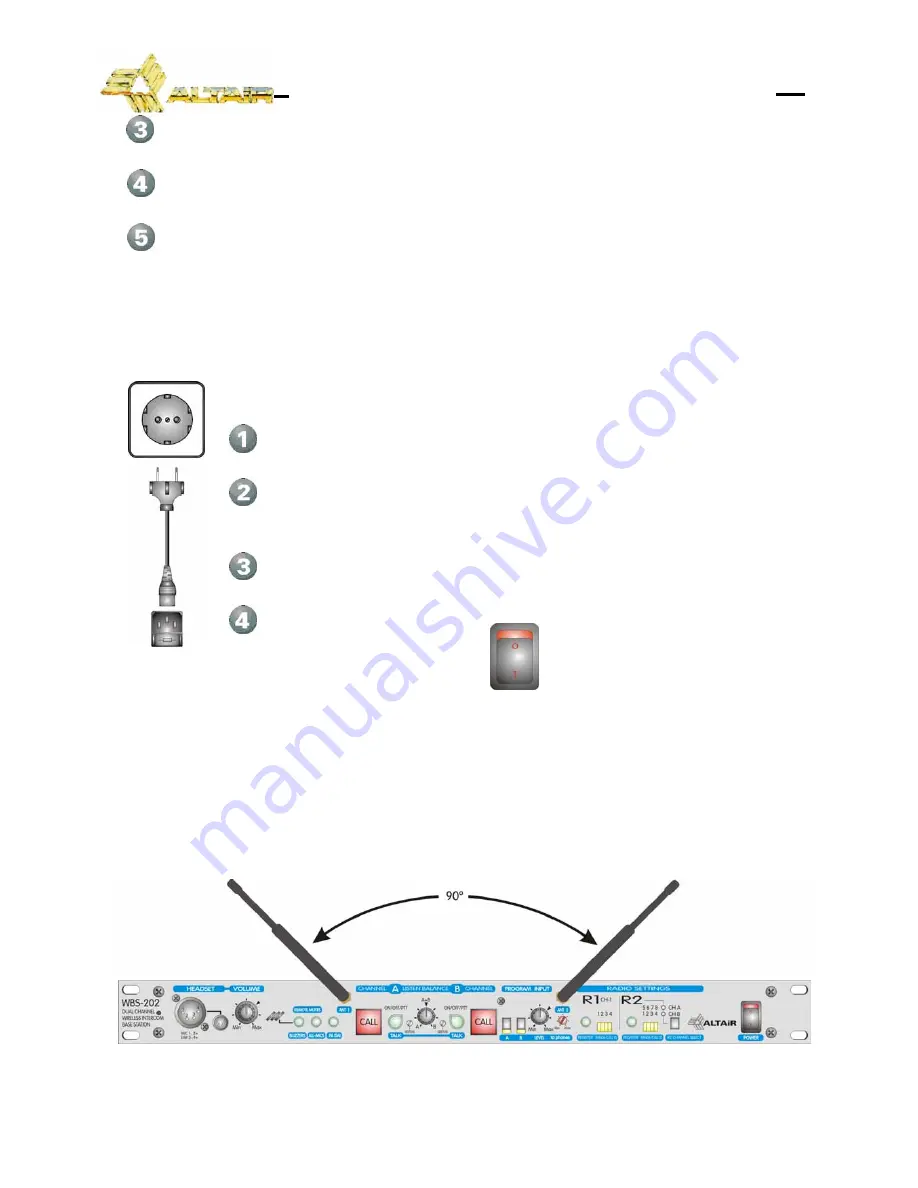
CONNECTING TO THE MAINS
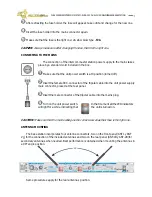
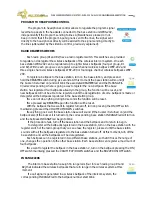
The connection of the intercom master station power supply to the mains takes
place by a standard cord included in the box.
Make sure that the unit power switch is at 0 position (turned off).
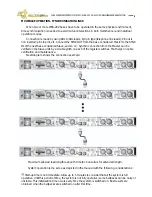
Insert the female I.E.C. connector of the tripolar cable into the unit power supply
male connector, placed at the rear panel.
Insert the male connector of the tripolar cable into the mains plug.
Turn on the unit power switch.
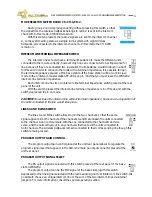
In that moment all the LED indicators
will light for a while, indicating that
the unit is turned on.
CAUTION:
Make sure that the mains voltage is the correct as well as their fuse is the right one.
ANTENNA MOUNTING
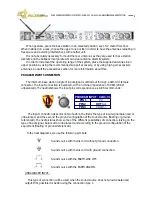
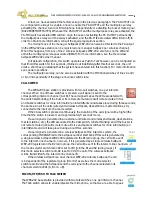
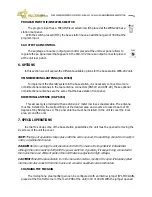
The base station incorporates four antenna connectors, two on the front panel (ANT 1 y ANT
2),), for the connection of the included antennas and two on the rear panel (ANT-1R y ANT-2R) for
secondary antennas when needed. Best performance is obtained when mounting the antennas in
a 90º angle position.
Same procedures apply for the rear antennas position.
WB-200 SERIES INTERCOM SYSTEM — WBS-202 DUAL CHANNEL WIRELESS BASE STATION


