ELite 5, User Manual
Page 125 of 159
Any salt build-up on the inner surface of the shear-valve may cause malfunction during
operation. To avoid this problem, it is recommended to clean the shear valve after every
1200 samples.
1: Open the front cover and secure it with the latch. Locate the
shear valve in the center of the analyzer.
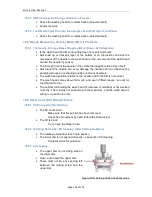
2: Unscrew and remove the “Axis thumb screw” that secures the
shear valve. Clean the “Axis screw” by using water and wipe it dry.
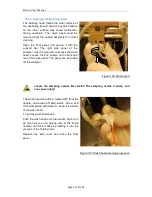
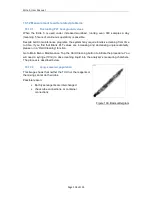
3: Slide off the upper disk of the shear valve. Due to the extremely
smooth surface of the ceramic discs they may stick together. If the
shear valve was not in use for a few days, then apply a few drops of
water to the contact of the upper and lower disks. The salts will
dissolve in a short time and release the upper disk.
Figure 96. Removing the shear
valve axis thumbscrew
WARNING!!
Some of the tubes connected to the shear valve have critical length
and position. Do not pull or move the upper disk of the shear valve,
because some attached tubes can get pulled. Make sure that the thin
tube connecting the shear valve and optical head is not pulled it can
cause serious damage to the laser injector.
After the upper disk is cleaned, the best place to put it is the shear
valve mechanics metal plate cover. This way the tubes won´t be
pulled accidently.
After assembling the shear valve, make sure that the tube between
the shear valve and the needle is horizontal and not bended!
Figure 97. Disassembling the
shear valve
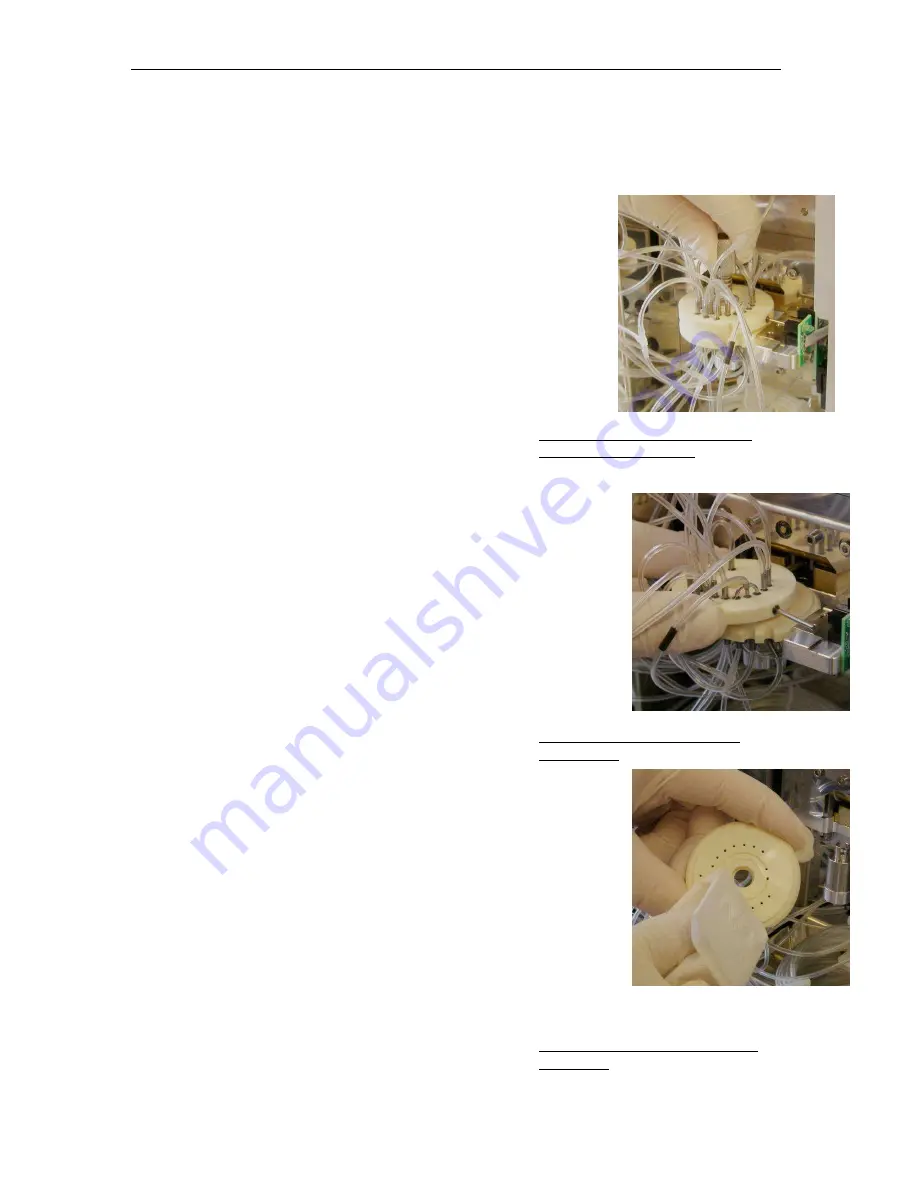
4: Gently clean the mating surfaces of the disks of the shear valve,
the housing of the valve and the tube connections.
5: Remove any salt build-up. Use tweezers to push in the dampened
and the dry cloths. Apply a few drops of water to soften any hardened
deposits.
6: Use a tooth pick to remove any salt crystals from narrow places.
Do not use any sharp metal or hard objects which can scratch the
smooth surfaces of the shear valve.
7: Clean the outside of the shear valve and the housing and mounting
parts of the shear valve. Pay attention to clean the aligning surface.
.
Figure 98. Shear valve cleaning
procedure
Summary of Contents for ELite 5
Page 13: ...ELite 5 User Manual Page 13 of 159 Figure 1 ELite 5 with Autosampler Space Requirements...
Page 27: ...ELite 5 User Manual Page 27 of 159 Figure 9 4DIFF Scatter Diagram...
Page 142: ...ELite 5 User Manual Page 142 of 159 20 3 Printed Report Formats...
Page 143: ...ELite 5 User Manual Page 143 of 159...
Page 153: ...ELite 5 User Manual Page 153 of 159 20 5 Fluidic System...

