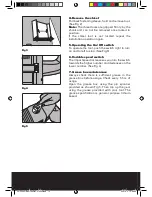
4. Remove the chisel
Pull back fastening sleeve, hold and remove tool.
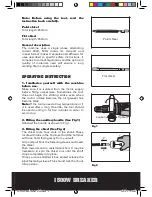
(See Fig 2)
Note:
The chisel tools are gripped firmly by the
shank and can not be removed once locked in
position.
If the chisel tool is not located repeat the
installation operation again.
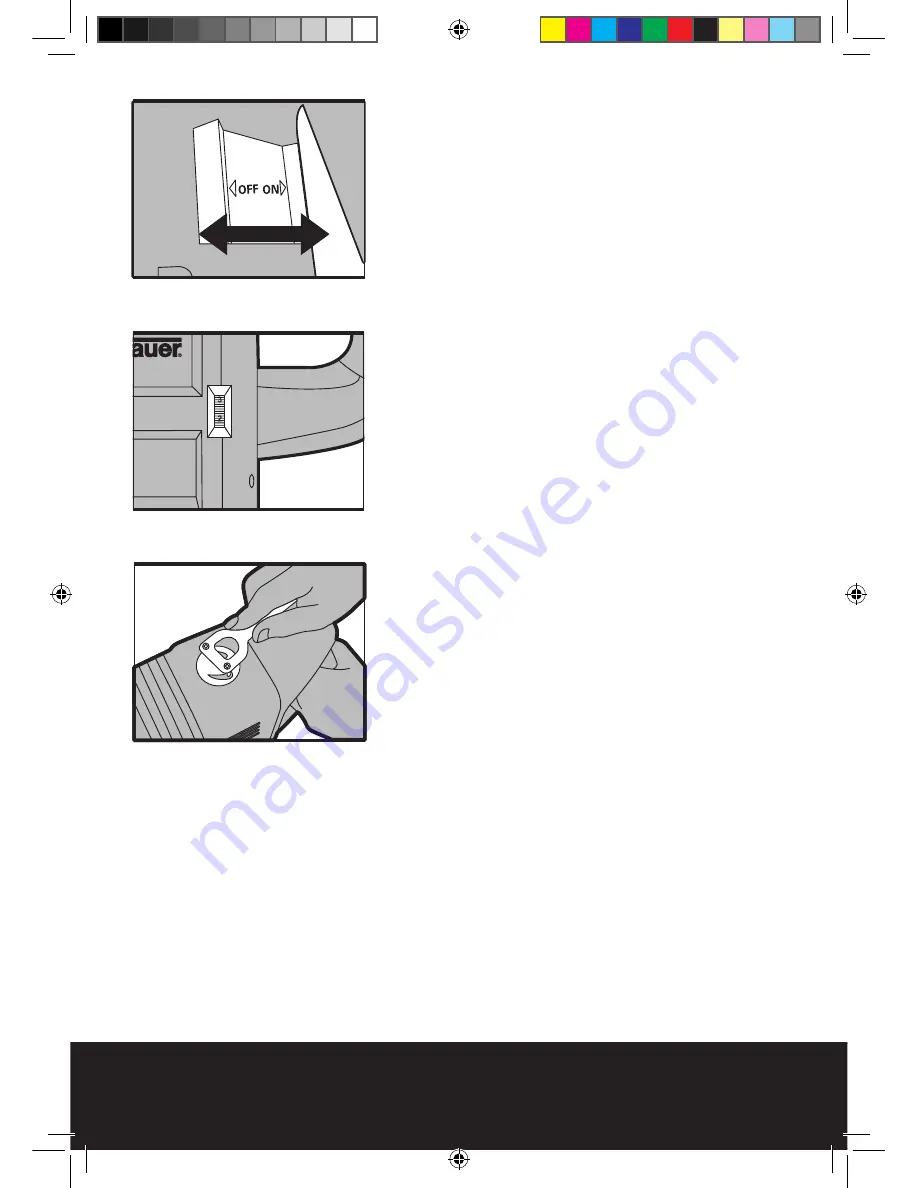
5. Operating the On / Off switch
To operate the tool, push the switch right to turn
on and to left to stop. (See Fig 3)
6. Variable speed switch
The impact speed increases as you turn the switch
towards the higher number and decreases on the
lower number. (See Fig 4)
7. Grease box maintenance
Always check there is sufficient grease in the
grease box before usage. Check every 5 hrs of
usage.
Open the grease box using the pin spanner
provided as shown Fig 5. Then top up the gear
using the grease provided with your tool. The
grease specification is general purpose lithium
based.
Fig 5
Fig 4
Fig 3
PDH140D EBR140D-M-070303.indd 10
2007-3-2 15:39:03
Summary of Contents for ERB140D
Page 1: ...1500W BREAKER WARRANTY YEARS ERB140D PDH140D EBR140D M 070303 indd 1 2007 3 2 15 39 01...
Page 2: ...PDH140D EBR140D M 070303 indd 2 2007 3 2 15 39 01...
Page 15: ...1500W BREAKER PDH140D EBR140D M 070303 indd 15 2007 3 2 15 39 04...
Page 16: ...PDH140D EBR140D M 070303 indd 16 2007 3 2 15 39 04...

