PAINT BORER 518 USB
24
BAE 518 USB
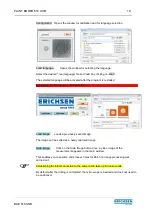
5.3 Carrying out the measurement (via software)
After drilling the sample, move the
PAINT BORER
's slide all the way to the right (so that
microscope is above the drilled hole). Use the additional lighting if needed.
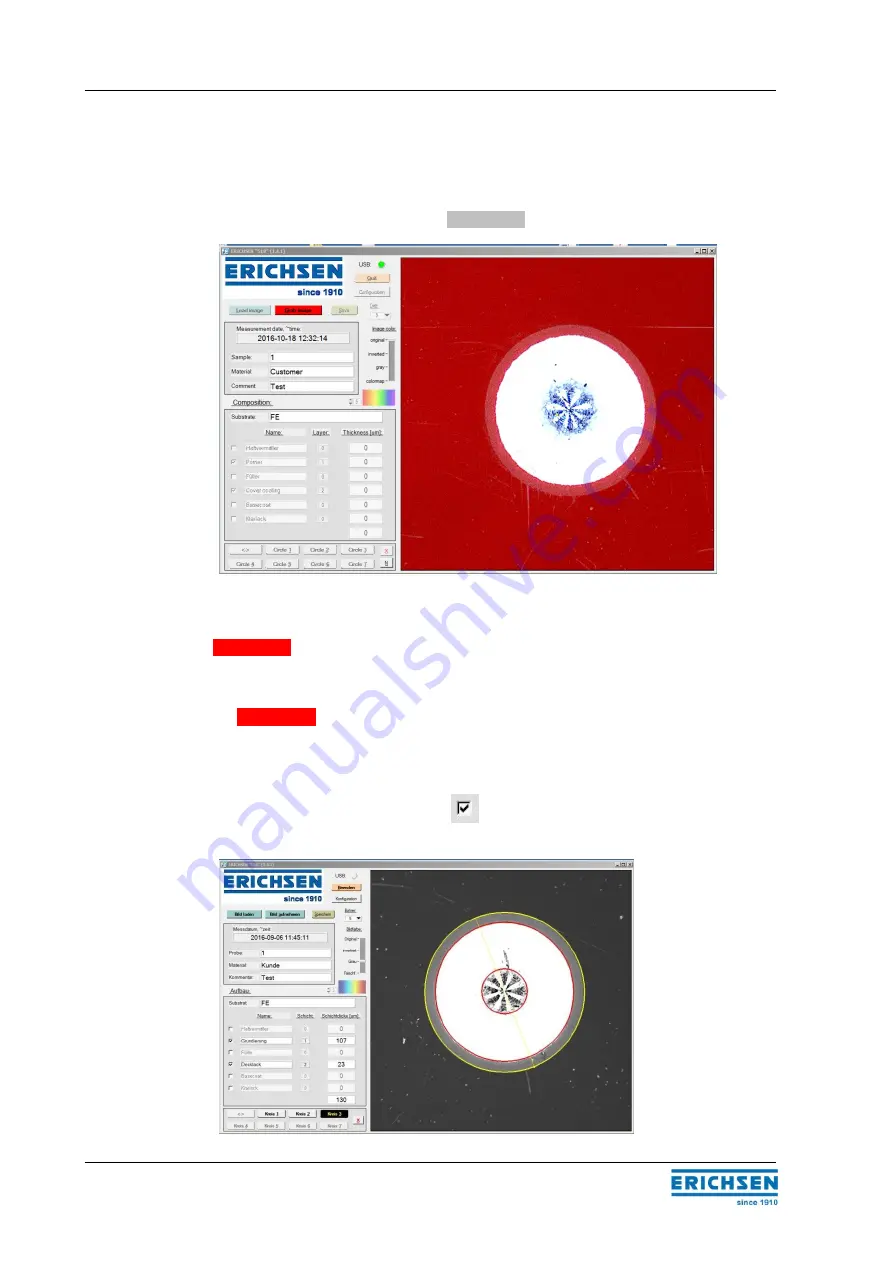
Open the program and click on the Grab image button.
5.3.1 Grab image
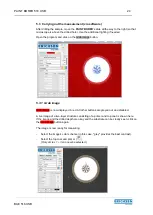
Grab image is now displayed in red. All other buttons are greyed out and disabled.
A live image of a two-layer structure consisting of a primer and top coat is shown here.
If the image and the drilled depth are okay and the substrate can be clearly seen, click on
the Grab image button again.
The image is now ready for measuring.
-
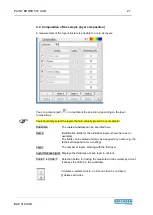
Select the image's color scheme (in this case, "grey" provides the best contrast).
-
Select the top coat and primer (
).
(Only circles 1
– 3 can now be selected.)


