Use and maintenance manual
Automatic die cutter
Model: DC-200
____________________________________________________________________________________________________________________
P a g . 1 7
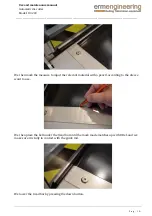
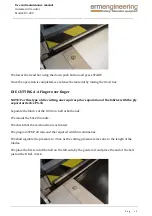
We then place the belt under the holding bar until the mark made aligns with 0 Ref. and make
sure that it is fully in contact with the guide rail.
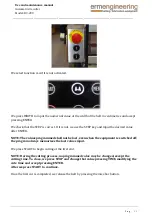
We lower the tread bar using the down push button.
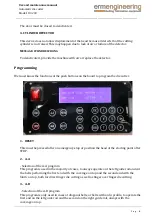
Using the + / - buttons, we adjust the belt width in centimetres and press OK.
We check that the STEP is correct and, if that is not the case, using the MENU key, we jump to the
field STEP and input the desired value with + / - and then OK.
We press START to start cutting at the first end.
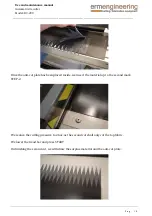
Once the first cut has been performed, we observe that the head shall be positioned at point 0 of
the end opposite the control board. On reaching that point, we release the belt by pressing the
bar up button.
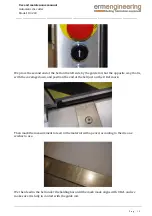
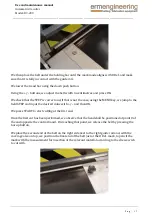
We place the second end of the belt on the right side next to the right guide rail and, with the
coverage also on top, we position the final end of the belt just at the O Ref. mark, to pencil the
mark with the measurement for insertion of the relevant material according to the die we wish
to cut with.

