Use and maintenance manual
Automatic die cutter
Model: DC-200
____________________________________________________________________________________________________________________
P a g . 9
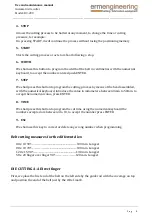
4-
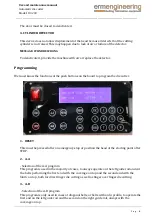
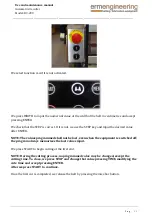
STOP
Allows the cutting process to be halted at any moment, to change the time or cutting
pressure, for example.
On pressing START, it will continue the process without losing the positioning memory
5-
START
Starts the cutting process or acts to reboot following a stop.
6-
WIDTH
We shall use this button to program the width of the belt in centimetres with the numerical
keyboard, to accept the number entered push ENTER.
7-
STEP
We shall press this button to program the cutting process by means of the head assembled,
with the numerical keyboard, introduce the value in milometers, between 3mm to 50mm, to
accept the numerical value, press ENTER
8-
TIME
We shall press this button to program the cut time using the numerical keyboard the
numbers accepted are between 3 to 10, to accept the number press ENTER
9-
ESC
We shall use this key to correct or delete any wrong number when programming
Belt cutting measures for the different dies:
80 x 10 90º…………………
.......................................
……100 mm. Long
est
80 x 10 70º……………………
.......................................
…100 mm. Longe
st
120 x 15 90º…………………
....................................
……130 mm. Longe
st
50 x 20 finger over finger
90º………………………120 mm. Longe
st
DIE CUTTING A-A Direct finger
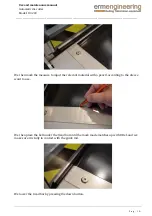
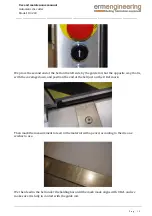
First, we place the first end of the belt on the left side by the guide rail with the coverage on top
and position the end of the belt just by the O Ref. mark.


