20
Auger Removal and Installation (continued)
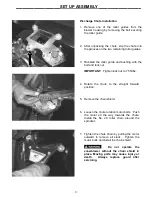
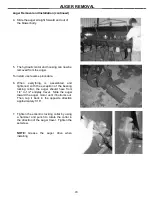
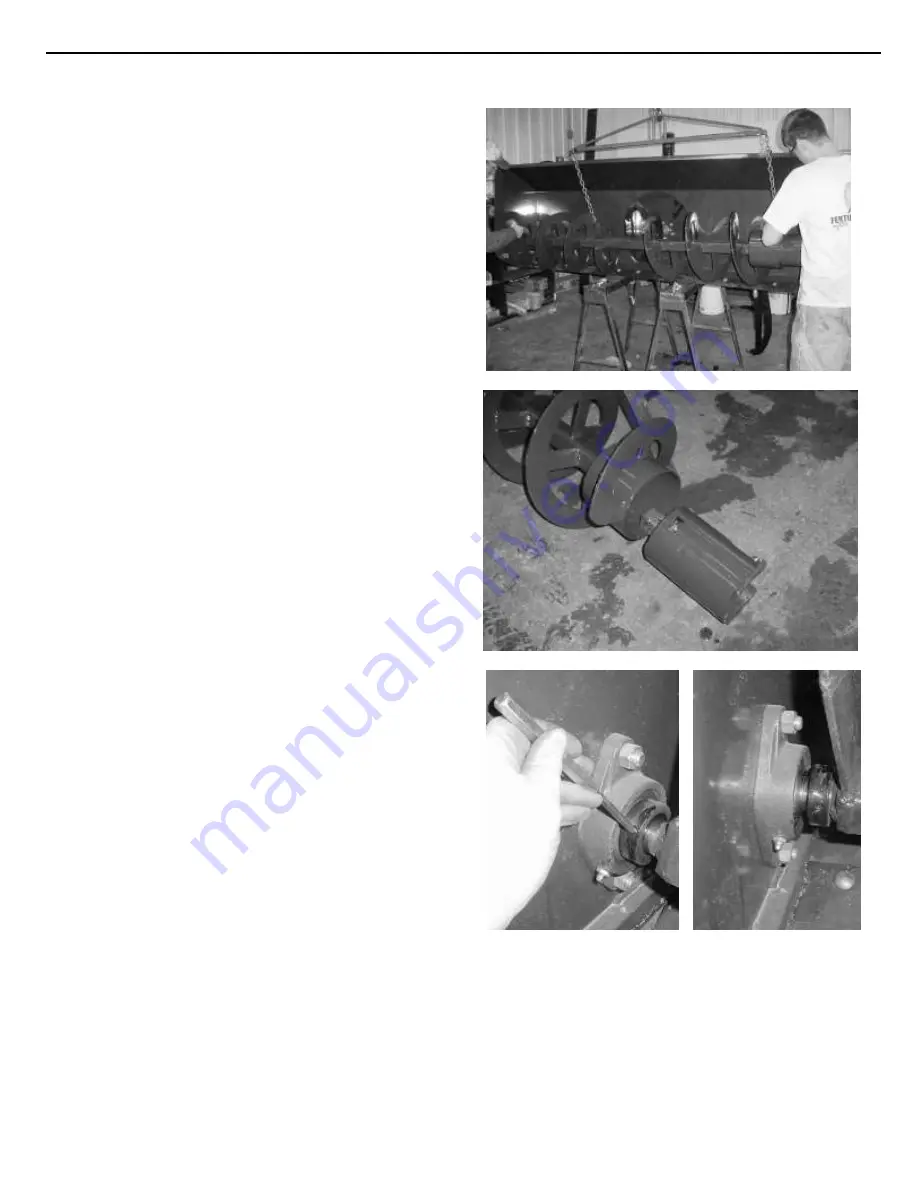
4. Slide the auger straight forward and out of
the blower body.
5. The hydraulic motor and housing can now be
removed from the auger.
To install, use reverse procedure.
6. When
everything
is
assembled
and
tightened, with the exception of the bearing
locking collar, the auger should have from
1/4” to 1/2” endplay travel. Slide the auger
toward the auger motor until it bottoms out.
Then, tap it back in the opposite direction
approximately 1/16”.
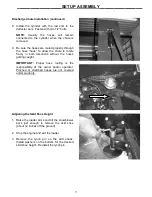
7. Tighten the eccentric locking collar by using
a hammer and punch to rotate the collar in
the direction of the auger travel. Tighten the
setscrew.
NOTE:
Grease the auger drive when
installing.
___________________ AUGER REMOVAL ____________________
Summary of Contents for 2020 Series
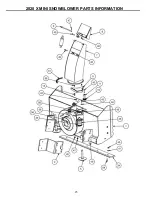
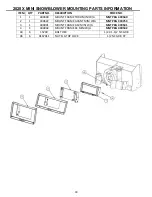
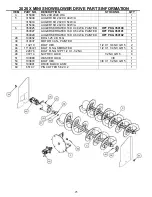
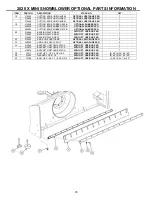
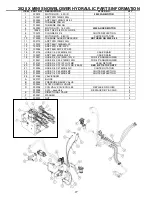
Page 23: ...23 2020 X MINI SNOWBLOWER PARTS INFORMATION ...
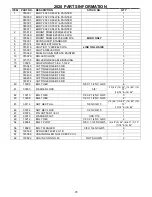
Page 29: ...29 2020 PARTS INFORMATION_______________ ...
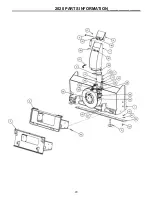
Page 31: ...31 2420 2420XL PARTS INFORMATION ...
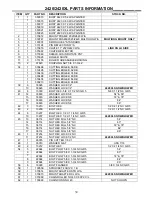
Page 36: ...36 HYDRAULIC PARTS INFORMATION ...
Page 44: ...44 P N 350099 Date Printed 11 26 2018 Erskine Attachments LLC Printed in U S A ...

