15
SET UP ASSEMBLY OF THE GENERIC CONTROL HANDLE HARNESS
NOTE:
If the loader is equipped with an
Attachment Control package, the appropriate
harness should be installed from the factory.
Mounting the generic control handle wire harness
will vary from loader to loader. Use these
instructions as a general guide. You may need to
drill holes to mount pieces of this harness.
Mounting hardware is not included.
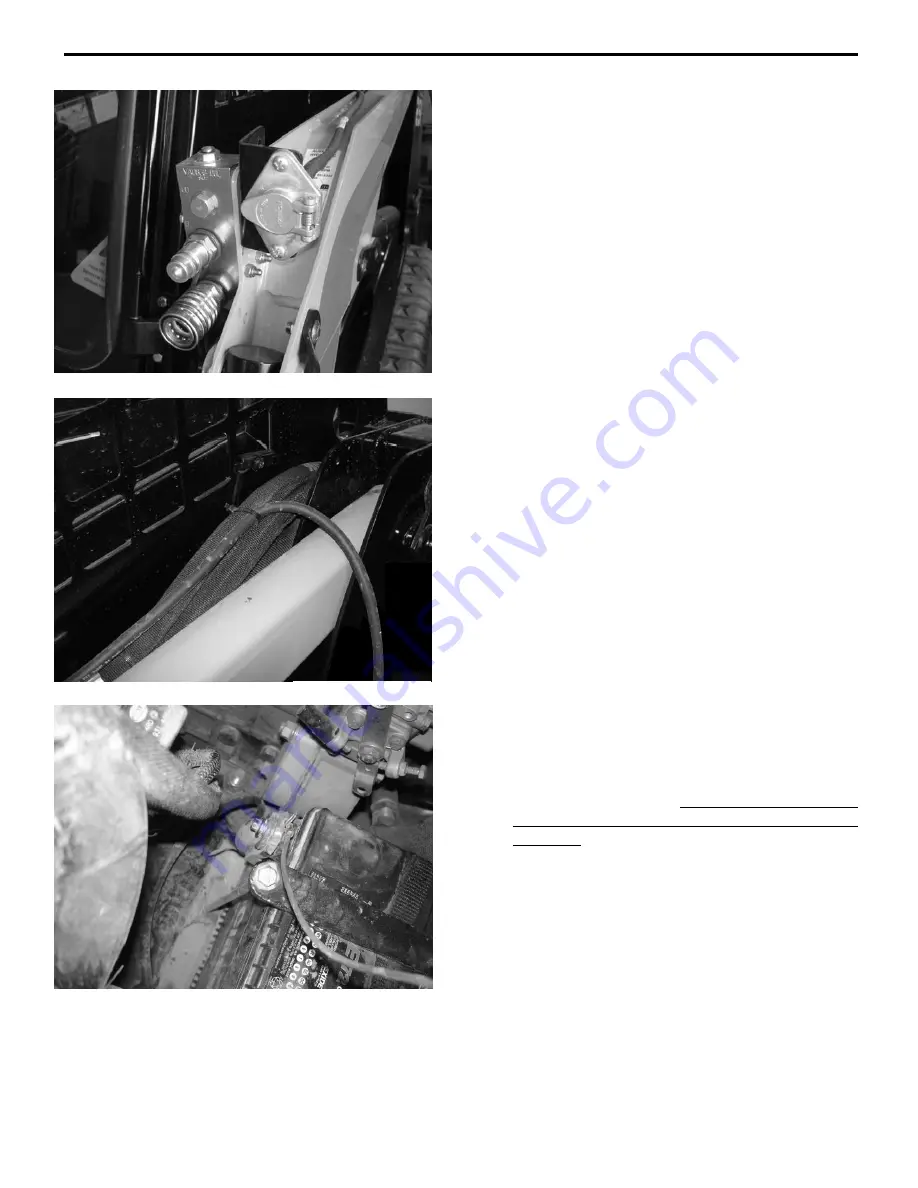
1. Mount the wire harness receptacle to the
loader arm near the hydraulic quick couplers.
2. Route the wire harness back along the loader
arms and fasten with cable ties.
3. Open the rear door to access the battery
compartment. Pull the excess wire into the
engine compartment. Secure it with plastic tie-
wraps.
4. Connect the red fused wire to the positive (+)
battery terminal or to a suitable accessory wire
with a minimum rating of 5 amps.
5. Connect the black wire to the negative (-)
battery terminal or to a frame ground.
6. Connect the control handle connector to the
main harness connector.
7. Mount the control handle in a convenient
location near the operator’s station.
NOTE:
Secure the wiring harness in place
with plastic cable ties, making sure it is clear of
extra hot areas or any moving parts on the
engine or loader. Pinched, stretched, or
melted wiring harnesses are not covered under
warranty.
8. Close the rear door.
NOTE:
Be sure the harness is properly
positioned to prevent pinching when closing
the door.


