© ESAB AB 2011
- 16 -
bp16ea
6
MAINTENANCE
Regular maintenance is important for safe, reliable operation.
Only those persons who have appropriate electrical knowledge (authorized
personnel) may remove the safety plates.
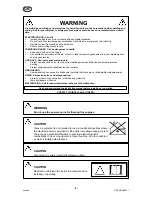
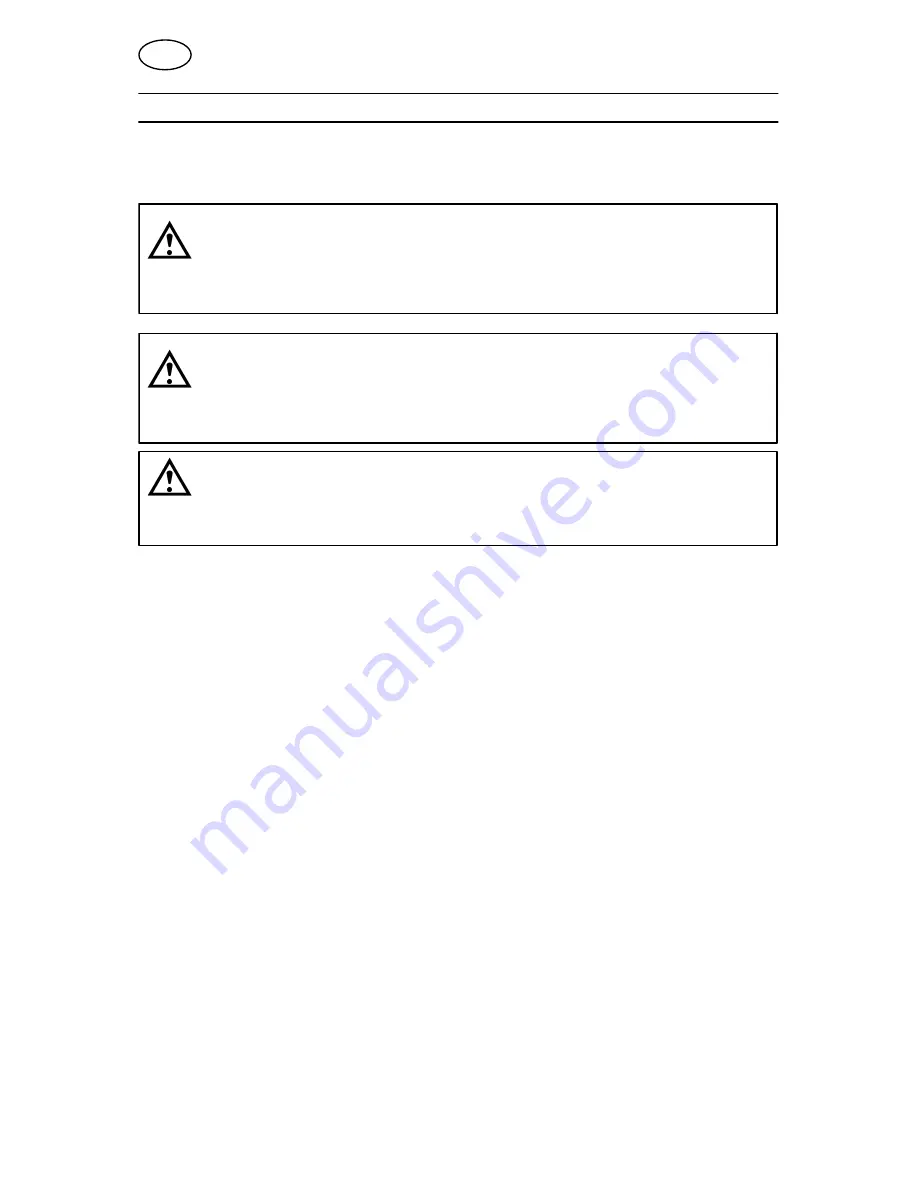
WARNING
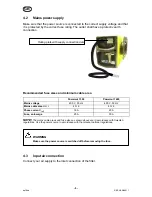
Ensure that the mains voltage supply to the machine has been disconnected
externally. Switch off the switch at the wall socket before inspecting or working in
the power source.
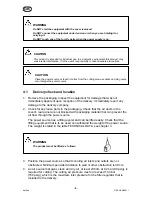
WARNING
Water or oil can collect in the compressed air lines. Always direct the first stream of
air away from the equipment, to prevent damage.
CAUTION
All guarantee undertakings from the supplier cease to apply if the customer attempts any
work to rectify any faults in the product during the guarantee period.
If the equipment does not work correctly, stop work immediately and determine the
cause of the problem. Maintenance work may only be carried out by persons with
the applicable knowledge. Electrical work may only be carried out by authorised
electricians. Never allow persons other than those with the applicable knowledge to
check, clean or repair the equipment. Only use recommended spare parts.
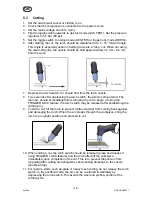
6.1
Inspection and cleaning
The following points on the power source should be checked and/or cleaned
regularly.
1.
Check the return cable connection to the work piece.
2.
Check that the protective earth from the work piece is securely connected to the
power source chassis earth.
3.
Check the torch heat shield. Replace it if it is damaged.
4.
Check the electrode and the nozzle for wear daily. Remove any splash, replace
the electrode and nozzle as necessary. If the electrode has a pit which is more
than 1.5 mm deep at its center, it must be replaced. If the electrode is used
beyond this recommended wear limit, damage to the torch and power source
may occur. Nozzle life is also greatly reduced when using the electrode below
the recommended limit.
5.
Check that the cables or hoses are not damaged or bent.
6.
Check that all plugs and connections and ground terminals are firmly connected.
7.
Ensure that all incoming power supplies are disconnected. Use goggles and face
mask and blow clean the power source internally using dry compressed air at
low pressure .
8.
Regularly drain any water from the filter below the air regulators.
GB


