8. Calibration Procedure
Warning:
Procedure to be carried out strictly by technical persons.
M
Follow instructions given in this manual.
The instrument is calibrated at the factory using accurate calibrating
equipment traceable to international standards. No recalibration should
be required in normal course, however if the instrument requires
recalibration, follow the procedure given below:
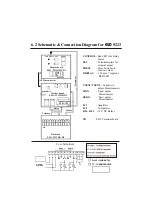
i. Remove the cover of the instrument, by removing the fixing
screws on the back side of the instrument.
ii.
Switch on the supply and allow 5 min. to achieve thermal stability.
iii. For uniform error distribution calibration points should be at 20%
of Full Scale (FS) for ZERO calibration and at 80% of FS for SPAN
o
calibration. i.e. If the range is 0 to 1000 C, the ZERO calibration
o
should be done at 200 C (20% of FS) and SPAN calibration should be
o
done at 800 C (80% of FS).Depending on the type of input proceed as
follows :
8.1) Thermocouple input
1.
Remove the thermocouple from its terminals and connect a stable
mV source in its place with proper polarity.
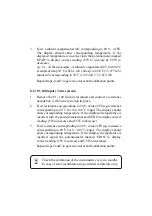
2. Feed ambient compensated mV corresponding to 20 % of FS.
The display should show corresponding temperature. If the
displayed temperature is incorrect turn the potentiometer marked
'ZERO' to display correct reading (CW to increase & CCW to
decrease).
o
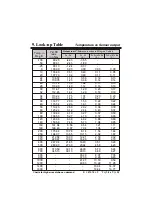
eg.: Cr-Al thermocouple - Ambient compensated mV for 200 C
o
o
at ambient temp 30 C will be mV corresponding to 200 C
o
(8.137mV) minus mV corresp to 30 C (1.203 mV) = 6.934 mV

