ESI
Juli@ XTe
23
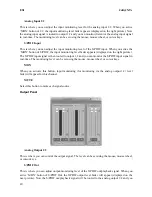
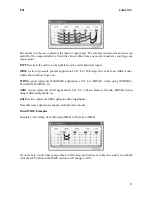
The number on the row represents the input or output port. The columns represent ins and outs (on
and off) of the respected drivers. Patch the virtual cables from one point to another as you drag your
mouse point.
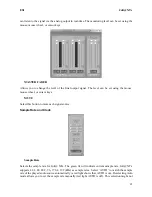
INPUT
section: It's used to route signals from the card's hardware inputs.
MME
section represents general application's I/O: Ex.) WinAmp, WaveLab (non ASIO mode),
Cakewalk, Audition, Vegas, etc.
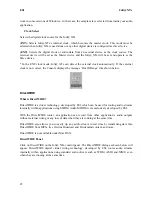
WDM
section represents Multi-MME application’s I/O: Ex.) SONAR (when using WDM/KS),
PowerDVD, WinDVD, etc.
ASIO
section represents ASIO application’s I/O: Ex.) Cubase, Reason, Nuendo, SONAR (when
using ASIO), Samplitude, etc.
GSIF
section represents GSIF application like GigaStudio.
Note that some applications support multiple driver modes.
DirectWIRE Examples
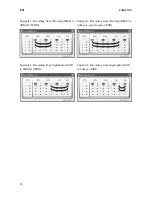
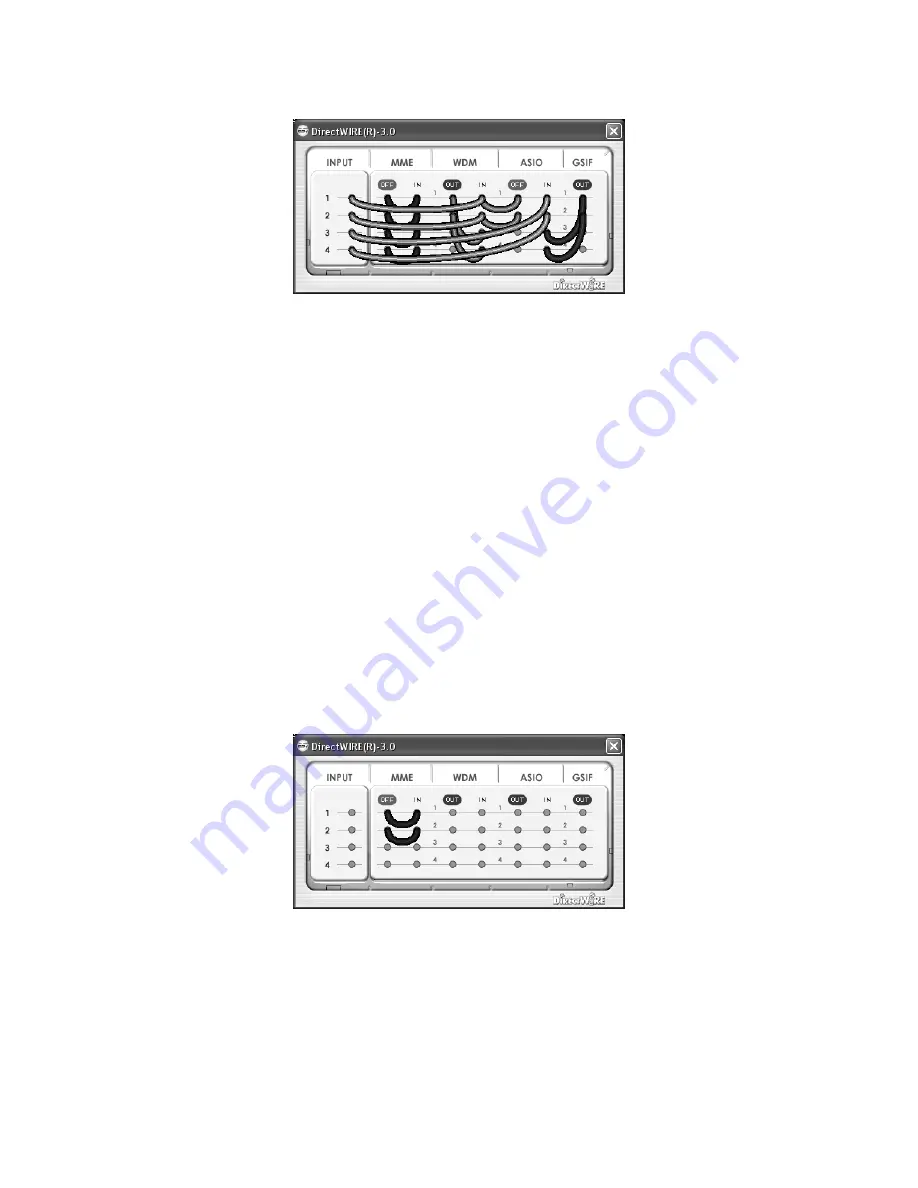
Example 1. Recording from WinAmp (MME) to WaveLab (MME).
If you want to record what's played back in WinAmp, but don't want to hear the sound, you should
click the
OUT
button in the MME section so it'll change to
OFF
.


