19
EN
G
LIS
H
3
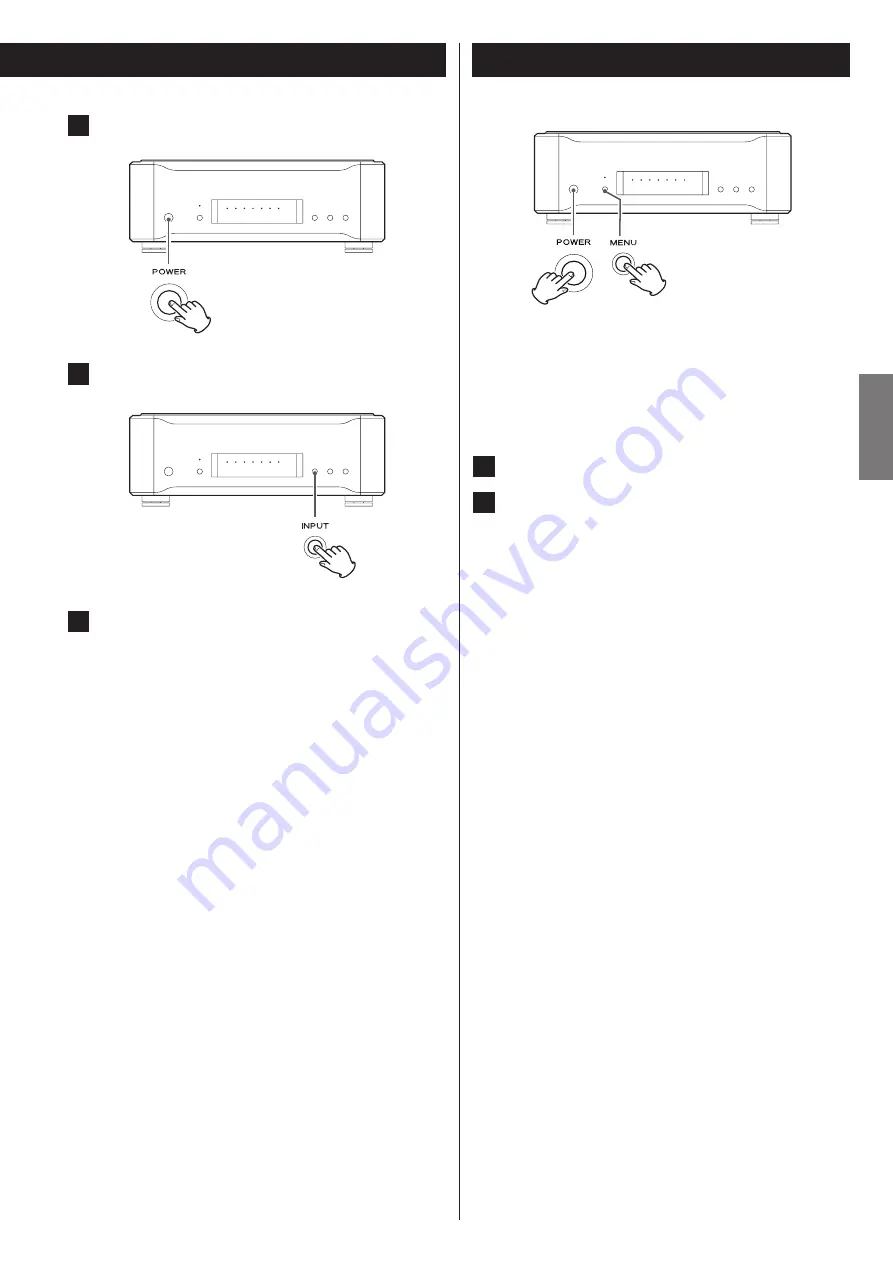
Press the POWER button to turn the unit power ON.
4
Press the INPUT button repeatedly to select “USB”.
5
Start playback of the music file on the computer.
Even better sound quality can be achieved by setting the
volume on the computer to maximum and using the amplifier
connected to this unit to adjust the volume. Set the volume
of the amplifier to the minimum at the beginning of playback
and gradually raise the level. When playing back PC audio it
is recommended to turn off PC virus scan, auto update, auto
defrag, spyware software, etc. In short, turn off as many resident
programs as you can to eliminate the potential for audio drop
out caused by a lack of PC operating memory.
<
The computer and this unit cannot be used to control each other.
<
This unit cannot transmit music files to the computer by USB.
<
When playing back a music file using the USB connection, do not
attempt any of the following operations. Doing so could cause
the computer to behave irregularly. Always stop music playback
software on your computer before doing any of the following:
Disconnecting the USB cable
Turning the unit’s power OFF
Changing the input source
<
When playing back a music file using the USB connection,
computer operation sounds will also be played through this unit.
To avoid this, make appropriate settings on the computer.
<
If you connect this unit with a computer or you set this unit’s input
to "USB" after starting music playback software, music files might
not play back properly. If this occurs, restart the music playback
software or reboot the computer.
If you have made changes through the setup process, and want to
restart from the default factory settings, you can restore the unit to
them in the following way:
1
Turn the unit off and wait 30 seconds or longer.
2
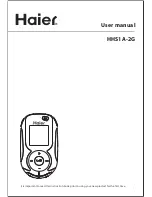
Press the POWER button while holding down the MENU
button.
Release the MENU button when "Setup CLR" appears on the
display. All setting changes are now reset, returning the unit to
the factory settings.
Restoring Factory Default Settings


