16
V.1.0
V.1.0
17
6
V.1.0
V.1.0
7
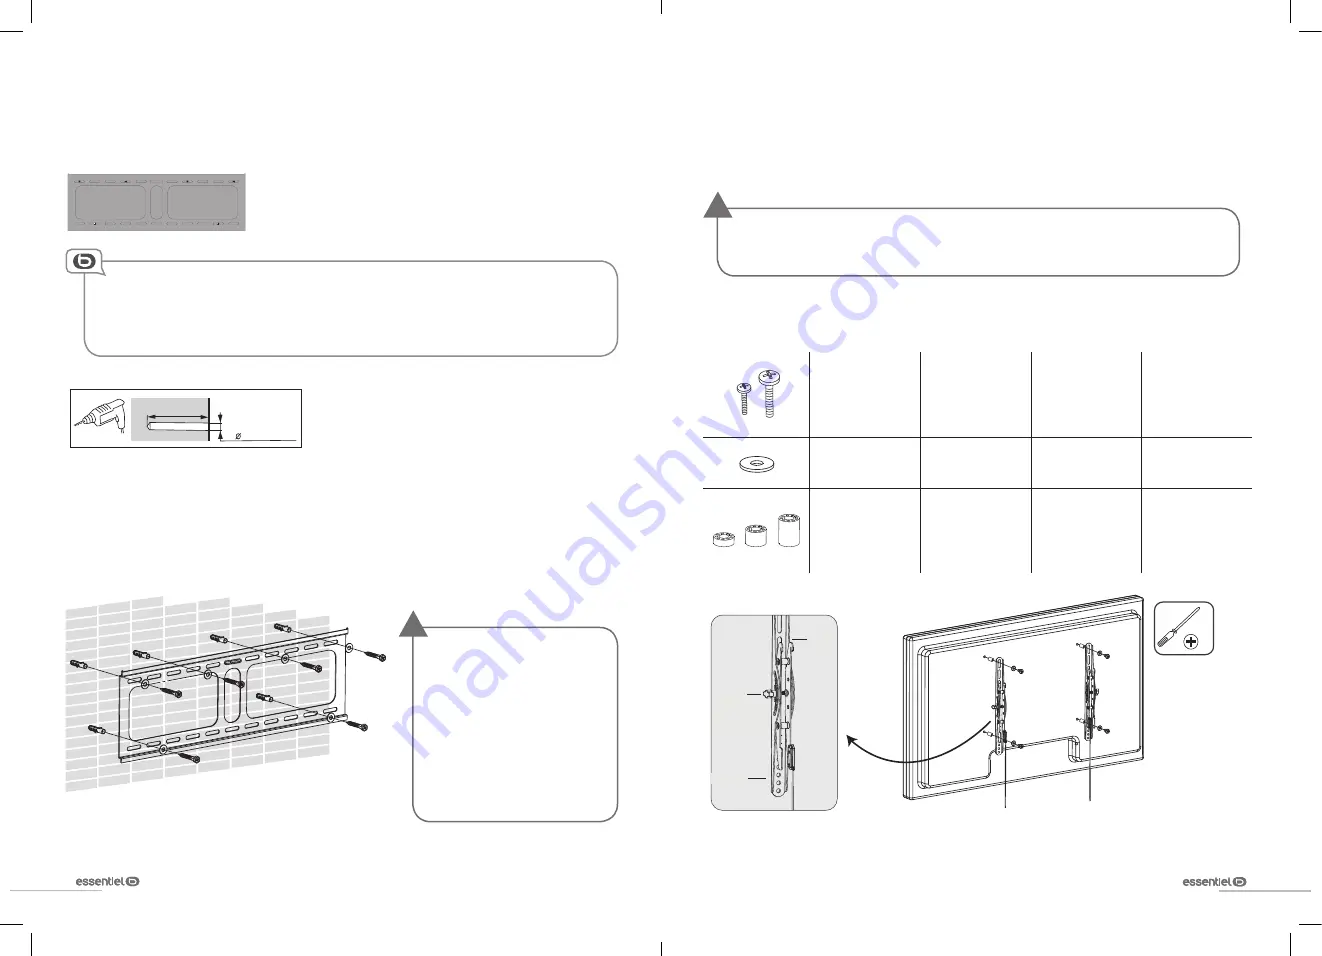
installation of wall plate
installation of wall plate
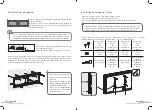
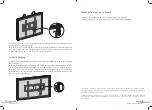
Begin by positioning the drilling template against the wall using the
spirit level to keep it straight.
Use adhesive or drawing pins to hold the template against the wall
while you drill six holes which will be used to attach the bracket.
The screw fixings supplied with this wall bracket are intended exclusively for fixing to a wall
made up of solid bricks or concrete.
For installation on any other medium, please contact an approved professional installer,
and use the appropriate equipment
10mm
60mm
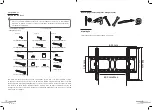
Drill the holes with an electric drill and a 10-mm concrete bit.
Remove the template and place to one side.
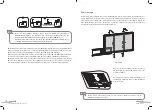
Insert a concrete rawl plug in each hole. If necessary, you can use a hammer to lightly tap each rawl
plug, so they are at the same level as the wall. Once the rawl plugs are in place, position the wall plate.
Attach the washers and then the lag screws into the rawl plugs which project slightly from the wall, as
indicated in the diagram below.
•
Do not tighten completely until all
the screws are in place.
•
Do not overtighten the screws.
This can damage the wall
needlessly.
•
Do not release the wall bracket
before it is firmly attached to the
wall.
!
installation of tilting arms
installation of tilting arms
•
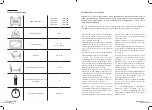
Cover a stable, flat surface with a soft cloth.
•
Place the screen of your appliance on the soft cloth.
•
Locate the threaded mount points on the back of the screen.
Determine the correct screw length by carefully inserting a match or toothpick and
marking the depth of the mount point. Refer also to the operating instructions for your
screen.
!
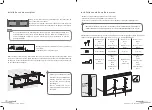
Depending on your screen model and the depth of the mount point, we advise you to use the following
combinations of screw fixings ( w 1, 2 or 3 spacers):
M4x30 ou M5x30
M4x12 ou M5x12
M4x12 ou M5x12
M6x12 ou M8x16
M6x35 ou M8x40
M4x12 ou M5x12
M4 x 12 metal
screws
or
M5 x 12 metal
screws
M4 x 30 metal
screws
or
M5 x 30 metal
screws
M6 x 16 metal
screws
or
M8 x 16 metal
screws
M6 x 35 metal
screws
or
M8 x 40 metal
screws
M4x30 ou M5x30
M4x12 ou M5x12
M4x12 ou M5x12
M6x12 ou M8x16
M6x35 ou M8x40
M4x12 ou M5x12
M4/M5 washers
M4/M5 washers
No washers
No washers
M8-4 spacers
(if needed)
M8-4 spacers
and/or
M8-8 spacers
and/or
M8-12 spacers
M8-4 spacers
(if needed)
M8-4 spacers
and/or
M8-8 spacers
and/or
M8-12 spacers
Bas
Mettre
la molette
vers
l’extérieur
Haut
Sachets
1~4
5
Top
Bottom
Position
the knob
outwards


