42
to the screen of ’KRT CALIBRATION’.
2
)
Make sure that the cursor is positioned at ‘KDP_A
*
’.
(The cursor is usually positioned at the place but if it is
not, move the cursor to the ‘KDP_A
*
’ with ‘UP’ or
‘DOWN’ switch).
3
)
Input the model eye indicated value in ‘KDP_A
*
’ by pressing ‘(+)’ or ‘(-)’ switch.
(In case that the model eye indicated value is R: 7.50 input ‘7.500’.)
4
)
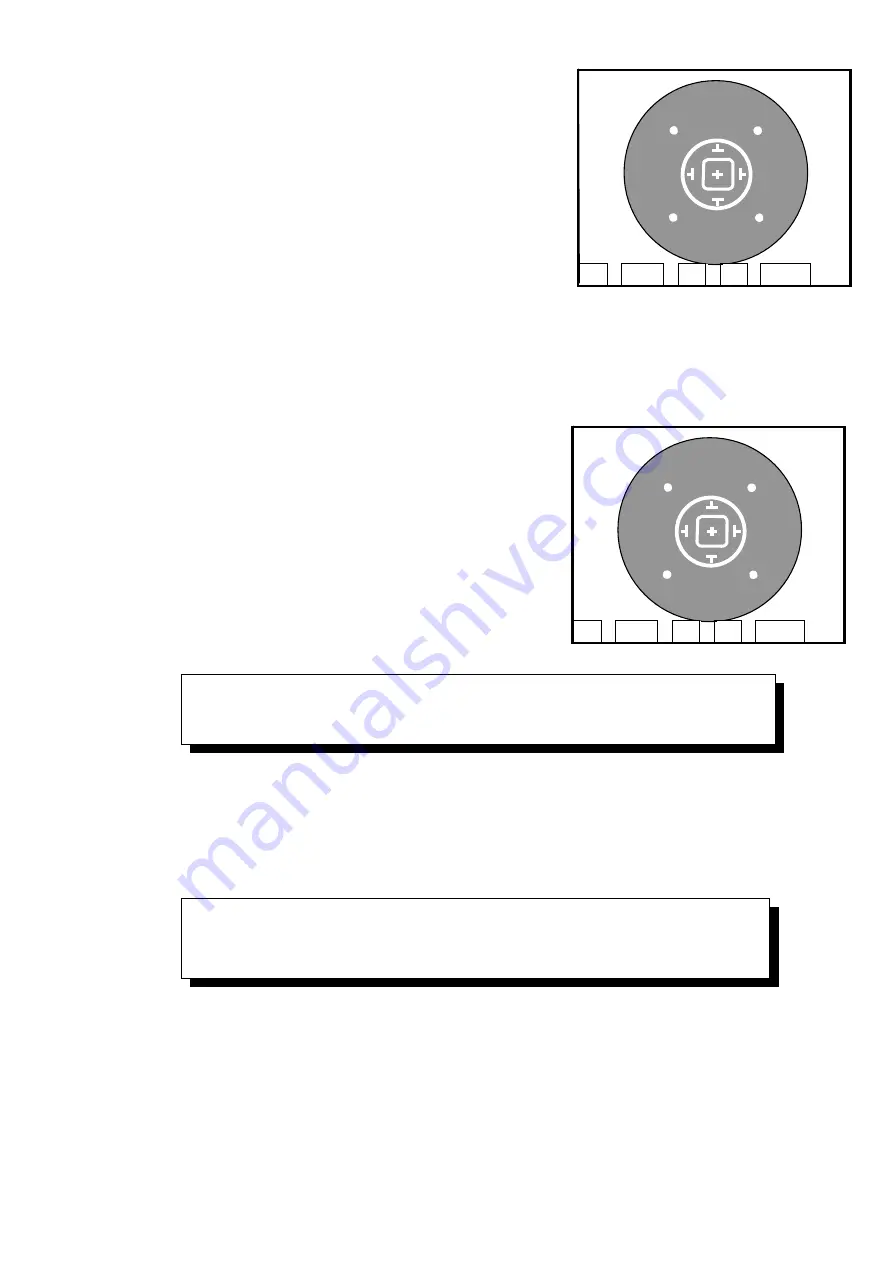
Align to the model eye equivalent to R7.50 (align as the
Kerato ring the thinnest) and press the measurement
switch. Take measurements 10 times and the
measurement values are input to ‘KR1_A
*
, KR2_A
*
,
and ‘KAX_A
*
’ automatically.
5
)
Press ‘RETURN’ switch. The screen will go back to the selection screen of ‘KRT
CALIBRATION’ and the detail of calibration (value) will be stored.
This is the end of calibration description about the model eye equivalent to R7.50.
In case that you conduct the calibration of the model eye equivalent to R10.00 and
R5.00 choose ‘MODEL EYE B, C’ and perform as same as above.
If you turn the power off without pressing RETURN, the detail of calibration
will not be stored. Make sure to return to ‘KRT CALIBRATION’ screen.
If the alignment moves during the measurement, the accuracy of the input
values is lower. Prevent the alignment from moving during the measurement.
KDP_A
*
7.500
KR1_A
*
7.670
KR2_A
*
7.590
KAX_A
*
110.000
Up
Down
(
+
)
(-)
Return
KDP_A
*
7.500
KR1_A
*
7.670
KR2_A
*
7.590
KAX_A
*
110.000
Up
Down
(
+
)
(-)
Return
Summary of Contents for AKR 750
Page 1: ...Auto kerato refractometer Maintenance Manual V1 09 2016 ...
Page 6: ...4 Block Diagram ...
Page 7: ......
Page 8: ...8 ...
Page 66: ...65 ...


