5)
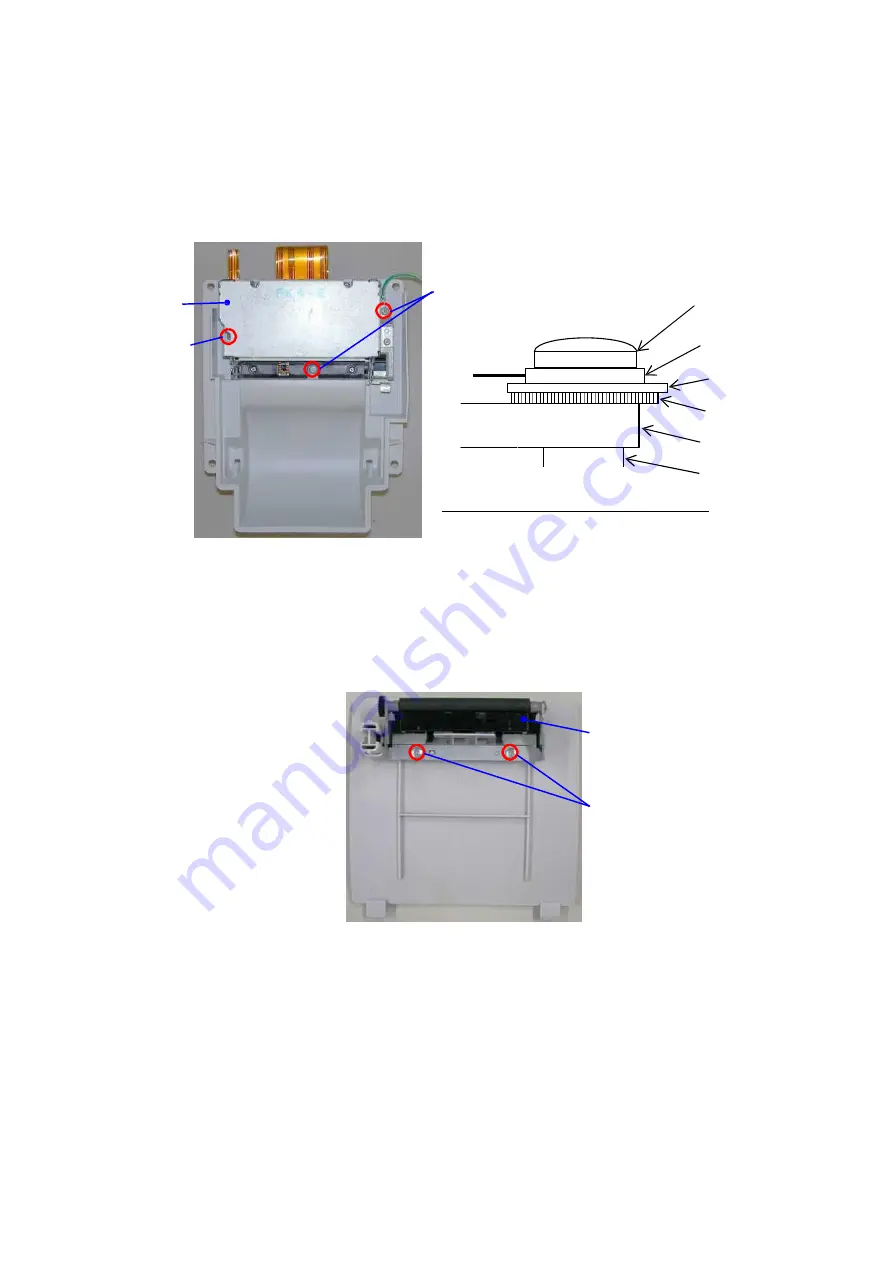
Replace the printer after unscrewing 3 fixing screws and removing the harnesses. At the
time of assembly after replacing, be careful about the screw position and the order of
fixing the harnesses.
Printer main unit
Fixing screw (short)
Fixing screws (long)
Fixing screw (long)
Earth harness
Washer
Tooth lock washer
Printer main unit
Printer case
Earth unit wiring direction drawing
6)
Remove the roller unit after unscrewing 2 fixing screws. At the time of assembling, set
the roller unit parallel with the case.
Roller unit
Fixing screws
7)
Replace the printer cover unit after removing the roller unit in manner of 6) above.
53
Summary of Contents for AKR 750
Page 1: ...Auto kerato refractometer Maintenance Manual V1 09 2016 ...
Page 6: ...4 Block Diagram ...
Page 7: ......
Page 8: ...8 ...
Page 66: ...65 ...


