
35
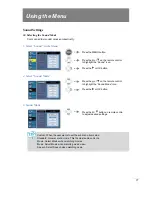
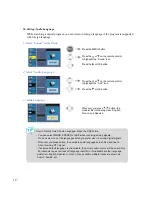
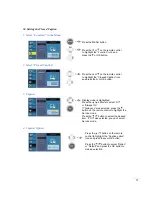
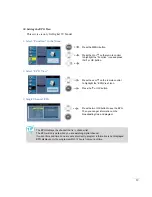
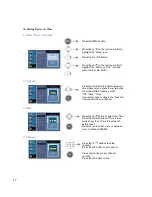
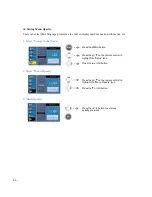
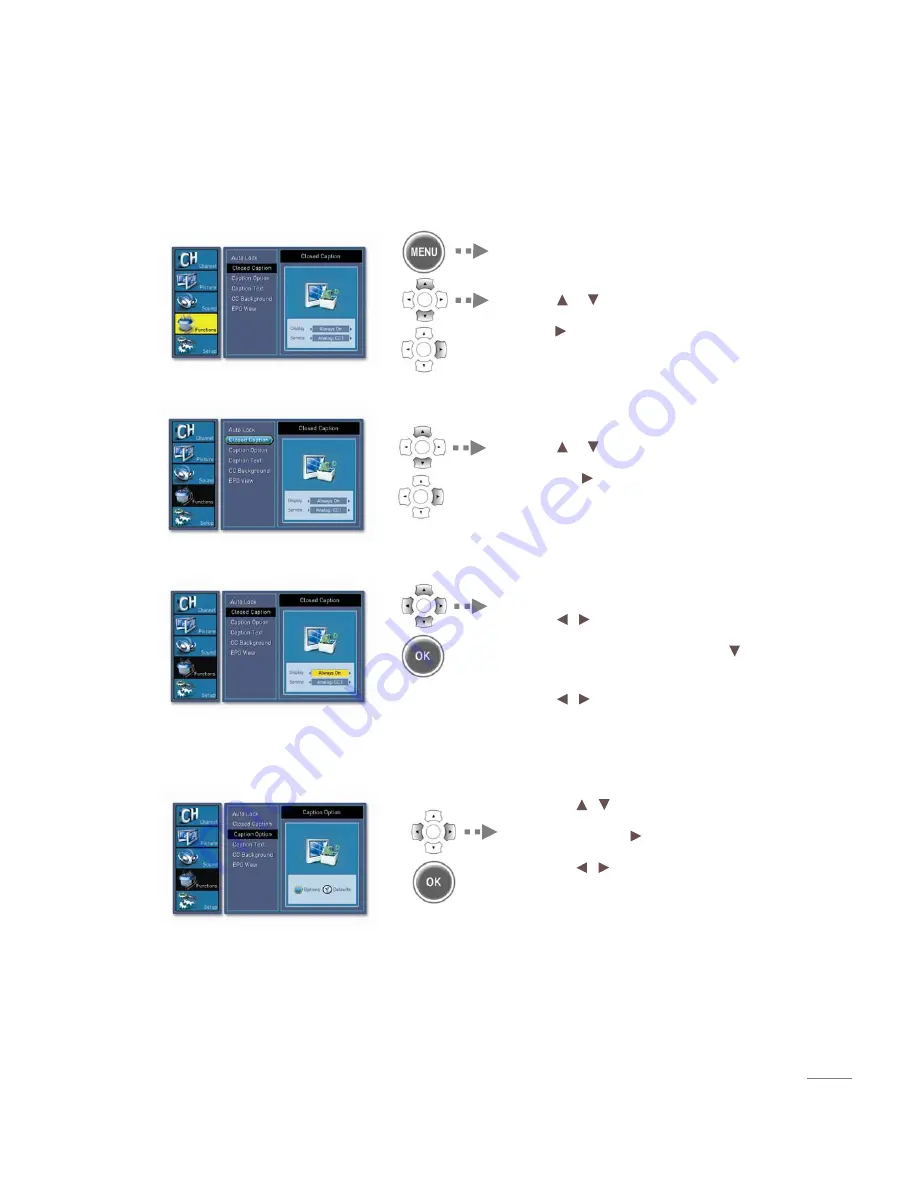
Setting the Closed Caption
1.
Select “Function” in the Menu
2.
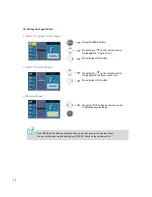
Select “Closed Caption”
3.
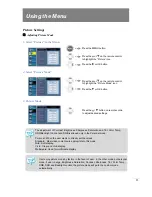
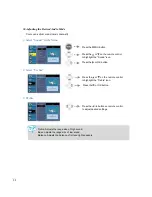
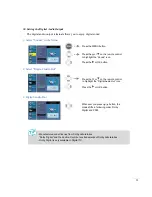
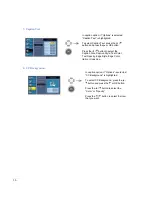
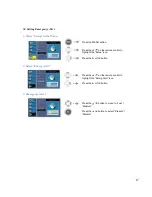
Caption
4.
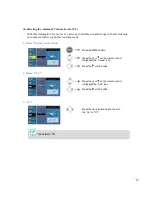
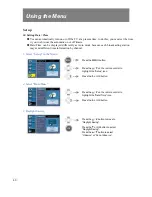
Caption Option
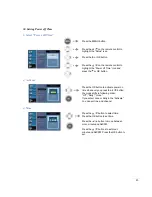
Press the / button on the remote
control to highlight the “Caption option”
icon and press the or OK button.
Press the / button to select “Option”
or “Default” and press the OK button to
make a selection.
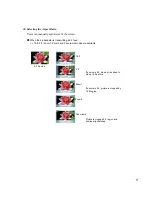
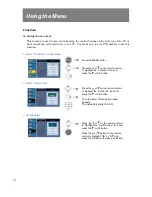
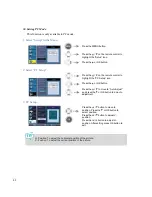
Display mode is highlighted.
Press the / buttons to select “Off”
or ”Always On”.
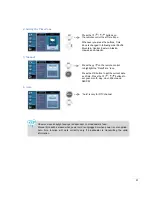
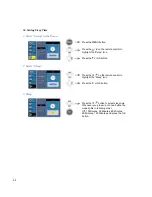
If “Always on” was selected, press the
button on the remote control to highlight the
Service mode.
Press the / button to select the desired
item. If “Off” was selected, you can’t select
Service mode.
Press the or on the remote control
to highlight the “Closedn Caption” icon
and press the or OK button.
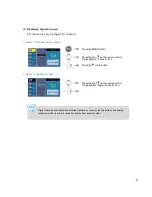
Press the MENU button.
Press the or on the remote control
to highlight the “Function” icon and
press the or OK button.
Summary of Contents for ES470FHD
Page 2: ...2 ...


