28
8. Configuration via programming track
In some cases, it may be desirable to change the properties of the
SignalPilot via the programming track. There, the CVs can not only
be written, but also read. This is conveniently done before the final
installation on the layout.
8.1. Connection to the digital system
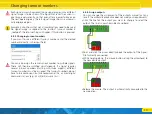
Connect the SignalPilot as described in chapter 5.2. The power
supply must be provided by the digital system.
8.2. Read & Write CVs
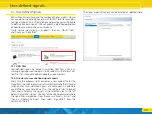
Reading should work with all DCC compliant command stations.
However, some command stations do not provide enough voltage
at the programming track output or sometimes report an over-
current. In such a case, POM (Programming on the Main) should
be used.
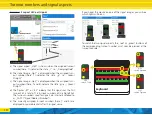
9. Learning POM address from the command station
The POM address can also be assigned directly by the command
station. To achieve this, the SignalPilot must be put into ADDRES-
SING mode:
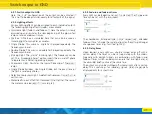
• Press and hold the
PROG
button until (after about two seconds)
the LED flashes as follows: Short, Pause, Short, Pause, etc.
• Now you can release the button: The decoder is now ready to
„learn” an address as soon as an accessory of the desired group
of 4 is activated at the command station.
• Now activate an accessory of your choice with the command
station. You will find more information on how to do this in the
manuals of the command station respectively the throttle.
• If the decoder has understood the address, it acknowledges this by
lighting the LED continuously for about 1 second.
• The SignalPilot then switches to normal operating mode and the
LED is extinguished.
10. RailCom®
RailCom® is a technique for transferring information from the de-
coder back to the command station. When RailCom® is switched
on, the CV values of the SignalPilot can be read out directly on the
main. Ex works, RailCom® is active on the SignalPilot.
10.1. RailCom® Configuration
To switch off RailCom, please delete Bit 3 in CV 29 and set CV
28 to 0.
11. Reset to factory default values (decoder reset)
You can restore the decoder‘s ex works settings at any time.
11.1. With the programming button
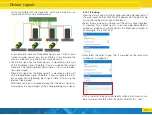
• Disconnect the power supply to the SignalPilot decoder. The pow-
er LED must be extinguished.
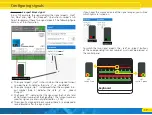
• Press and hold the
PROG
button
.
• Turn on the power supply for the decoder again. The PROG LED
will light up continuously.
• Release the
PROG
button. The decoder will be reset to factory
default values, the PROG LED will go out.
11.2. With DCC systems
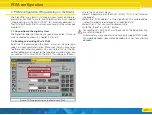
Write the
value 8 into CV 8
on the main (wiring as per chapter 8)
or on the programming track (wiring as per chapter 9). After that,
the default values are restored.
Writing into CV 8 is a special case; some command stations may
display an error „err02” or similar. Nevertheless, the SignalPilot
will accept the command.
Configuration via programming track

