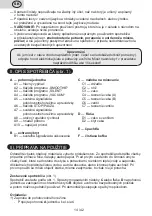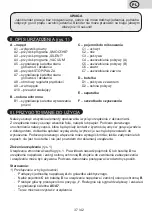
II. FEATURES OF THE DEVICE
(
pic
. 1)
A – propulsion unit
A1 – main switch
A2 – „SMOOTHIE“
programme button
A3 – „SILENT“
programme button
A4 – „VACUUM“
programme button
A5 – stand-by and operation signal lights
A6 – STOP/PAUSE button
A7 – stand-by and operation signal lights
A8 – speed knob
A9 – propulsion shaft
A10 – supply cord
B – protective cover
B1 – vacuum signal lights
C – mixing jar
C1 – handle
C2 –
knife
C3 – lid
C4 – lid seal (A)
C5 – lid seal (B)
C6
– valve
C7 – valve seal
D – bottle
D1 – lid with valve
D2 – lid cover
E
–
spatula
F
–
brush for cleaning
III. PREPARATION FOR USE
Remove all packaging material, remove the accessory. Remove all adhesive foils, stickers
or paper from the appliance. Before the first use, wash the parts that will be in contact with
food in hot water with a detergent, rinse them thoroughly with clean water and wipe till dry,
or let them dry. Possible short-time mild smoke when the appliance is operated for the first
time is not a defect and the appliance is not subject to a complaint for this reason.
Appliance assembling
(Fig. 1)
Please assemble the appliance according to Fig. 1. When the jar
C
or the bottle
D
is
properly fitted to the actuator and the protective cover
B
is closed, the safeguards are
released and it is possible to use the appliance. Apply the reverse procedure to dismantle.
Control:
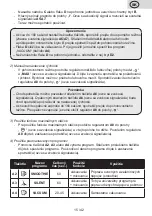
1) Switching to standby mode
-
Connect driver unit
A
to the mains.
-
Place the jar
C
or bottle
D
to the actuator and close the protective cover
B
.
-
Position the main switch to “
I
“. You will hear a sound signal and the signal lights
A5
/
A7
will come on.
-
You can now use the appliance.
Caution
–
Unless you press a button within approx. 180 seconds, the appliance will switch to
the energy-saving mode (signal lights
A5
/
A7
will go out). By pressing the
A6
button
or lifting and closing the protective cover
B
, the appliance will go back to the stand-by
mode.
–
The bottle
D
is only used for the vacuum mode. When the bottle is used, only the
„VACUUM“
programme is possible (
A4
button).
–
Before you place the bottle
D
onto the actuator, remove the cover
D2
from it.
22
GB
/ 42
Summary of Contents for Vital Blend VACO 4100
Page 43: ......
Page 48: ...e 23 2019 DATE 25 6 2019...

