ETC Installation Guide
SmartSwitch to Echo Relay Panel Feedthrough Retrofit Kit
SmartSwitch to Echo Relay Panel Feedthrough Retrofit Kit
Page 13 of 14
ETC
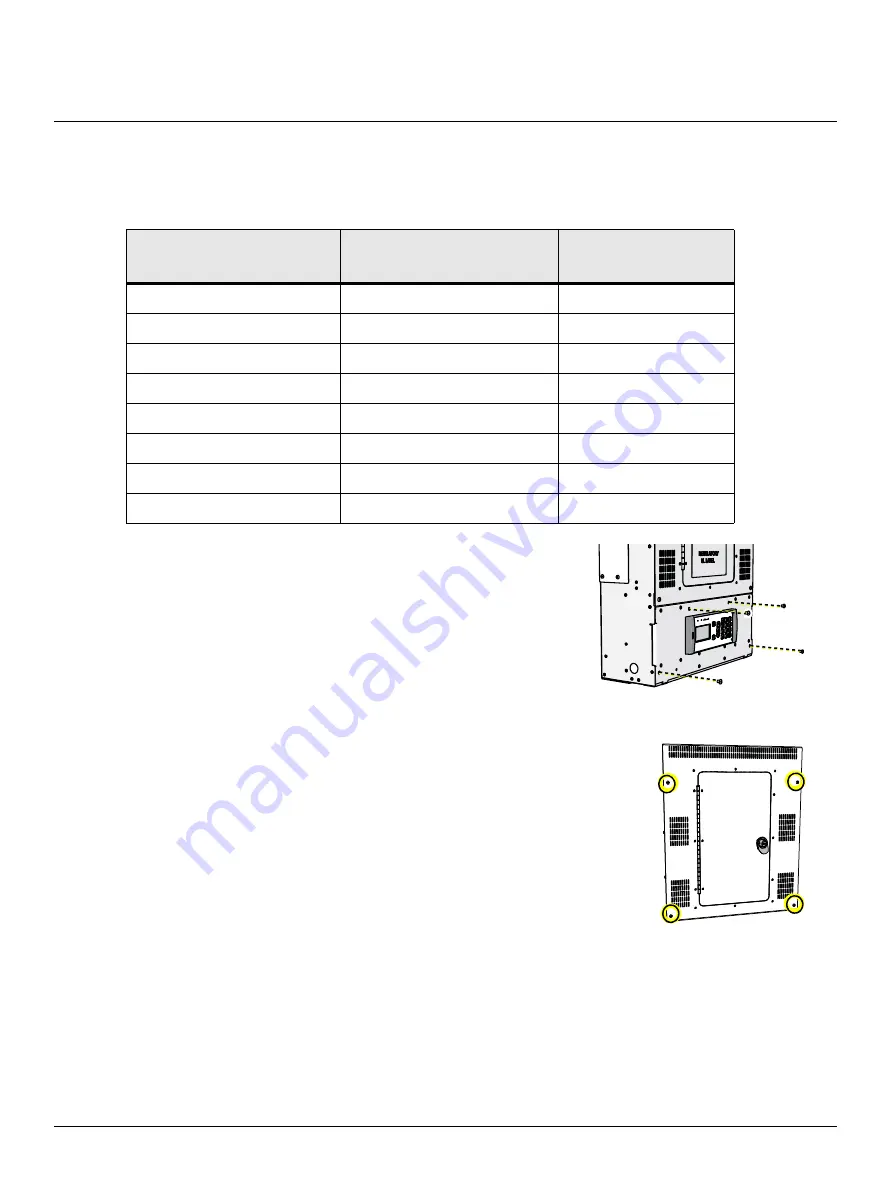
Example 3: Two-Card Configurations (Different Card Types)
If you are using two option cards of different types (e.g. one DALI card and one Contact Input card), the
following configurations are possible:
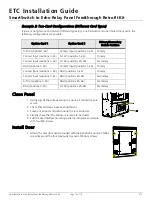
Clean Panel
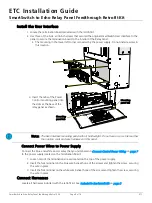
1. Gently tug all line voltage wiring to ensure all connections are
secure.
2. Check that all screws have been tightened.
3. Clean out all dust and debris inside the rack enclosure.
4. Visually check that the enclosure is ready to be closed.
5. Fold the User Interface mounting panel up into place and secure
with four M5 screws.
Install Door
1. Attach the new door panel provided with the Retrofit Kit using a Phillips
screwdriver and the four previously removed M5 door screws.
Option Card 1
Option Card 2
Primary/Secondary
Switch Position
0–10V (positions1–24)
Contact Input (positions 1–24)
Primary
Contact Input (positions 1–24)
0–10V (positions 1–24)
Primary
Contact Input (positions 1–24)
0–10V (positions 25–48)
Secondary
DALI (positions 1–24)
Contact Input (positions 1–24)
Primary
Contact Input (positions 1–24)
DALI (positions 1–24)
Primary
Contact Input (positions 1–24)
DALI (positions 25–48)
Secondary
0–10V (positions 1–24)
DALI (positions 25–48)
Secondary
DALI (positions 1–24)
0–10V (positions 25–48)
Secondary


