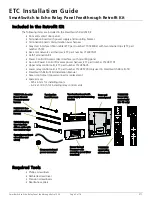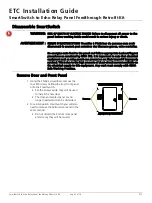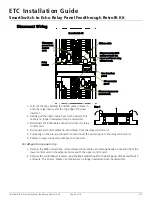
ETC Installation Guide
SmartSwitch to Echo Relay Panel Feedthrough Retrofit Kit
SmartSwitch to Echo Relay Panel Feedthrough Retrofit Kit
Page 6 of 14
ETC
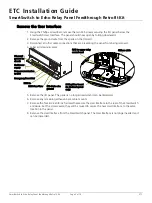
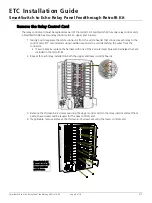
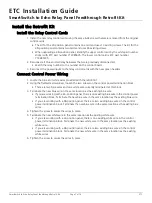
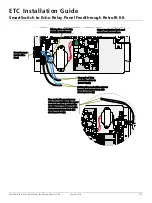
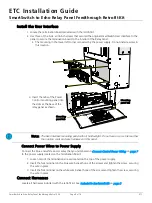
Remove the Relay Control Card
The relay control card must be replaced as part of the retrofit. A SmartSwitch 24 has one relay control card;
a SmartSwitch 48 has two relay control cards, an upper and a lower.
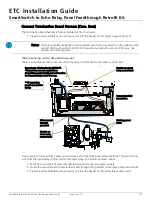
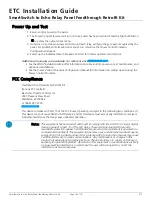
1. Gently pull to separate the white connector from the white header that connects each relay to the
control card. ETC recommends using needle-nose pliers to avoid detaching the wires from the
connector.
• If a wire breaks, replace the harness with one of the extra red and blue wire harnesses that are
included in the retrofit kit.
2. Repeat for each relay installed on both the upper and lower control boards.
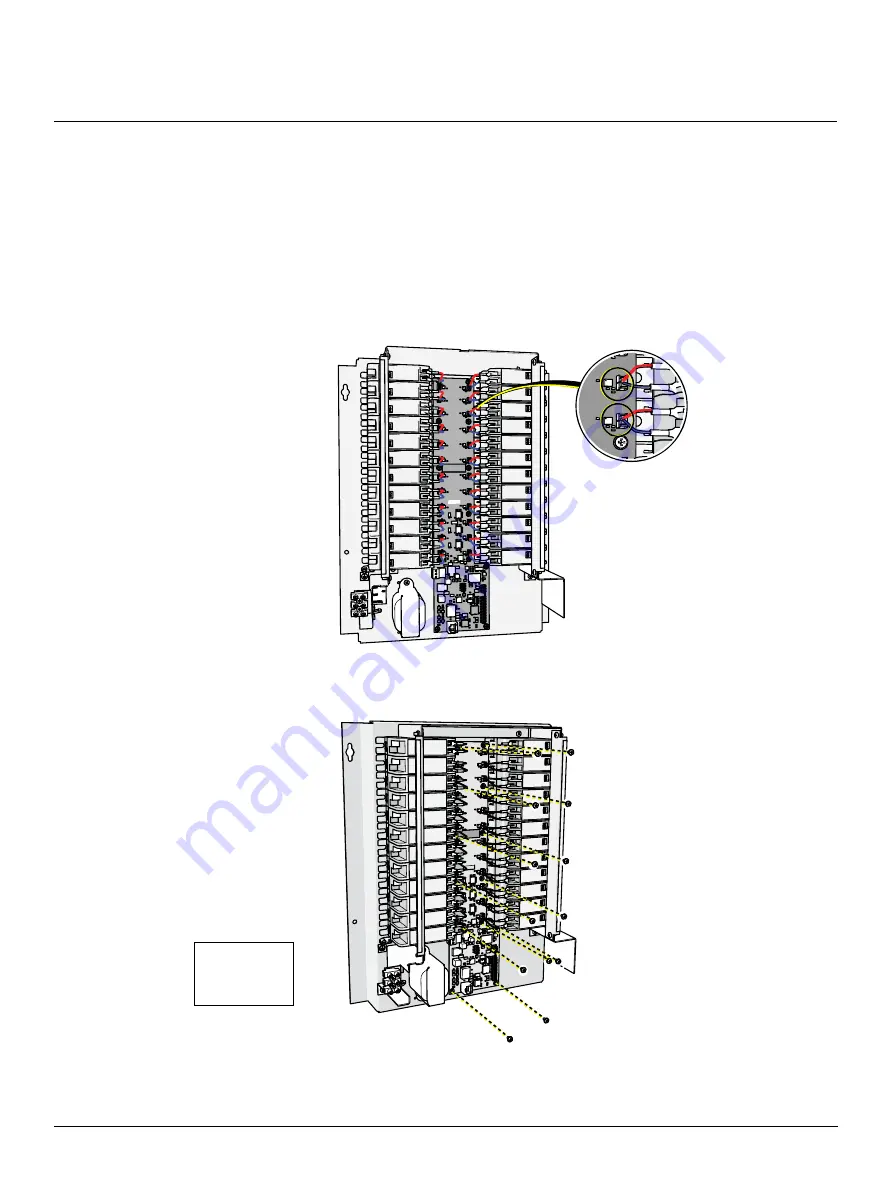
3. Remove the thirteen 6-32 screws securing the upper control card to the relay interior and set them
aside; these screws will be reused for the new control card.
4. If applicable, remove and save the thirteen 6-32 screws securing the lower control card.
SmartSwitch 24
(SmartSwitch 48
upper) control
card shown.


