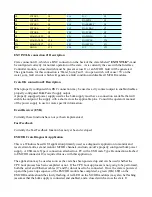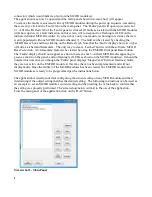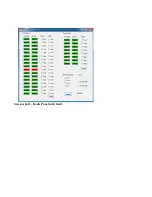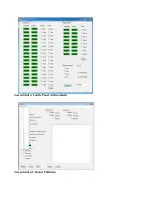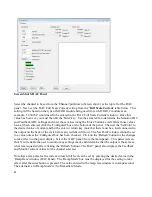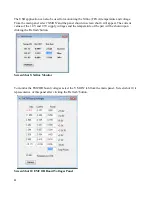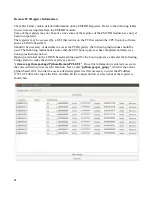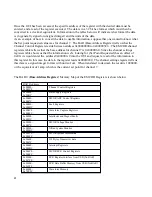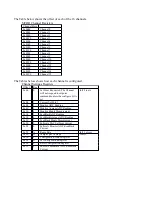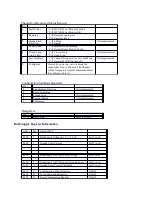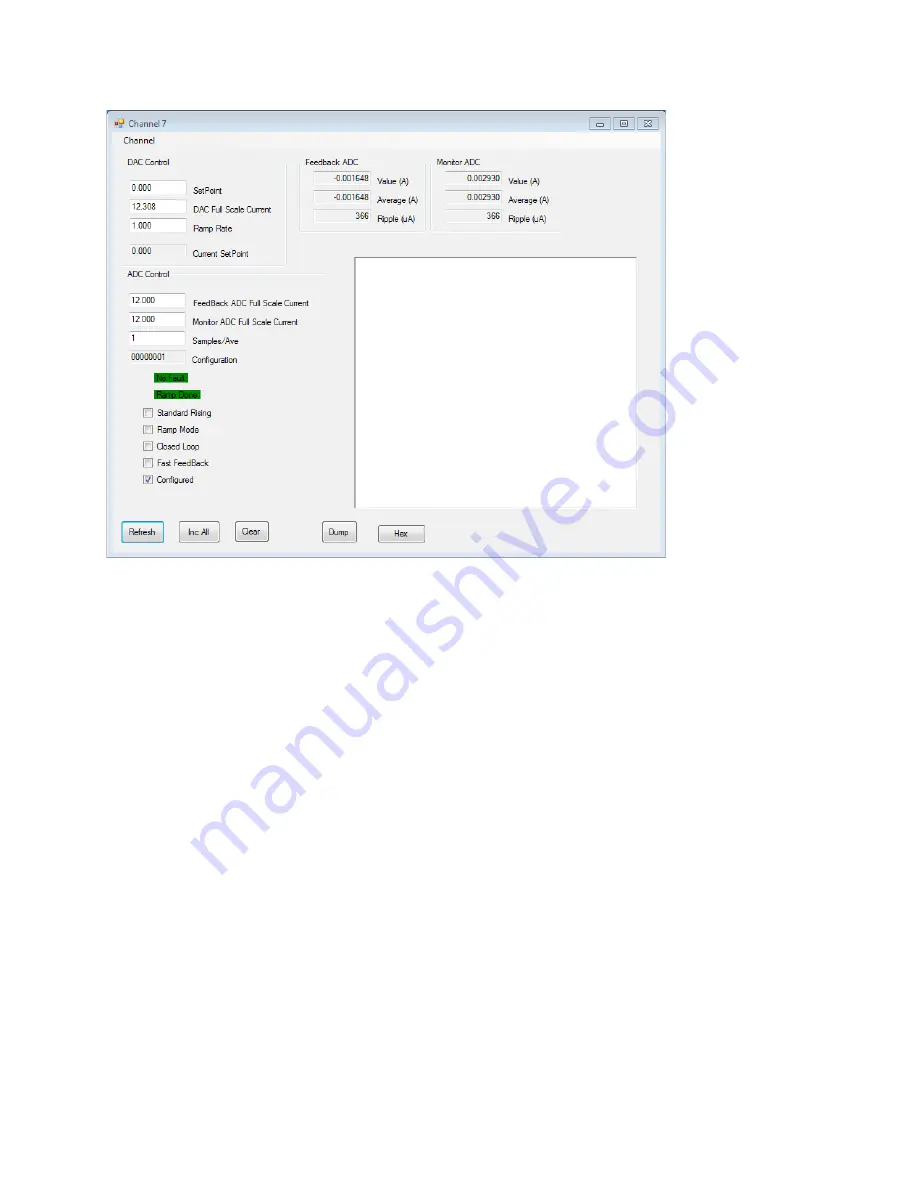
Screen Shot 5-DAC Panel
Select the channel to be set from the 'Channel' pull-down (Screen shot 4) at the top left of the DAC
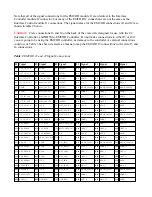
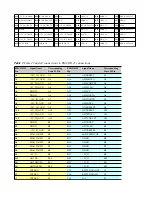
panel. Next, set the 'DAC Full Scale Current' setting from the
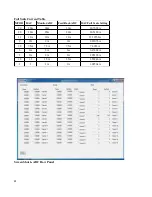
'Full Scale Current
' table below. This
setting will be based on the type of MCOR module being used (for an MCOR 12 module as an
example, '12.30768' would need to be entered in the 'DAC Full Scale Current' window). Once this
value has been set, you must then hit the 'Enter' key. Use the same table to determine the Monitor ADC
and Feedback ADC settings and enter those values using the 'Enter' button as well. Once those values
have all been entered, click the 'Configured' box at the bottom of the panel. Then set the 'Set Point' to
the desired value of current and hit the enter or return key (note that there must be a load connected to
the output on the back of the crate before any current will flow). The 'Set Point' window cannot be set
to a value unless the 'Configured' box has been checked. Click on the 'Refresh' button for the changes
to take effect on the panel display. Select the 'ADC' panel (from the main panel). This panel (screen
shot 5) will enable the user to monitor any settings made and determine that the output is the same as
what was requested (after clicking the 'Refresh' button). The 'DAC' panel also displays the Feedback
and Monitor current values for the channel selected.
Note that a ramp rate for the current to reach full level can be set by entering the desired value in the
'Ramp Rate' window (DAC Panel). The 'Ramp Mode' box must be displayed for the setting to take
effect after the enter button is pressed. The value entered in the ramp rate window is in amps/second.
The alternative to 'Ramp Mode' is the 'Immediate' Mode.
11

