6
Installation (continued)
7
Connecting to the Power Source
□
Connect the hot and neutral (black and white) solid copper
jumper wires (AA) to the same color wires from the electrical
source.
□
Cover the wire connections using the wire connectors (not
included).
□
Wrap the wire connectors (not included) with electrical tape
for a more secure connection.
8
Replacing the Ballast Cover
□
Replace the ballast cover, if necessary.
9
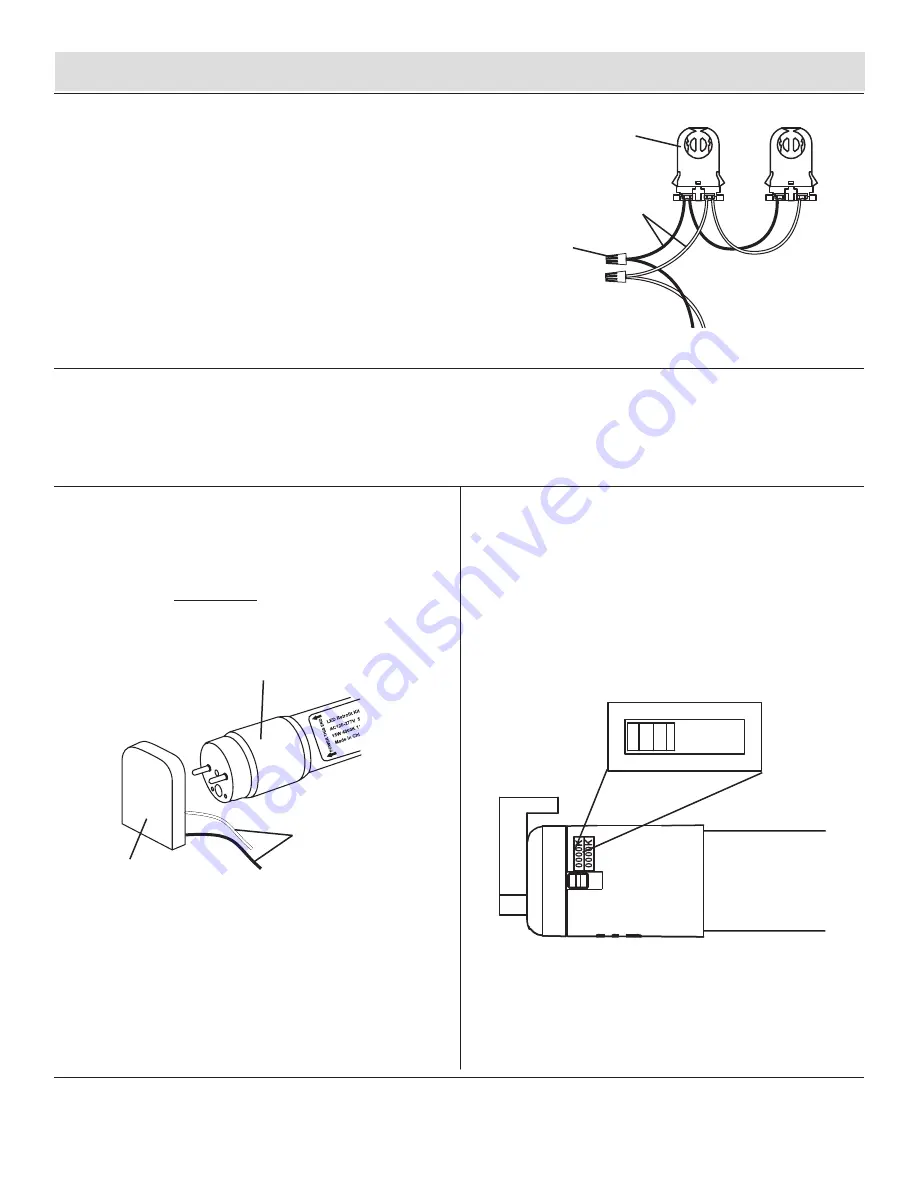
Installing LED Tubes
□
Install LED tubes (A) with the end labeled “power this
end” to the
wired sockets
.
□
Turn the tube a quarter turn to lock it in place.
□
Affix the UL Safety Sticker (BB) in a visible location.
10
Adjusting the Color Temperature
of the Light
This LED Tube allows you to customize the color temperature of
the light output.
□
Move the toggle switch on the side of the end cap to
make your selection.
CCT Setting #1 / CCT Setting #2
B
A
AA
AA
B
Wire
Connectors


