BGA ETA-H15 OPERATION MANUAL
Page18
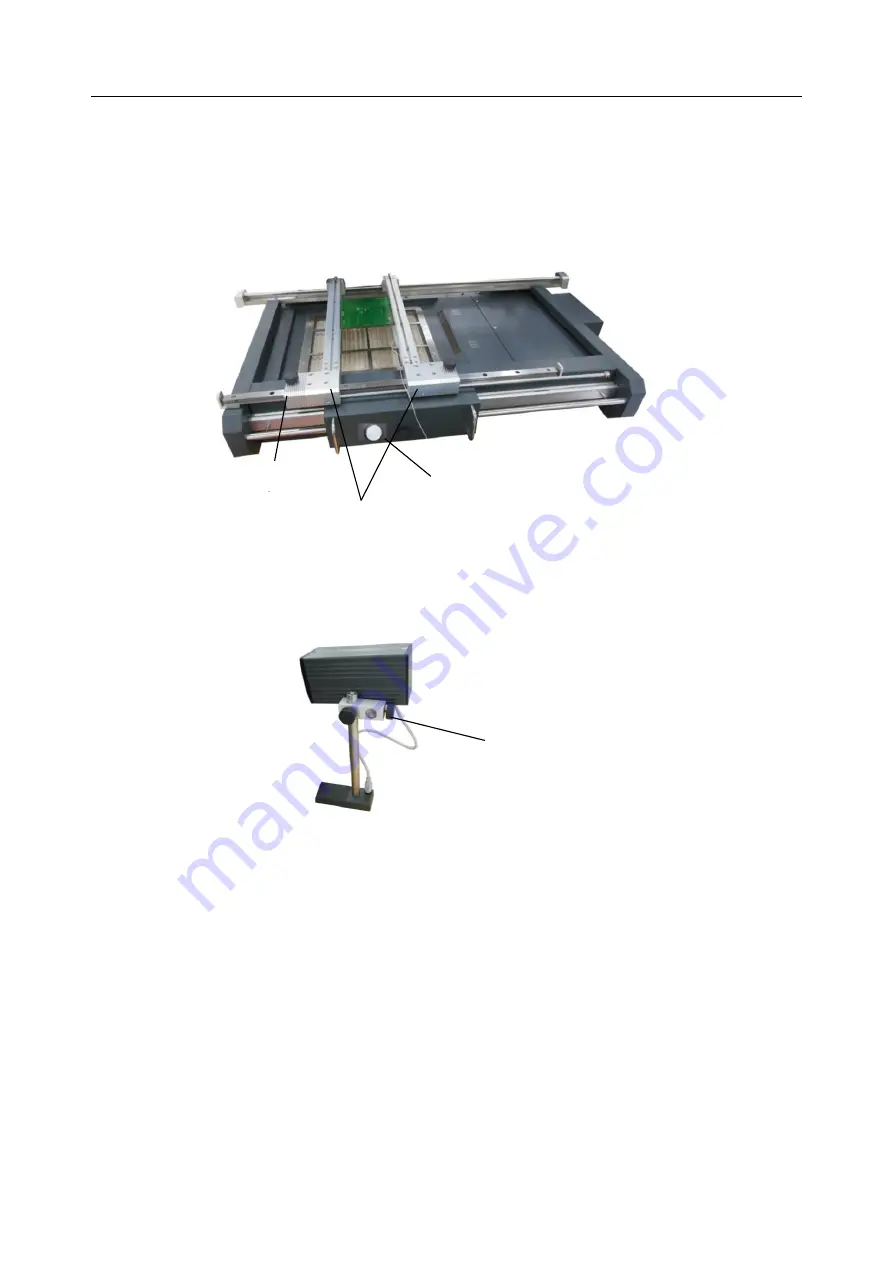
adjusting position. If you want to lock PCB Fixture, please screw down Fixture Fixed Knob.
* When the component is aligned accurately, screw down Fixture Fixing Knobs first and then adjust
accurately. Turn “PL Micro-adjustment knob1 to make PCB Fixture move right and left for adjusting
PCB’s right and left position. Turn it clockwise for rightwards move and turn it anticlockwise for leftwards
move. Turn “PL Micro-adjustment knob2 to make PCB Fixture move forward and backward for adjusting
PCB’s front and rear position. Turn it clockwise for forward move and turn it anticlockwise for move
backward.
4.
RPC (Reflow Process Camera)
RPC’s position can be adjusted. First, unscrew Fixed Knob in corresponding direction and then adjust. RPC
can be moved up and down or turned.
5.PL Camera
* It needs to use PL camera during the component aligning. PL camera will transmit the image of soldering
point on PCB and component pins under nozzle to Display or Monitor through video signal and user can
see these images on Display or Monitor. At the moment, you can use each adjusting function to align
component.
* It needs to completely pull out PL camera when using it. At this time, the image displayed is got by PL
camera. When not in use, push it back, and the image displayed is got by IR camera.
9.2 Aligning Technics
1
.
Place the soldered component in jig, move PCB Fixture to make the vacuum pen aim at component on
the jig. Turn the Nozzle Controlling Knob to make nozzle move down to pick up component. The
Fixed Knob
X axis PL Micro-adjustment knob
Slide Block
PCB Fixed Knob
PL Camera
Summary of Contents for BGA ETA-H15
Page 2: ......


