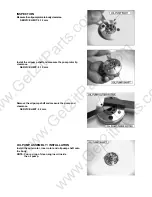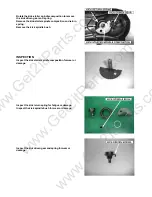
Measure and record the cylinder I.D. at three levels in
both an X and Y-axis. Take the maximum reading to
determine the cylinder wear.
SERVICE LIMIT: 57.50 mm
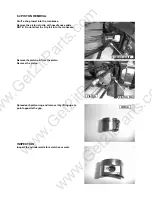
Calculate the piston-to-cylinder clearance.
Take the maximum reading to determine the clearance.
SERVICE LIMIT: 0.10 mm
Calculate cylinder taper at three levels in an X and
Y-axis. Take the maximum reading to determine the taper.
SERVICE LIMIT: 0.10 mm
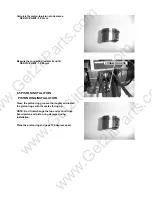
Calculate the cylinder out-of-round at three levels in an X
and Y-axis. Take the maximum reading to determine the
out-of –round.
SERVICE LIMIT: 0.10 mm
Inspect the top of the cylinder for warping.
SERVICE LIMIT: 0.10 mm
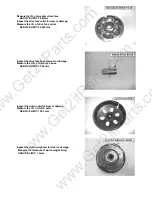
PISTON / PISTON RING INSPECTION
Measure the piston ring-to-groove clearance.
SERVICE LIMITS: TOP
0.12 mm
SECOND 0.12mm
www.Get2itParts.com
www.Get2itParts.com
www.Get2itParts.com


