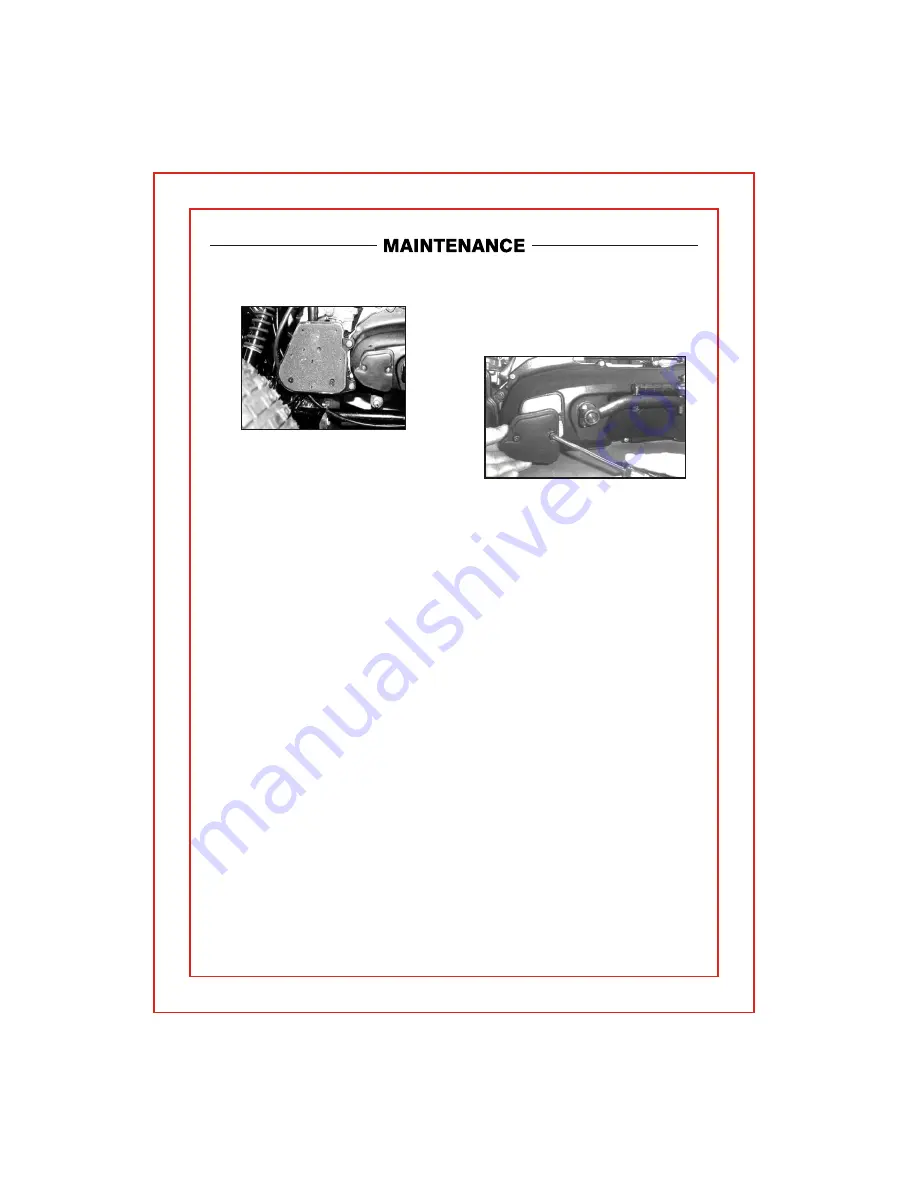
Air Filter
Air Filter Maintenance
To maintain the highest performance from your
engine and to reduce excessive wear that could
cause engine failure the engine requires a
continuous flow of clean air. Air is taken into the
engine through an air filter to clean the air prior
to mixing it with fuel and oil in the carburetor.
During normal operation the filter accumulates
dirt from the air and will need to be cleaned to
maintain the proper air flow.
The filter should be cleaned every 30 days, more
often if you ride in a dusty or dirty environment
and the element should be replaced every year.
The air filter box is located on the left side of the
engine under the front fender. It is a black box
about 6" square and is attached to the crankcase
with two bolts and the carburetor by a tube.
To clean the filter
Remove the air filter box cover.
Remove the filter element from the air box.
Wash the element in a non-flammable solvent
such as Air-Filter cleaner from your local auto
parts dealer.
1. Dry the element completely before continuing.
2. Soak the element in clean engine oil until
completely saturated.
3. Squeeze out the excess oil until the element
does not drip any oil.
4. Allow the element to dry then reinstall the
element and cover.
C.V.T. Filter
This unit is equipped with an air filter for the
C.V.T. transmission. It is located on the left-
hand side of the engine, just ahead of the kick
starter spindle. The filter will accumulate dust
and must be cleaned periodically to maintain
normal vehicle operations. Inspect and clean
the filter every 30 operating days, more frequently
if operated in a dusty environment.
To clean the filter, remove the two cover bolts
and remove the filter. Clean the filter element
in a non-flammable solvent and let dry completely
before reinstalling. Replace the filter element
and the cover.
Spark Plug
Replace spark plug at the beginning of each
season with a replacement plug NGK- BPR7HS.
Disconnect spark plug wire.
Clean dirt from around spark plug base with
brush or air.
Remove spark plug with spark plug wrench.
Set the spark plug gap on the new plug to 0.023"
Install the new plug screwing it in finger tight and
then use the plug wrench to screw the plug in
another
1/2
turn.
Inspect the spark plug wire for cuts, nicks or
other damage. Replace as needed.
Page 16
Summary of Contents for EXL-50 - SERVICE
Page 26: ...WIRING DIAGRAM Page 26 VIPER Wiring Diagram...
Page 27: ...WIRING DIAGRAM YUKON Wiring Diagram...
Page 30: ...Owner s Notes Page 30...
Page 31: ...Page 31...
Page 32: ...Page 32 Page 31...


