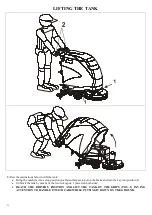
14
the operator not to get the control panels wet as the electrical parts could get damaged.
2
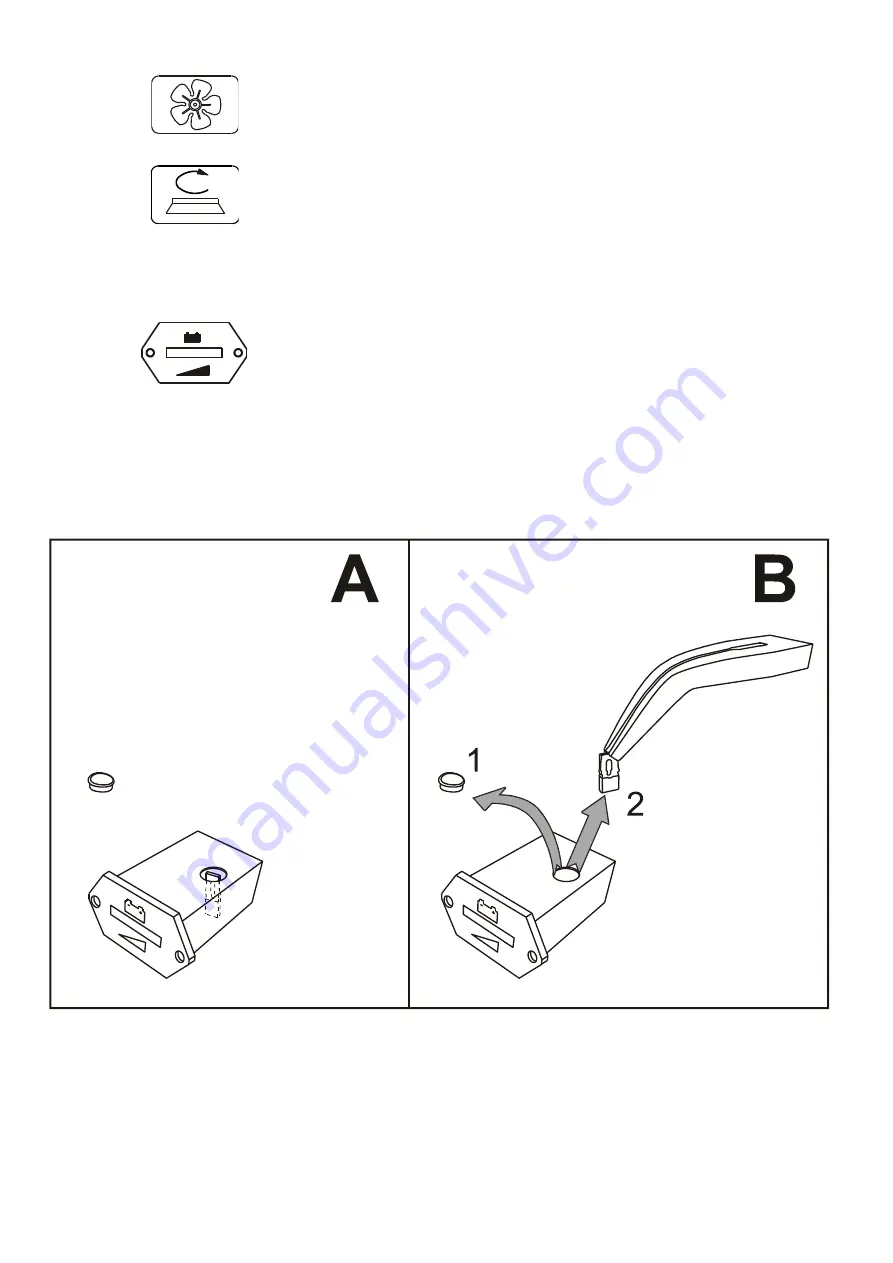
VACUUM BUTTON
Push the switch to position 1 to turn on the vacuum.
Push the switch to position 0 to turn off the vacuum.
3
BRUSH DRIVE BUTTON
Push this switch to position 1 to activate the brush function.
The brushes will start spinning when the forward and reverse gear pedal is pushed.
When the pedal is released the brushes will spin for another 3 seconds before stopping.
The solenoid valve is connected to the brush function; it opens and closes the solution
flow automatically.
4
BATTERY CHARGING INDICATOR
The green LED light indicates that the battery is charged.
When the red light comes on after about 20 seconds, the brush motors will stop
running. Go to the charging zone and charge the battery.
Warning: The indicator is configured for acid-lead batteries.
To avoid damaging the batteries, make sure to change the settings when installing
other types of batteries (GEL, AGM, etc).
In case different batteries are fitted (GEL, AGM, etc.) the setting must be changed to
avoid damaging the batteries.
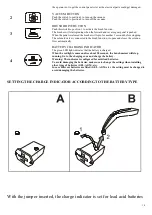
SETTING THE CHARGE INDICATOR ACCORDING TO THE BATTERY TYPE
With the jumper inserted, the charge indicator is set for lead acid batteries
Summary of Contents for E51 BASE
Page 2: ...3...

