


Summary of Contents for EVC60SS
Page 24: ......
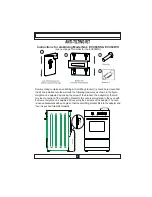
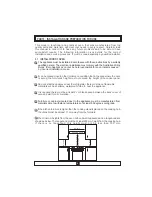
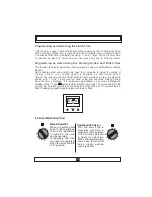
The EURO EVC60SS user manual offers detailed Operating and Installation Instructions for this sleek stainless steel cooktop. Consumers can easily download the manual for free from 88.208.23.73:8080 to ensure proper setup and use of this high-quality appliance. Get your manual today and enjoy hassle-free cooking with EURO EVC60SS.
Page 24: ......


