30
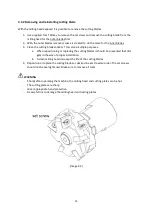
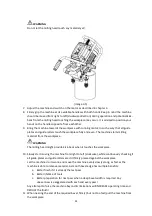
WARNING
The milling head might provide kick-back when it touches the workpiece.
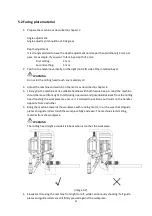
[image 3-1]
6.
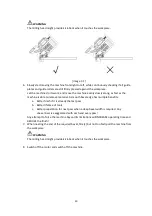
Slowly start moving the machine from right to left, while continuously checking if all guide
plates and guide rollers are still firmly pressed against the workpiece.
Let the machine do its work, and move the machine evenly slowly along, as fast as the
machine is able to remove material. A smooth bevel edge has multiple benefits:
a.
Better finish if it is already the last pass
b.
Better lifetime of tools
c.
Better preparation for next pass when a deep bevel width is required. Any
unevenness is exaggerated with each and every pass!
Any attempt to force the machine beyond its limitations will INCREASE operating time and
REDUCE the finish!
7.
When nearing the end of the required bevel, firmly (but not too fast) pull the machine from
the workpiece.
WARNING
The milling head might provide kick-back when it touches the workpiece.
8.
Switch off the motor and switch off the machine.
Summary of Contents for B60
Page 2: ...2 ...
Page 4: ...4 ...
Page 11: ...11 B60 B60S B60S shown image 1 1 image 1 2 ...
Page 12: ...12 B60 image 1 3 B60S image 1 4 ...
Page 20: ...20 image 2 3 ...
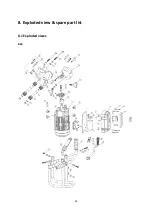
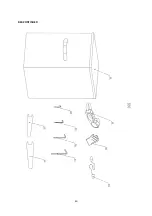
Page 39: ...39 8 Exploded view spare part list 8 1 Exploded views B60 ...
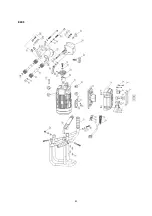
Page 40: ...40 B60 CONTINUED ...
Page 41: ...41 B60S ...
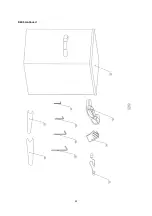
Page 42: ...42 B60S continued ...
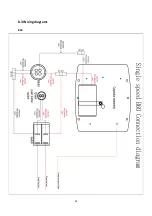
Page 45: ...45 8 3 Wiring diagrams B60 ...
Page 46: ...46 B60S ...
Page 48: ...48 ...

